8 Best Settings for Lawn Seeders
The smell of damp earth after a light rain signals the perfect moment for turf establishment; it is the scent of geosmin released by soil microbes. When you press your thumb into the soil, you should feel the turgor of a healthy leaf in the surrounding flora, indicating sufficient hydration in the rhizosphere. Achieving a uniform stand of grass requires more than luck; it demands precision in mechanical calibration. Identifying the best settings for lawn seeders is the difference between a patchy, wasted investment and a dense, competitive canopy. A miscalculation of just a few millimeters on the hopper gate can result in a 30 percent loss in seed efficiency or, conversely, an overcrowded stand prone to fungal pathogens. You must approach the seeder as a scientific instrument. Every click of the dial corresponds to a specific flow rate based on the bulk density of the seed and the speed of your gait. We are not merely spreading seed; we are managing the spatial distribution of genetic material to ensure maximum sunlight interception and root development.
Materials:
Success begins with a friable loam. This substrate should have a **Cation Exchange Capacity (CEC) between 15 and 25**, ensuring the soil can hold and release essential nutrients like potassium and magnesium. Before calibration, test the soil pH. Aim for a range of **6.2 to 7.0** to maximize nutrient bioavailability. For new seedings, utilize a starter fertilizer with an **NPK ratio of 10-18-10 or 12-24-14**. The high phosphorus (P) content is critical for early root elongation and ATP production in young seedlings. The seed itself should be a high-quality cultivar with a **0.0% weed seed rating**. Coarse-textured seeds like Tall Fescue require larger aperture settings compared to the fine, dust-like seeds of Kentucky Bluegrass.
Timing:
The biological clock of turfgrass is dictated by soil temperature and photoperiod. In Hardiness Zones 4 through 7, the primary window for cool-season grasses opens when soil temperatures consistently hit 55 to 65 degrees Fahrenheit. This usually occurs between late August and mid-September. For warm-season grasses in Zones 8 through 11, the window shifts to late spring when soil temperatures reach 70 degrees Fahrenheit. Planting during these windows ensures the plant transitions from the vegetative stage to a robust root-establishment phase before the onset of winter dormancy or summer heat stress. Avoid sowing if a frost is predicted within 14 days, as ice crystals can rupture the cell walls of emerging coleoptiles.
Phases:

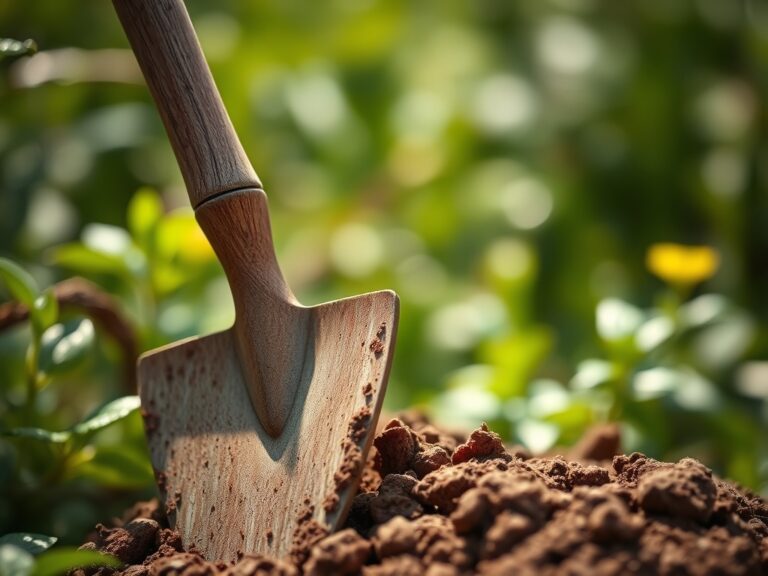
Sowing
Calibrate your broadcast seeder by weighing out enough seed for 1,000 square feet. Set the dial to a medium-low position (often a 3 or 4 on standard consumer spreaders) and walk at a steady 3 miles per hour. If you have seed left over, increase the setting; if you run out early, decrease it. For a professional finish, apply half the seed in a north-south direction and the remaining half east-west.
Pro-Tip: Proper seed-to-soil contact is vital because of imbibition. The seed must absorb roughly 50 percent of its weight in water to trigger the metabolic processes required for germination. Using a weighted roller after sowing ensures this contact.
Transplanting
While most lawns are started from seed, plugging or sprigging is common for stoloniferous grasses like St. Augustine. Space plugs 6 to 12 inches apart in a staggered grid. This allows the lateral stems to colonize the empty space through a process called apical dominance suppression, where the plant redirects energy to horizontal growth.
Pro-Tip: When transplanting, avoid burying the crown. The crown is the plant's metabolic hub. If oxygen is restricted, the plant suffers from hypoxia, leading to rapid tissue senescence and death.
Establishing
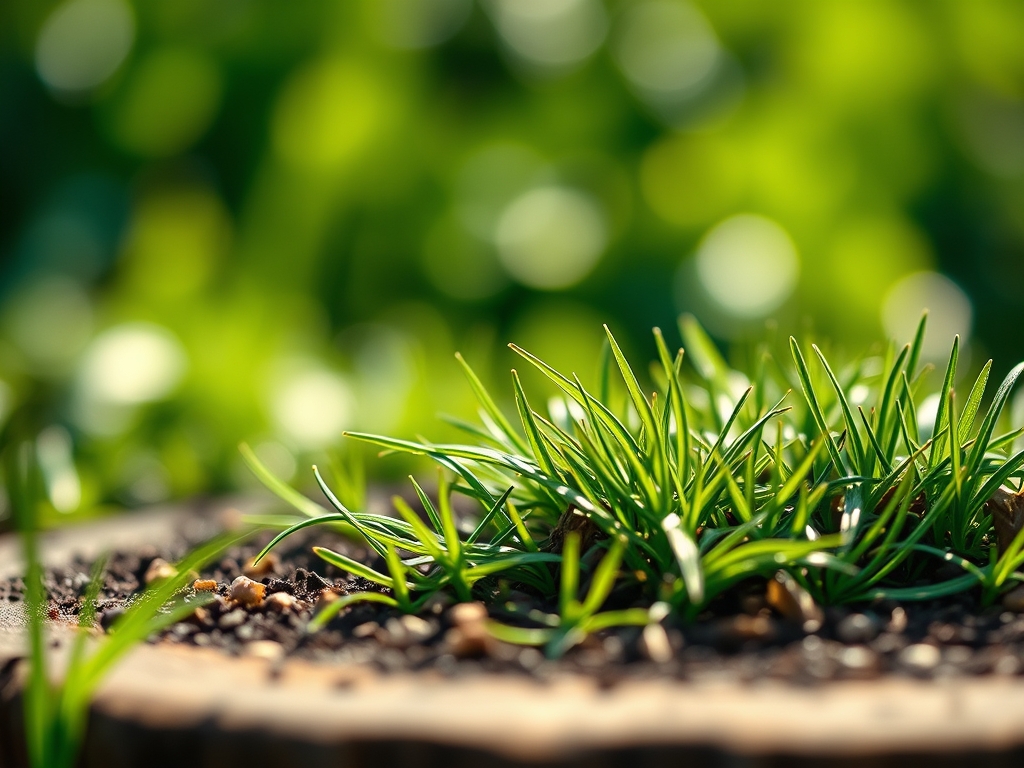
The first 21 days are critical. The primary goal is maintaining turgor pressure within the developing cells. Irrigate lightly twice daily to keep the top 0.5 inches of soil moist. Once the grass reaches a height of 2 inches, reduce frequency but increase depth to encourage the roots to dive deeper into the soil profile.
Pro-Tip: Do not apply herbicides during this phase. Young seedlings lack the protective cuticle thickness of mature plants. Premature chemical exposure can disrupt auxin transport, leading to stunted growth or total vascular collapse.
The Clinic:
Monitoring the physiological health of your new lawn requires a keen eye for "Symptoms" and immediate "Solutions."
Symptom: Nitrogen Chlorosis. The oldest leaves turn a pale yellow while the rest of the plant remains light green.
Solution: Apply a quick-release nitrogen source at a rate of 0.5 lbs of N per 1,000 square feet. Nitrogen is a mobile nutrient; the plant pulls it from old growth to support new meristematic activity.
Symptom: Damping-off. Seedlings collapse at the soil line and appear water-soaked.
Solution: This is often caused by Pythium or Rhizoctonia fungi. Reduce irrigation frequency immediately and improve airflow. Ensure your seeder settings were not too high, as overcrowding creates a microclimate conducive to fungal proliferation.
Symptom: Phosphorus Deficiency. Leaves exhibit a dark green or purplish tint, particularly on the undersides.
Solution: Apply a liquid phosphoric acid supplement or additional 10-20-10 fertilizer. Phosphorus is essential for the transfer of energy (ATP) during the rapid cell division of early growth.
Maintenance:
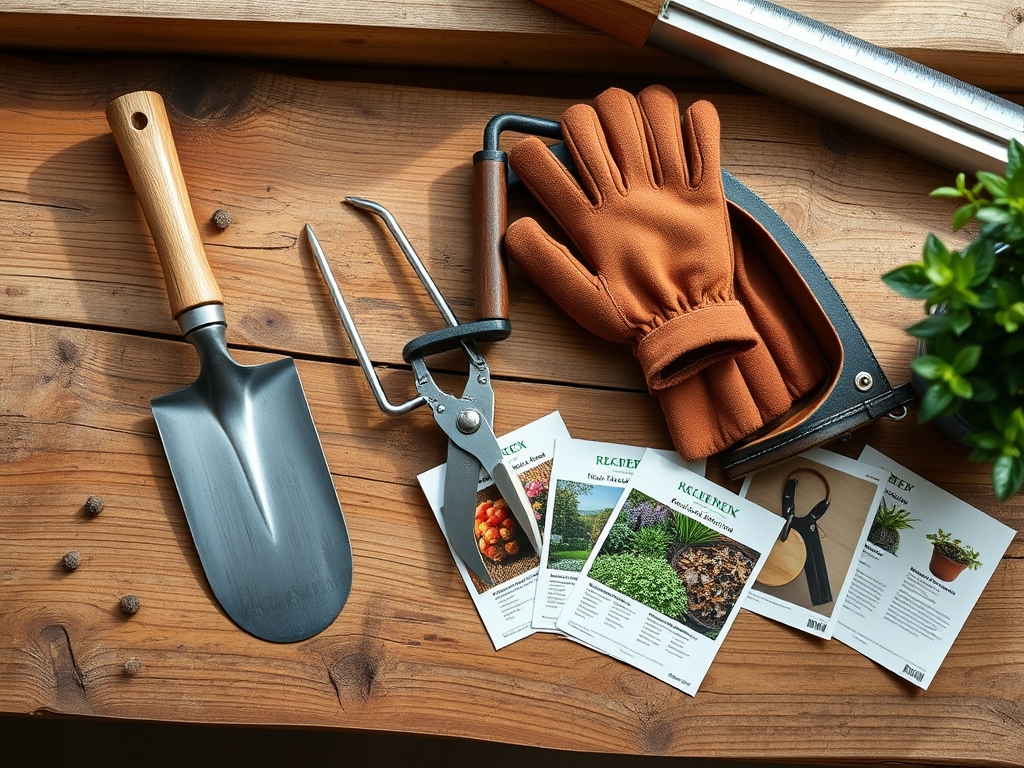
A mature lawn requires disciplined maintenance to maintain its density. Provide 1.5 inches of water per week, delivered in two deep sessions rather than daily sprinkles. Use a soil moisture meter to verify that water is penetrating at least 6 inches deep. When the grass reaches 3.5 inches, use a mower with sharpened blades to take it down to 3 inches. Never remove more than one-third of the leaf blade at once to avoid shocking the plant and halting photosynthesis. For manual weed extraction or checking root depth, a hori-hori knife is the superior tool. Use bypass pruners to trim any encroaching woody ornamentals that might be casting too much shade on the new turf.
The Yield:
While "yield" in turfgrass isn't measured in bushels, it is measured in biomass and carbon sequestration. A healthy lawn acts as a cooling mechanism and a filter for groundwater. To maintain "day-one" freshness and vigor, perform an annual core aeration. This process removes small plugs of soil to relieve compaction and increase oxygen diffusion into the rhizosphere. This mechanical intervention allows the roots to expand their surface area, improving the plant's ability to withstand drought and high-traffic stress.
FAQ:
What is the best setting for a Scotts seeder?
For most Tall Fescue blends, a setting of 3.5 to 4 is standard. For smaller seeds like Kentucky Bluegrass, drop to 2.5. Always perform a calibration test on a sidewalk first to measure the actual output per square foot.
How do I calculate the seed rate for my lawn?
Read the seed tag for the Pure Live Seed (PLS) percentage. Multiply the germination rate by the purity. Divide your target seeding rate (e.g., 6 lbs per 1,000 sq. ft.) by the PLS to find the actual bulk seed required.
Can I use a spreader for fertilizer and seed?
Yes, but you must recalibrate. Fertilizer granules have a higher bulk density and different aerodynamics than grass seed. A setting of 4 for seed may result in a much higher, potentially burning, delivery rate for concentrated nitrogen pellets.
Why is my seeder skipping spots?
This is usually caused by "bridging" in the hopper, where damp seed clumps together. Ensure your seed is bone-dry before loading. Also, check the agitator bar at the bottom of the hopper to ensure it is rotating freely.