6 Expert Steps to Clip a Topiary Hedge
Turgor pressure within the xylem provides the structural rigidity necessary for a precise cut; a dehydrated leaf will tear rather than shear. The scent of crushed chlorophyll and damp earth signals the start of the maintenance cycle. To maintain a crisp geometric form, you must master the specific steps to clip a topiary hedge using sharp, sterilized blades. Precision is not merely aesthetic. It is a biological necessity. Every incision triggers a hormonal response within the plant, shifting apical dominance to lateral buds. This process increases the density of the foliage canopy. In temperate zones, this work begins when the soil temperature reaches a consistent 55 degrees Fahrenheit. This temperature threshold ensures the root system is active enough to support the metabolic demands of new growth. Proper execution prevents the woody interior from becoming leggy or sparse. By following a rigorous technical protocol, you ensure the specimen maintains its structural integrity throughout the growing season. Failure to follow these steps leads to uneven light penetration and localized senescence.
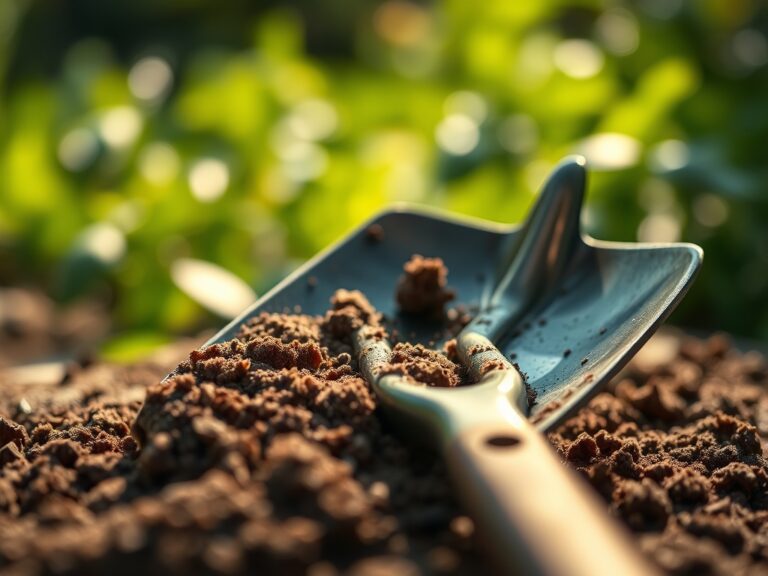
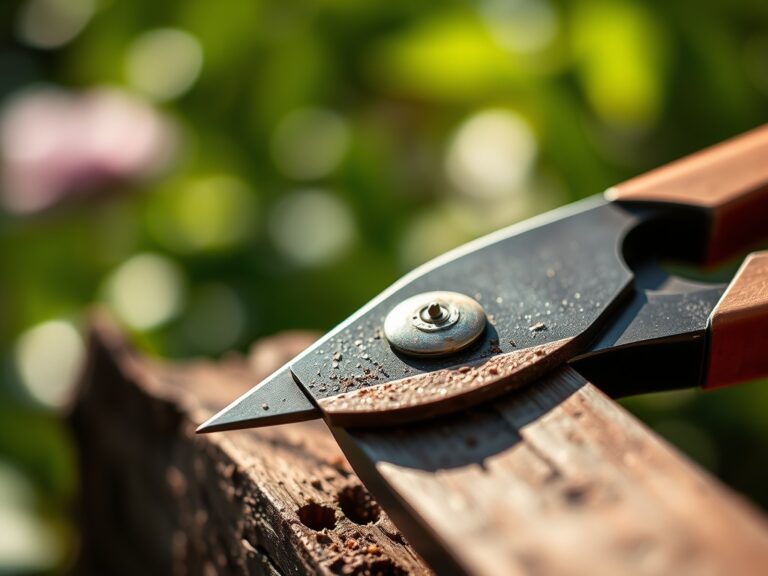
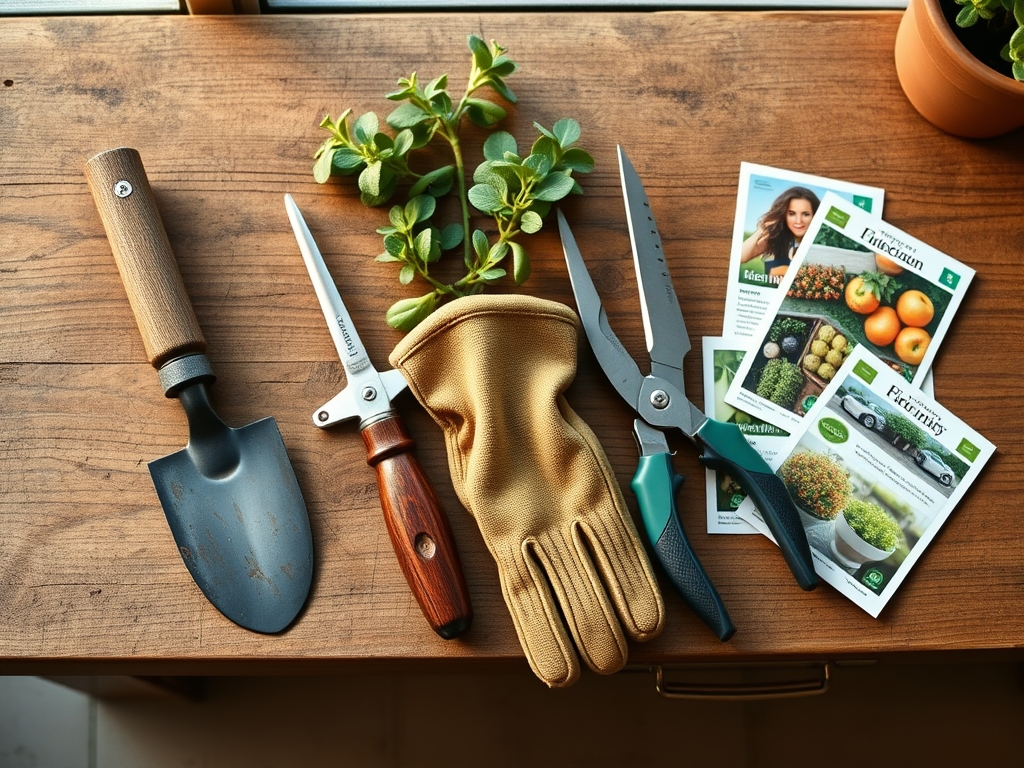
Materials:
Topiary health starts in the rhizosphere. The ideal substrate is a **friable loam** with a **Cation Exchange Capacity (CEC) above 15**. This ensures the soil can hold and exchange essential nutrients like potassium and magnesium. The soil pH should be maintained between **6.0 and 7.0** for most evergreen species such as Buxus or Taxus. If the pH drops below 5.5, aluminum toxicity can occur; if it rises above 7.5, iron becomes chemically locked and unavailable to the plant.
Nutrient management requires a balanced approach. During the active growing season, apply a slow release fertilizer with an NPK ratio of 10-10-10. Nitrogen (N) drives the vegetative flush required for dense hedging. Phosphorus (P) supports the lignification of stems. Potassium (K) regulates stomatal conductance and water retention. Supplement with chelated iron if the soil is alkaline to prevent interveinal chlorosis. Use a soil moisture meter to ensure the root zone remains at 60 percent field capacity.
Timing:
Hardiness Zones 5 through 9 provide the primary window for topiary work. The biological clock of the plant dictates two main pruning windows. The first occurs in late spring after the initial flush of growth has hardened off. The second occurs in mid to late summer. Do not clip within six weeks of the first expected frost date in your zone. Late season pruning stimulates tender new growth that lacks the cellular lignification to survive freezing temperatures.
The transition from vegetative to reproductive stages is critical. For flowering topiary, such as Lavender or Myrtus, clipping should occur immediately after the bloom cycle to prevent the plant from diverting energy into seed production. This redirection of carbohydrates ensures the plant focuses on root development and bud set for the following year. Monitor the photoperiod; as days shorten, the plant begins its descent into dormancy, and the rate of wound occlusion slows significantly.
Phases:

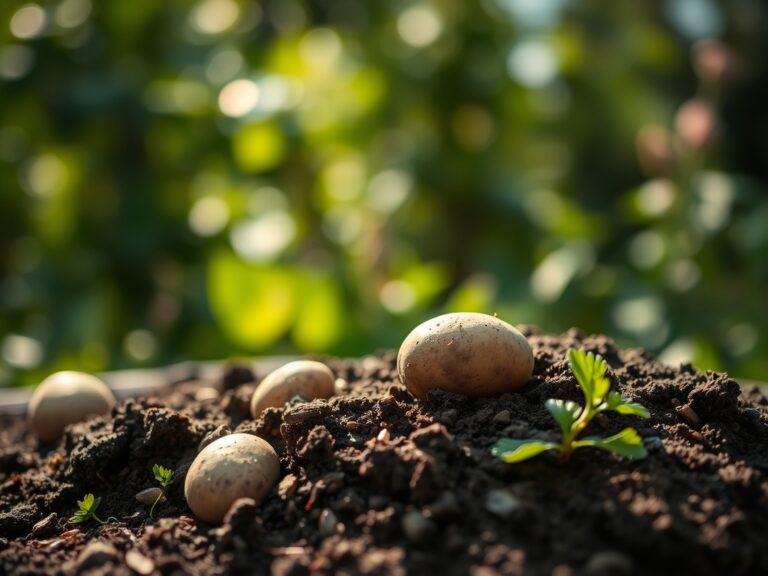
Sowing and Site Preparation
Before the first clip, the site must be optimized. Topiary requires full sun to partial shade, providing at least six hours of solar radiation daily. Dig a hole twice the width of the root ball to reduce soil bulk density. This allows for rapid lateral root expansion.
Pro-Tip: Incorporate mycorrhizal fungi into the planting hole. This mycorrhizal symbiosis expands the surface area of the root system by up to 100 times, significantly increasing the uptake of phosphorus and water.
Transplanting and Structural Training
When moving a specimen, preserve the integrity of the root hairs. Use a hori-hori knife to saw through any circling roots that could lead to girdling. Set the plant at the same depth it was in the nursery container. Firm the soil to remove large air pockets that cause root desiccation.
Pro-Tip: Use a central leader training method to establish the vertical axis. This utilizes phototropism, the plant's natural tendency to grow toward light, to create a strong, straight foundation for the topiary shape.
Establishing the Form
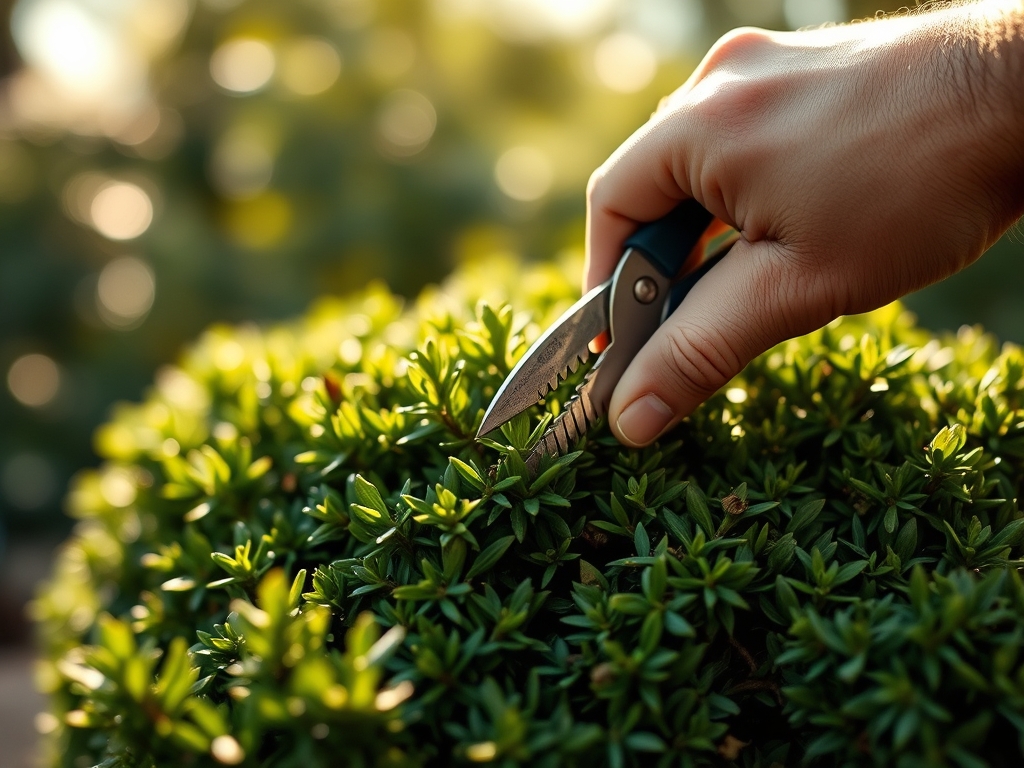
The first three years are dedicated to building density. Use bypass pruners to remove the terminal buds of the main branches. This process, known as "pinching," disrupts the flow of auxins from the apex.
Pro-Tip: Auxin suppression is the biological key to topiary. By removing the lead bud, you stop the hormone that inhibits lateral growth, forcing the plant to activate dormant axillary buds and create a thick, impenetrable surface.
The Clinic:
Physiological disorders often mimic disease but result from environmental stress.
- Symptom: Bronzing of foliage in winter.
Solution: This is often desiccation caused by frozen soil and high winds. Apply an anti-transpirant spray in late autumn to reduce moisture loss through the stomata. - Symptom: Interior needle drop or leaf yellowing.
Solution: Lack of light penetration. Thin out 10 percent of the outer canopy to allow photons to reach the inner branches, preventing localized senescence. - Symptom: Stunted growth and pale leaves.
Solution: Nitrogen chlorosis. Apply a high nitrogen foliar spray (20-0-0) for immediate uptake while adjusting soil NPK levels for long term recovery. - Symptom: Dieback on one side of the hedge.
Solution: Check for soil compaction or salt buildup from runoff. Aerate the soil to a depth of 6 inches and flush the area with 2 inches of water.
Maintenance:
Consistency is the hallmark of a master horticulturist. Provide 1.5 inches of water per week at the drip line. Avoid overhead irrigation to minimize the duration of leaf wetness, which can harbor fungal spores. Use a soil moisture meter twice weekly to verify that the moisture has reached a depth of 8 inches.
Clean your tools with a 10 percent bleach solution or 70 percent isopropyl alcohol between every plant. This prevents the mechanical transmission of pathogens. Sharpen your shears every 4 hours of use to ensure clean, surgical cuts that heal rapidly. Apply a thin layer of organic mulch, such as shredded bark, to the base of the hedge to regulate soil temperature and suppress weed competition. Keep the mulch 3 inches away from the trunk to prevent crown rot.
The Yield:
While topiary is primarily structural, the "yield" is the density of the foliage and the sharpness of the lines. For herbal topiary like Rosemary or Bay Laurel, harvest the clippings for culinary use. To maintain "day-one" freshness, submerge the cuttings in 40 degree Fahrenheit water immediately after clipping. This restores turgor pressure and slows the metabolic rate of the harvested tissue. For boxwood or yew, the yield is the architectural silhouette. Collect all clippings from the base of the plant to prevent the buildup of organic debris that can attract pests or harbor mold.
FAQ:
How often should I clip my topiary?
Clip twice per year. The first session occurs in late spring after the initial growth flush. The second session follows in mid-summer. This schedule maintains the geometric form without depleting the plant's carbohydrate reserves through excessive wounding.
What is the best tool for shaping?
Use high carbon steel manual shears for fine detail work and bypass pruners for structural branches. Manual tools provide greater control and cleaner cuts than electric trimmers, which can shred the leaf margins and cause browning.
Why is my hedge thinning at the bottom?
This is caused by "shading out." Ensure the top of the hedge is slightly narrower than the base. This "tapered" shape allows sunlight to reach the lower branches, maintaining photosynthetic activity and foliage density at the ground level.
Can I prune a topiary in winter?
Avoid pruning in winter. Open wounds during dormancy cannot undergo the chemical process of compartmentalization. This leaves the vascular system exposed to extreme cold and pathogens until the plant resumes active growth in the spring.