6 Simple Steps to Check Ladder rungs
The smell of damp earth and the crisp turgor of a healthy leaf define the operational environment of a master horticulturist. Success in the field requires more than just biological knowledge; it demands mechanical reliability when managing high-canopy maintenance. Before ascending to prune a fruit tree or inspect a vertical trellis, you must execute the six steps to check ladder rungs to ensure structural integrity. This protocol involves a tactile and visual assessment of every horizontal member to detect stress fractures, corrosion, or debris that compromises friction. A single failed rung during a late-season harvest can result in catastrophic mechanical failure. Professionalism in the garden starts with equipment safety; a ladder is as much a tool as a spade or a refractometer. By systematically verifying the stability of each step, you maintain the focus required for precision grafting and canopy thinning. Safety is the foundation of high-yield production.
Materials:
Optimal plant growth begins with a substrate characterized as a **friable loam**, consisting of roughly **40 percent sand, 40 percent silt, and 20 percent clay**. This texture facilitates a high **Cation Exchange Capacity (CEC)**, allowing the soil to retain essential nutrients like ammonium and potassium. For vegetative growth, maintain a **soil pH between 6.2 and 6.8** to ensure maximum bioavailability of micronutrients. Use a balanced **NPK ratio of 10-10-10** for general maintenance, or pivot to a **5-10-15 ratio** when encouraging root development and flowering. High phosphorus levels are critical for ATP production during the reproductive phase. Ensure the substrate has a bulk density of approximately **1.33 grams per cubic centimeter** to allow for adequate oxygen diffusion into the **rhizosphere**.
Timing:
Agricultural success is dictated by the Hardiness Zone and the specific frost-date window of your microclimate. In Zones 5 through 7, the spring planting window typically opens when soil temperatures consistently reach 55 degrees Fahrenheit. This thermal threshold triggers the "Biological Clock," shifting the plant from a dormant state into active cell division. Monitor the photoperiod closely; as daylight exceeds 12 hours, many species transition from vegetative growth to reproductive stages. Understanding the transition to senescence in late autumn is equally vital. Stop nitrogen applications at least six weeks before the first projected frost to allow tissues to harden, preventing ice crystal formation within the cellular vacuoles that causes lethal desiccation.
Phases:

Sowing
Place seeds at a depth exactly three times their diameter to ensure sufficient moisture contact while allowing the hypocotyl to reach the surface before energy reserves are depleted. Maintain a constant temperature of 70 degrees Fahrenheit for most temperate species.
Pro-Tip: Utilize bottom heat to stimulate faster germination. This works because increased kinetic energy at the root zone accelerates the enzymatic breakdown of the endosperm, providing immediate glucose for the emerging radicle.
Transplanting
When the first set of true leaves appears, move the seedlings into larger vessels. Ensure the new substrate is pre-moistened to prevent transplant shock, which occurs when a sudden drop in turgor pressure causes the plant to wilt.
Pro-Tip: Inoculate the root ball with mycorrhizal fungi. This establishes a symbiotic relationship where the fungi extend the root system's reach, increasing the surface area for phosphorus absorption by up to 1,000 percent.
Establishing
During the first 21 days in the ground, focus on root establishment over top-growth. Avoid high-nitrogen fertilizers that might encourage excessive foliage at the expense of a robust root architecture.
Pro-Tip: Practice auxin suppression by pinching off the terminal buds of young plants. This redirects the flow of the hormone auxin downward, stimulating lateral bud development and creating a bushier, more structurally sound plant.
The Clinic:
Physiological disorders often mimic infectious diseases but are rooted in environmental stress or nutrient imbalances.
- Symptom: Interveinal Chlorosis. The leaf veins remain green while the tissue between them turns yellow.
- Solution: This indicates a Magnesium deficiency. Apply a foliar spray of Epsom salts (Magnesium Sulfate) at a rate of one tablespoon per gallon of water.
- Symptom: Blossom End Rot. A dark, leathery sunken spot appears on the base of the fruit.
- Solution: This is caused by localized Calcium deficiency, often due to inconsistent watering. Maintain even soil moisture to ensure the steady transpiration of calcium ions through the xylem.
- Symptom: Leaf Scorch. The edges of the leaves turn brown and brittle.
- Solution: This is a sign of Potassium deficiency or excessive salt buildup. Flush the soil with deionized water and adjust the fertilizer to a higher K-value.
Fix-It: For general Nitrogen chlorosis (overall paling of older leaves), apply a quick-release urea-based fertilizer. Nitrogen is mobile within the plant, so the organism will naturally sacrifice older foliage to support new growth if levels are insufficient.
Maintenance:
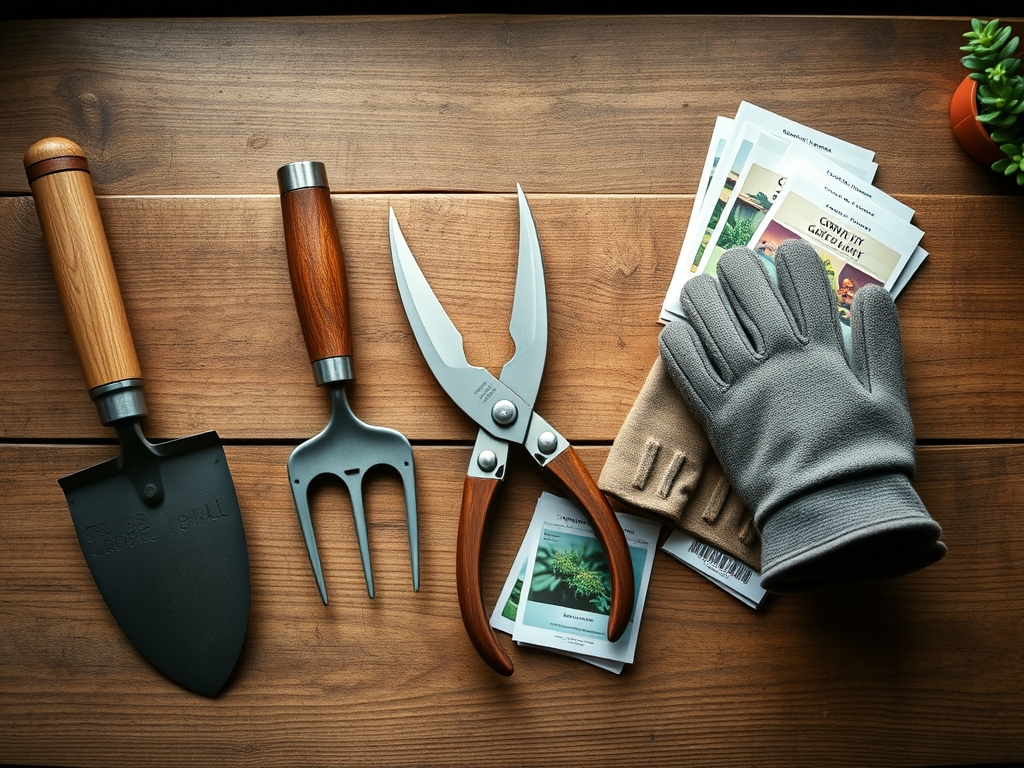
Precision maintenance requires professional-grade equipment and rigorous data tracking. Provide exactly 1.5 inches of water per week at the drip line, rather than at the base of the stem, to encourage outward root expansion. Use a soil moisture meter daily to ensure the substrate stays between 60 and 80 percent of field capacity. For pruning, use sharp bypass pruners to make clean cuts at a 45-degree angle just above a node; this prevents water from pooling on the wound and inviting fungal pathogens. A hori-hori knife is essential for weeding and measuring planting depths simultaneously. Always sanitize tools with a 70 percent isopropyl alcohol solution between plants to prevent the mechanical transmission of viral loads.
The Yield:
Harvesting is a race against enzymatic degradation. For most fruiting crops, harvest when the Brix level (sugar content) reaches its peak, typically measured with a handheld refractometer. Leafy greens should be harvested at dawn when turgor pressure is at its maximum, ensuring the crispest texture. To maintain "day-one" freshness, immediately move the harvest into a "pre-cooling" phase. Reducing the core temperature of the produce to 34 to 40 degrees Fahrenheit slows the rate of respiration, preserving the sugars and vitamins within the cellular structure for a longer shelf life.
FAQ:
How do I perform the steps to check ladder rungs?
Inspect each rung for cracks, bends, or loose rivets. Wipe away mud or oil that reduces traction. Apply firm downward pressure to each step to verify load-bearing capacity before climbing. Ensure the side rails are straight and the feet are level.
What is the ideal soil pH for most garden plants?
Most temperate plants thrive in a pH range of 6.2 to 6.8. This slightly acidic environment optimizes the solubility of minerals, ensuring that nutrients like nitrogen, phosphorus, and potassium are chemically available for root uptake via the rhizosphere.
How much water do my plants actually need?
Standard requirements are 1 to 1.5 inches of water per week. This should be delivered in deep, infrequent sessions to encourage deep root penetration. Use a rain gauge or moisture meter to verify the depth of water infiltration.
Why are my plant's older leaves turning yellow?
This is typically Nitrogen chlorosis. Because nitrogen is a mobile nutrient, the plant moves it from older, lower leaves to support new growth at the apex. Apply a high-nitrogen fertilizer to correct the deficiency and restore chlorophyll production.