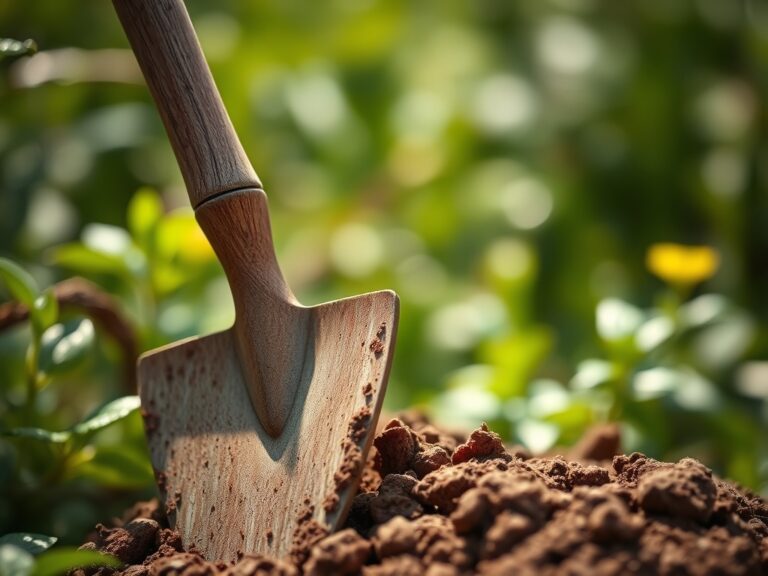
10 Expert Ways How to Sharpen a Lopper Blade
Crushed limestone and the sharp scent of bruised chlorophyll signal a productive day in the orchard; yet, a dull edge turns a clean cut into a jagged wound. When the vascular cambium of a woody perennial is crushed rather than sliced, the plant suffers from localized tissue necrosis and becomes an entry point for fungal pathogens. Learning how to sharpen a lopper blade is not merely a maintenance task; it is a fundamental requirement for maintaining plant turgor pressure and ensuring rapid wound occlusion. A clean cut allows the plant to seal its xylem and phloem vessels quickly, preventing the loss of moisture and vital nutrients. Dull blades require more physical force, which often leads to bark stripping and the destruction of the branch collar. This guide provides the technical precision required to restore a factory edge to your bypass or anvil loppers, ensuring every snip supports the structural integrity of your woody specimens.
Materials:
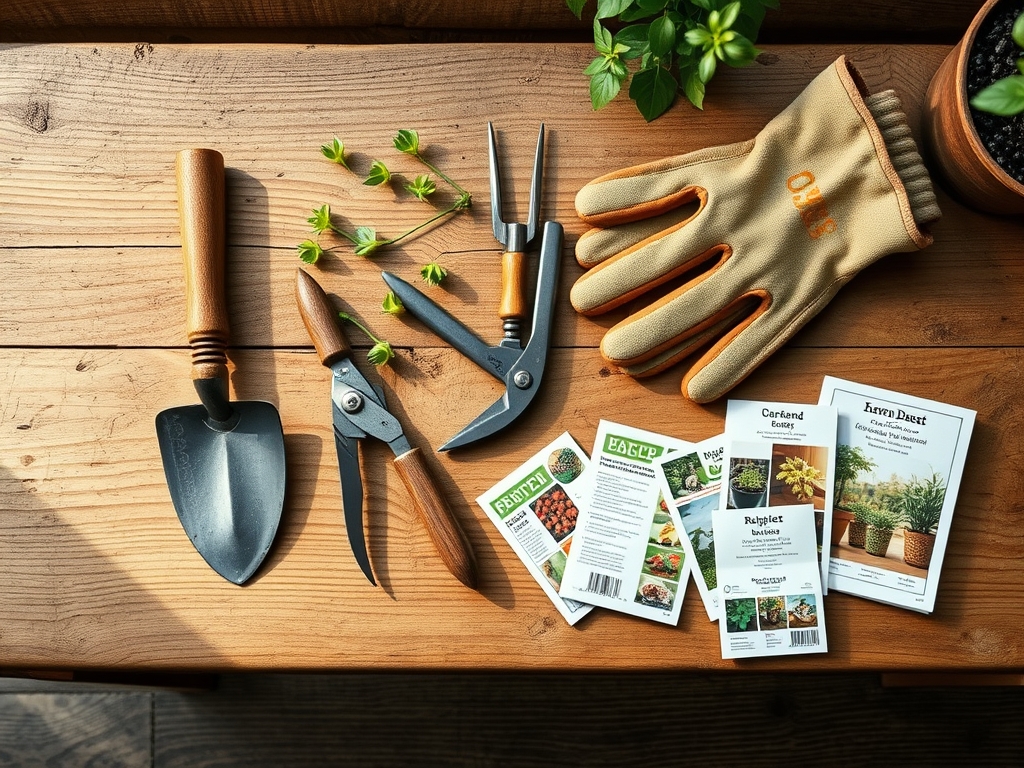
Before addressing the steel, one must understand the environment where these tools operate. Optimal plant health begins in a **friable loam** with a **Soil Cation Exchange Capacity (CEC) of 15 to 25**. For woody shrubs requiring heavy pruning, the soil should maintain a **pH of 6.0 to 6.5** to ensure the availability of macronutrients. A balanced **NPK ratio of 10-10-10** applied at the drip line supports the vigorous regrowth needed after heavy thinning. To sharpen your tools, you will need a **medium-grit whetstone (400 grit)**, a **fine diamond file (600 to 1000 grit)**, and **3-in-1 tool oil**. Use a **brass wire brush** to remove sap and oxidized metal from the blade surface before beginning the honing process.
Timing:
The ideal window for heavy pruning and tool maintenance aligns with Hardiness Zones 4 through 8 during the dormant season, typically between late January and early March. Pruning must occur before the "Biological Clock" triggers the transition from the dormant vegetative state to the reproductive stage. As temperatures rise above 45 degrees Fahrenheit, sap flow increases, and the plant prepares for bud break. Sharpening your loppers during the winter ensures you are ready to prune before the spring flush, which prevents the depletion of stored carbohydrates. Avoid pruning during the period of active senescence in late autumn, as this can stimulate new growth that will succumb to the first hard frost.
Phases:

Sowing the Edge: Cleaning and Inspection
Begin by scrubbing the blades with a solution of 70 percent isopropyl alcohol to dissolve resin and kill lingering pathogens like Erwinia amylovora. Inspect the blade for nicks or rolls in the steel. If the edge is severely compromised, use a mill file to reset the primary bevel. Always file in a single direction, moving away from your body at a 20-degree angle.
Pro-Tip: Maintaining a sterile blade prevents the mechanical transmission of systemic infections. This is critical because mycorrhizal symbiosis in the rhizosphere can be disrupted if the plant is forced to divert excessive energy toward fighting off a localized infection caused by dirty tools.
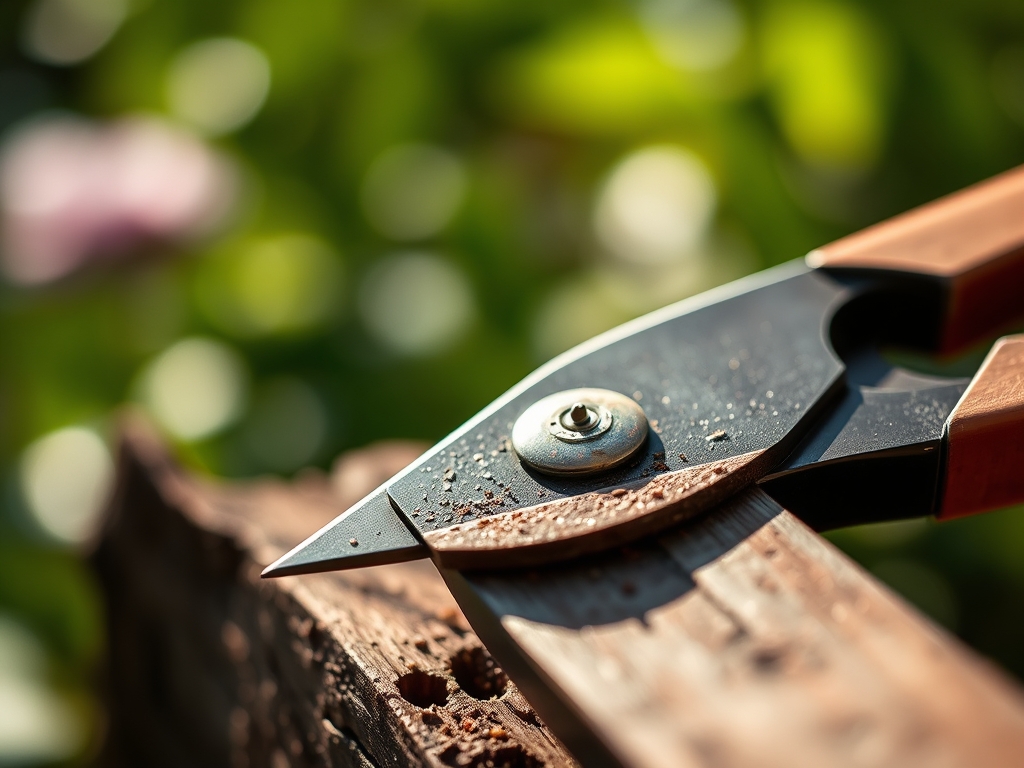
Transplanting the Angle: Honing the Bevel
For bypass loppers, only sharpen the outside beveled edge. Place the 400-grit whetstone against the factory bevel. Use smooth, curved strokes that follow the radius of the blade. Apply consistent pressure to ensure even metal removal. After approximately 15 to 20 strokes, switch to a 1000-grit stone to polish the edge and remove the "burr" or "wire edge" that forms on the flat side of the blade.
Pro-Tip: A polished edge reduces friction during the cut. This minimizes the physical stress on the plant's auxin suppression mechanisms, which are responsible for maintaining apical dominance and preventing the excessive sprouting of "water sprouts" or epicormic shoots.
Establishing the Finish: Lubrication and Tension
Once the edge is razor-sharp, apply a thin layer of mineral oil to prevent oxidation. Check the pivot bolt tension. If the bolt is too loose, the blades will "twist" the wood rather than cutting it; if too tight, the friction will cause premature wear on the steel and the user. The blades should pass each other with a clearance of no more than 0.005 inches.
Pro-Tip: Proper tool tension ensures a clean shear of the lignified cell walls. This precision allows the plant to utilize phototropism more effectively as it regrows, directing energy toward new, well-positioned structural branches rather than repairing crushed tissue.
The Clinic:
When plants exhibit poor recovery after pruning, it is often a sign of physiological stress.
- Symptom: Dieback at the pruning site.
- Solution: Check the sharpness of your loppers. A jagged cut leads to desiccation of the pith. Re-cut the branch at a 45-degree angle using a sharpened blade to promote water runoff.
- Symptom: Yellowing of new growth (Chlorosis).
- Solution: This is often a Nitrogen deficiency. Apply a high-nitrogen fertilizer (20-10-10) to stimulate chlorophyll production.
- Symptom: Bark tearing below the cut.
- Solution: Use the "three-cut method" for heavy limbs. This prevents the weight of the branch from stripping the bark and damaging the vascular cambium.
Fix-It: For Magnesium deficiency, which appears as interveinal chlorosis on older leaves, apply Epsom salts (Magnesium Sulfate) at a rate of 1 tablespoon per foot of plant height.
Maintenance:
Precision in the tool shed must be matched by precision in the field. Most woody perennials require 1.5 inches of water per week delivered at the drip line to maintain the hydraulic pressure necessary for healing. Use a soil moisture meter to ensure the root zone is saturated to a depth of 12 inches. When working in the field, carry a hori-hori knife for weeding and a pair of bypass pruners for smaller terminal buds. After every use, wipe your lopper blades with an oily rag to displace moisture and prevent the formation of iron oxide.
The Yield:
For those pruning fruit-bearing trees or flowering shrubs like Syringa, timing the harvest is essential for "day-one" freshness. Harvest flowers when the buds are in the "tight pigment" stage, showing color but not yet fully open. For fruit, monitor the Brix level (sugar content) using a refractometer. Once harvested, plunge stems into 40-degree Fahrenheit water to arrest the metabolic rate and slow down the process of senescence. This preserves the turgor of the petals and the crispness of the fruit.
FAQ:
How often should I sharpen my lopper blades?
Sharpen your blades every 50 to 100 cuts or whenever you notice the tool crushing the wood rather than slicing it. Regular honing with a 600-grit diamond file prevents the need for heavy grinding later.
Can I use a power grinder to sharpen loppers?
Avoid power grinders. The high RPMs generate excessive heat which can temper the steel, making it brittle or soft. Manual sharpening with a whetstone preserves the integrity of the metal and ensures a more precise 20-degree bevel.
What is the difference between bypass and anvil loppers?
Bypass loppers use two blades that slide past each other like scissors for clean, live-tissue cuts. Anvil loppers have one straight blade that closes against a flat metal base; these are strictly for dead, brittle wood only.
How do I remove rust from my lopper blades?
Use a brass wire brush or 0000 steel wool soaked in penetrating oil. Scrub in a circular motion to lift the oxidation without gouging the steel. Once clean, neutralize with isopropyl alcohol and apply a protective silicone lubricant.