9 Pro Tips How to Prep Seed Starting Areas
The scent of damp sphagnum peat and the gritty friction of perlite against your palms signal the start of the germination cycle. Success in the nursery depends on the turgor pressure of the emerging hypocotyl; a seedling that lacks hydraulic support will fail before it develops its first true leaves. Knowing how to prep seed starting areas requires a clinical focus on sanitation, thermal regulation, and moisture retention. You are not just planting; you are engineering a micro-environment where the rhizosphere can flourish without the interference of pathogenic fungi or anaerobic conditions. Precision at this stage dictates the metabolic rate of the plant for its entire life cycle. Every degree of soil temperature and every milligram of available phosphorus influences the transition from a dormant embryo to a vigorous seedling. This process demands a sterile workspace and a rigorous adherence to horticultural physics. If your medium is too dense, gas exchange fails. If your light intensity is too low, auxin accumulation causes leggy, weak stems. Professional results come from controlling these variables with surgical intent.
Materials:
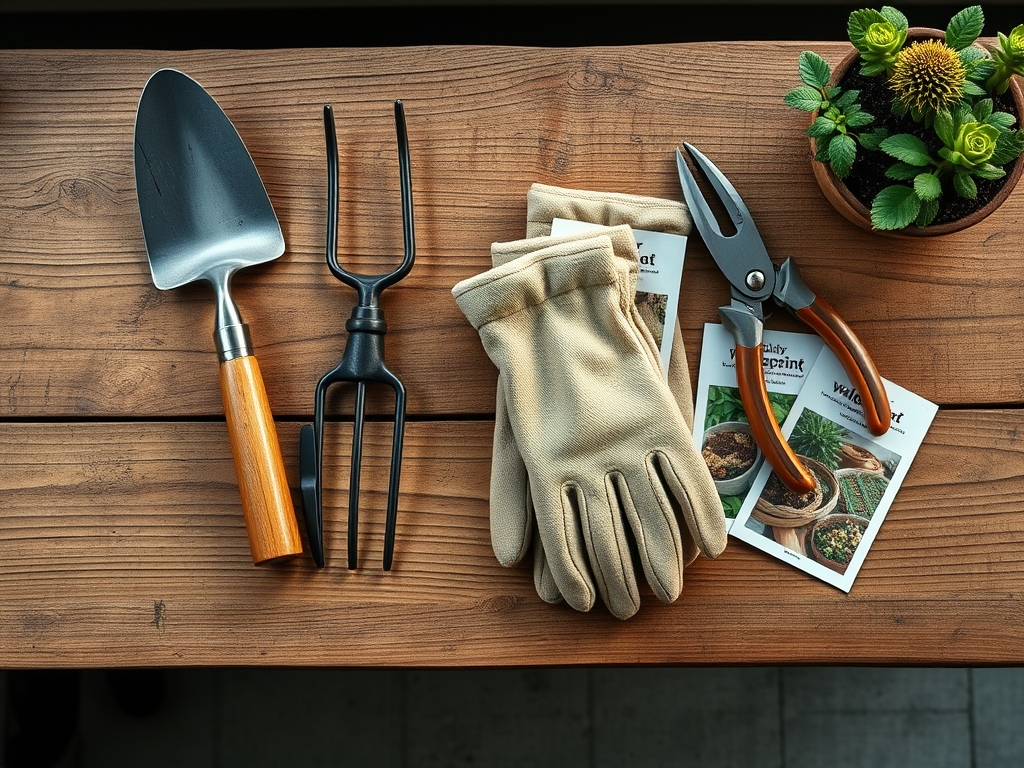
The ideal substrate for starting seeds is not soil; it is a sterile, **soilless medium** with a **pH between 5.8 and 6.2**. This range ensures maximum bioavailability of micronutrients. The physical texture must be a **friable loam** or a mix of **80 percent peat/coir and 20 percent perlite** to facilitate drainage while maintaining capillary action.
Avoid high-nitrogen fertilizers during the initial germination phase. An NPK ratio of 0-0-0 or 1-1-1 is preferred until the first set of true leaves appears. High salt indexes in "hot" fertilizers can desiccate delicate radicles. For advanced setups, integrate a substrate with a high Cation Exchange Capacity (CEC), such as vermiculite, which holds onto positively charged ions like Potassium (K+) and Magnesium (Mg2+). Ensure all trays and cells are scrubbed with a 10 percent bleach solution to eliminate Pythium spores.
Timing:
Timing is governed by the Hardiness Zone and the specific photoperiod requirements of the species. In Zones 5 through 7, most warm-season crops require a head start of 6 to 8 weeks before the last predicted frost. For cold-hardy brassicas, this window shifts to 10 to 12 weeks before the transplant date.
The "Biological Clock" of a plant is a response to light duration and thermal units. When a plant transitions from the vegetative stage to the reproductive stage, its nutritional needs shift from nitrogen-heavy to phosphorus-heavy. To prep seed starting areas effectively, you must synchronize your sowing dates so that the plant reaches the "transplant-ready" stage exactly when soil temperatures hit a consistent 60 degrees Fahrenheit (15.5 degrees Celsius). Premature sowing leads to root-bound stress and premature senescence, where the plant begins to shut down due to container constraints.
Phases:
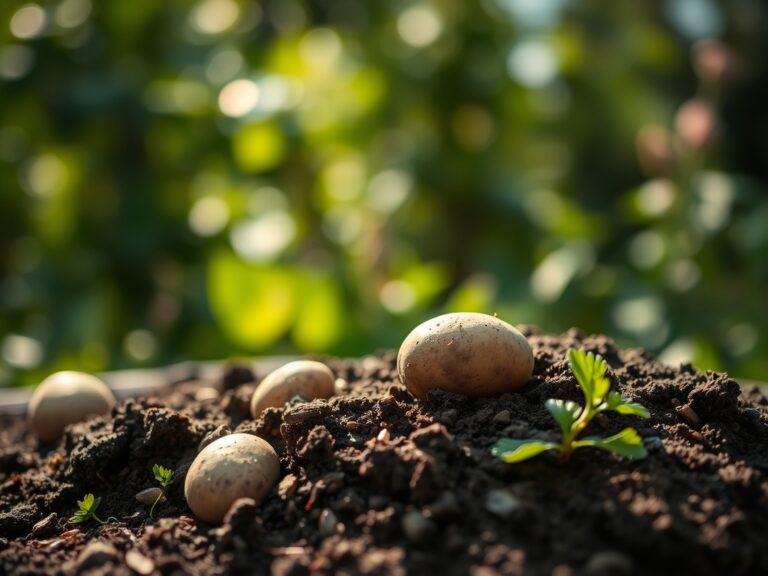
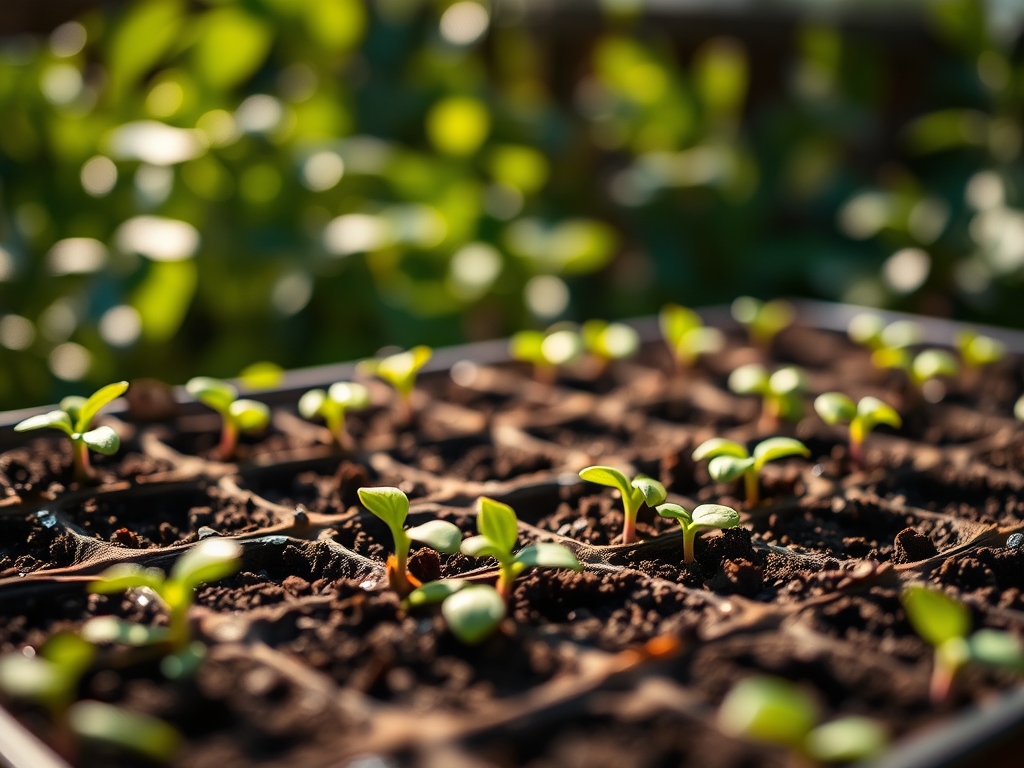
Sowing
Place seeds at a depth approximately two to three times their diameter. Tiny seeds, like those of Nicotiana, require light for germination and should be surface-sown. Maintain a constant substrate temperature of 70 to 75 degrees Fahrenheit using a waterproof heat mat.
Pro-Tip: Use bottom-watering techniques to prevent "damping off." This involves placing trays in a shallow reservoir of water until the surface of the medium feels moist. Biological Why: This prevents the displacement of seeds and reduces the humidity at the soil-air interface, which discourages the growth of fungal pathogens that thrive in stagnant surface moisture.
Transplanting
Move seedlings to larger containers once they exhibit two sets of true leaves. Handle the plant only by the cotyledons or the root ball; never touch the stem. The stem contains the vascular system (xylem and phloem), and even slight pressure can collapse these vessels.
Pro-Tip: Dust the root zone with mycorrhizal inoculants during the move. Biological Why: Mycorrhizal symbiosis establishes a fungal network that extends the reach of the root system, increasing the surface area for water and phosphorus absorption by up to 100 times.
Establishing
Before moving plants to the field, they must undergo "hardening off." Gradually expose them to outdoor conditions over 7 to 10 days. Start with 2 hours of dappled shade and increase exposure to direct UV light and wind daily.
Pro-Tip: Maintain high light intensity (at least 2,000 foot-candles) during the indoor phase to prevent "leggy" growth. Biological Why: High light levels suppress auxin accumulation in the apical meristem. When light is low, auxins migrate to the shaded side of the stem, causing cell elongation and weak, spindly growth known as phototropism.
The Clinic:
Monitoring the physiological health of your seedlings requires a diagnostic eye. Look for these specific disorders:
- Damping Off: Seedlings collapse at the soil line with a pinched, water-soaked stem. Solution: Increase airflow using a small fan and reduce watering frequency.
- Nitrogen Chlorosis: The oldest leaves turn pale yellow while the veins remain green. Fix-It: Apply a water-soluble fertilizer with a 5-1-1 NPK ratio at half-strength.
- Purpling of Under-leaves: Often indicates Phosphorus deficiency or cold stress. Fix-It: Raise the ambient temperature above 65 degrees Fahrenheit to improve phosphorus uptake.
- Edema: Small, crusty bumps on the leaf underside caused by water retention. Solution: Improve drainage and reduce humidity levels to below 60 percent.
- Tip Burn: Browning of leaf edges indicating salt buildup or calcium deficiency. Fix-It: Flush the substrate with distilled water to leach excess salts.
Maintenance:
Precision maintenance prevents the failure of the crop. Use a soil moisture meter to ensure the medium stays between 40 and 60 percent saturation. Once the plants are established in the field, they require 1.5 inches of water per week at the drip line to maintain turgor.
Keep a hori-hori knife sharpened for precise root pruning if a plant becomes slightly pot-bound. Use bypass pruners to remove any necrotic tissue or early flower buds that might sap energy from vegetative growth. Monitor the electrical conductivity (EC) of your runoff; an EC higher than 2.0 mS/cm indicates a dangerous accumulation of fertilizer salts that requires immediate leaching.
The Yield:
Harvesting is the final stage of the seed starting journey. For leafy greens, harvest in the early morning when turgor pressure is at its peak. This ensures the cell walls are fully hydrated, providing a crisp texture. For fruiting crops, use bypass pruners to leave a small portion of the pedicel attached; this prevents the entry of rot-inducing bacteria into the fruit shoulder.
To maintain "day-one" freshness, immediately "pre-cool" the harvest by submerging it in 40-degree Fahrenheit water or placing it in a high-humidity refrigeration unit. This rapid removal of field heat slows the metabolic rate and delays the onset of senescence.
FAQ:
What is the best temperature for starting seeds?
Most temperate species germinate best between 70 and 75 degrees Fahrenheit. Use a digital thermometer to monitor the substrate temperature. Temperatures above 85 degrees can induce thermal dormancy in certain species like lettuce.
How often should I fertilize seedlings?
Wait until the first true leaves appear. Use a balanced, water-soluble fertilizer at 25 percent strength every second or third watering. Avoid over-fertilizing, which leads to salt accumulation and root burn in the rhizosphere.
Do I need a grow light for seed starting?
Yes. Windowsills rarely provide the 12 to 16 hours of high-intensity light required. Position full-spectrum LED or T5 fluorescent lights 3 to 4 inches above the canopy to prevent stem elongation and ensure structural integrity.
How do I prevent mold on soil?
Ensure adequate ventilation and avoid over-saturation. If mold appears, sprinkle a thin layer of vermiculite or cinnamon on the surface and increase the distance between trays to improve gas exchange and lower localized humidity.