5 Quick Ways How to Clean Garden Kneeling Pads
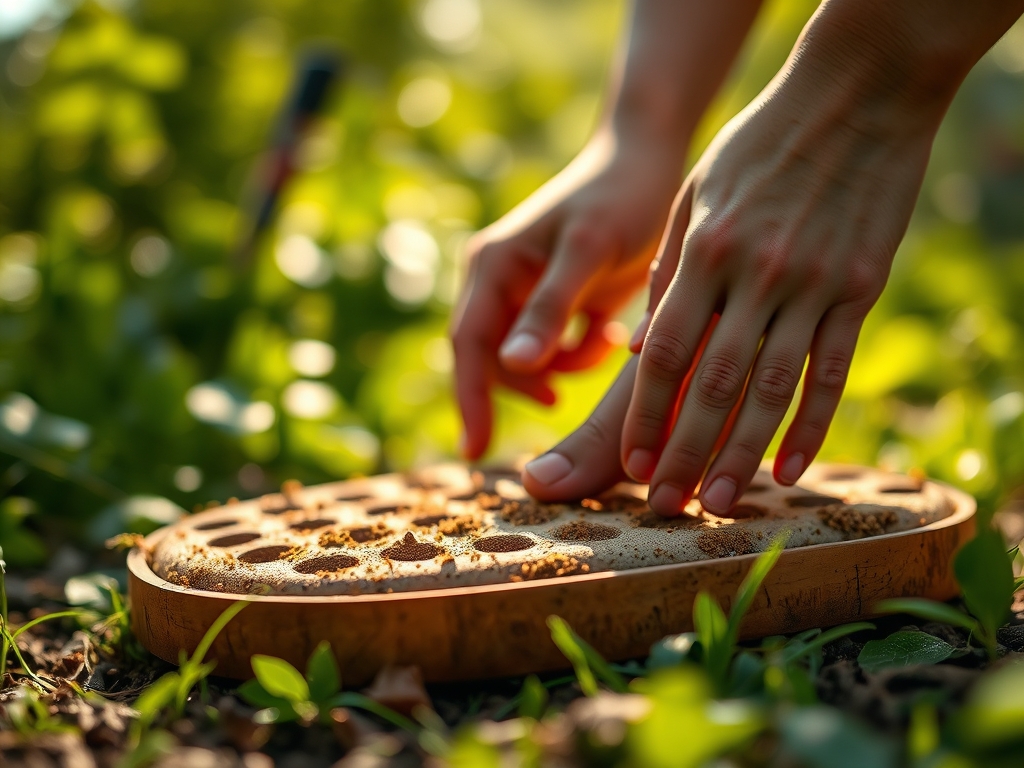
Damp earth emits a sharp, metallic scent as geosmin reacts with the air; the turgor pressure in a healthy Brassica leaf resists the touch of a calloused hand. Gardening is a tactile science that begins at the soil line. To maintain the integrity of your gear and prevent the cross-contamination of soil-borne pathogens, you must master how to clean garden kneeling pads. Proper maintenance ensures that your ergonomic supports do not become vectors for fungal spores or invasive weed seeds.
Materials:
Cleaning garden equipment requires an understanding of the chemical environment. If your kneeling pad has been resting on a **friable loam** with a **pH of 6.5**, it likely carries a high **Cation Exchange Capacity (CEC)**, meaning the clay and organic matter particles are tightly bound to the foam or rubber surface. To break these ionic bonds, you need a surfactant with a neutral pH to avoid degrading the polymer structure of the pad.
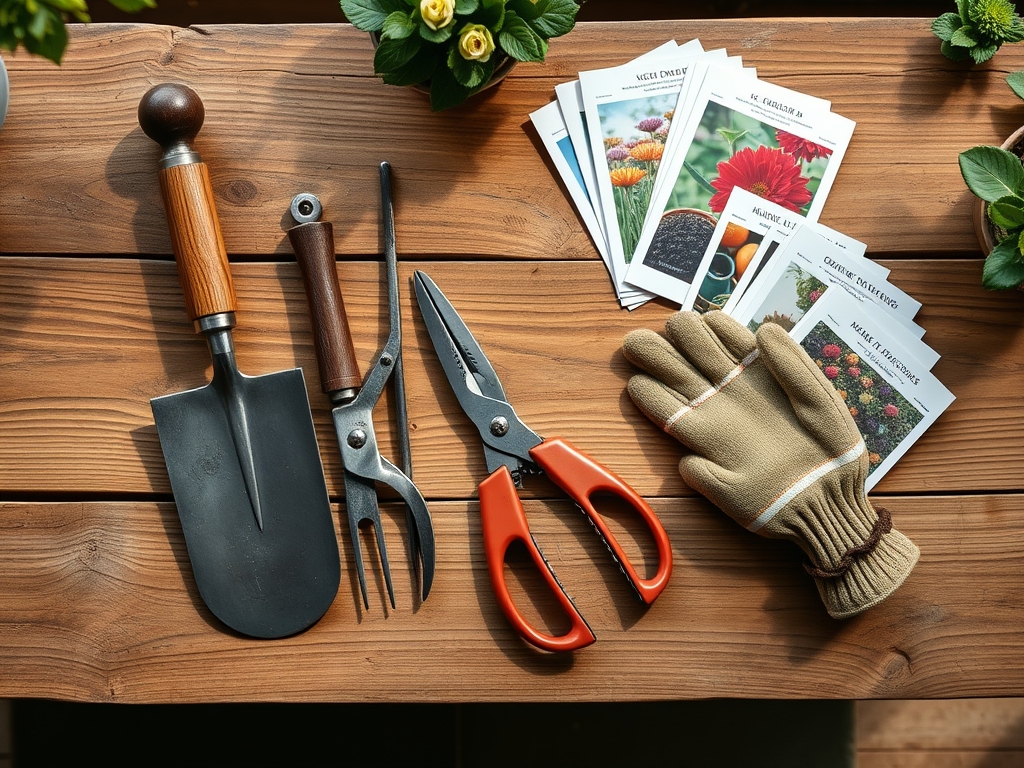
For pads used in high-nitrogen environments (where NPK ratios of 10-10-10 or higher are common), the surface may host concentrated salts. You will need a soft-bristled brush, a 5-gallon bucket of deionized water, and a mild enzymatic cleaner. Avoid petroleum-based solvents; these can cause the cellular structure of Ethylene Vinyl Acetate (EVA) foam to undergo premature senescence, leading to brittleness and loss of shock absorption.
Timing:
The maintenance cycle of your kneeling pad should align with your regional Hardiness Zone and the biological clock of your crops. In Zones 5 through 7, the transition from the vegetative stage to the reproductive stage in late summer often coincides with high humidity and increased fungal activity. This is the critical window for deep cleaning.
Perform a thorough sanitation routine before the first frost date. In Zone 8 and south, where the growing season is extended, cleaning should occur every 30 days to prevent the accumulation of thermophilic bacteria. Timing your cleaning during the plant's dormant phase ensures that you are not transporting active pathogens like Phytophthora during the peak growing season when plant immunity is focused on fruit production rather than defense.
Phases:

Sowing: The Mechanical Scrub
The first phase involves removing macroscopic debris. Use a dry brush to dislodge dried silt and clay. This prevents the formation of a muddy paste that can clog the pores of the foam. Focus on the textured side of the pad where grit accumulates.
Pro-Tip: Removing soil crusts prevents the unintended transport of dormant weed seeds. This is a form of biological containment; by stripping the pad of organic matter, you interrupt the seed's ability to find a suitable niche for germination via phototropism once it reaches a new location.
Transplanting: The Enzymatic Soak
Submerge the pad in a solution of warm water and enzymatic cleaner. This phase targets microscopic pathogens and organic residues. If you have been working in a rhizosphere rich with mycorrhizal symbiosis, the pad may carry fungal hyphae. A 20-minute soak breaks down the chitin in fungal cell walls.
Pro-Tip: Ensuring the pad is biologically inert prevents the spread of damping-off diseases to vulnerable seedlings. This protects the auxin suppression mechanisms in young plants, allowing for healthy apical dominance and root development.
Establishing: The Disinfection Rinse
Rinse the pad with a 10 percent bleach solution or a specialized horticultural disinfectant. This is necessary if you have worked near plants showing signs of viral infection or bacterial wilt. Rinse thoroughly with fresh water to ensure no residual chlorine affects the soil pH during your next session.
Pro-Tip: Disinfection maintains a sterile interface between the gardener and the soil. This prevents the disruption of the cation exchange in the soil when the pad is placed back on the ground, as chemical residues can alter the local salt index of the rhizosphere.
The Clinic:
Physiological disorders in your garden can often be traced back to contaminated tools. Monitor your gear for the following symptoms:
Symptom: Pad surface feels "slimy" or has a persistent musty odor.
Solution: This indicates anaerobic bacterial growth. Increase airflow and use a copper-based fungicidal spray to reset the surface microbiome.
Symptom: Foam is cracking or losing elasticity.
Solution: This is often caused by UV degradation or exposure to high-manganese soils. Apply a UV-protectant spray specifically designed for synthetic rubbers.
Fix-It: Nitrogen Chlorosis Contamination
If your pad has been used in a field with Nitrogen chlorosis (yellowing leaves due to N deficiency), it may be carrying pathogens that thrive in nutrient-stressed environments. Clean the pad with a high-phosphorus soap to neutralize any alkaline residues that might interfere with nutrient uptake when you move to a healthy bed.
Maintenance:
Consistency is the hallmark of a professional horticulturist. After every use, spray your kneeling pad with a hose to remove loose particulates. Store the pad in a vertical position to allow for maximum drainage; standing water promotes the growth of algae.
Use a soil moisture meter to ensure you are not kneeling on saturated ground, which compacts the soil and reduces oxygen availability for root respiration. When navigating the garden, keep your hori-hori knife and bypass pruners in a separate holster to avoid puncturing the pad's surface. A punctured pad creates a micro-environment for moisture to trap, leading to internal rot of the foam core.
The Yield:
While a kneeling pad does not produce a harvest, its cleanliness directly impacts the "day-one" freshness of your produce. Pathogens transferred from a dirty pad to your hands, and subsequently to your harvest, can cause rapid post-harvest senescence.
When harvesting delicate greens or fruits, ensure your pad is placed at least 12 inches away from the base of the plant to avoid compacting the feeder roots. A clean pad ensures that when you kneel to perform precision cuts with your bypass pruners, you are not introducing soil-borne contaminants to the fresh wound of the plant.
FAQ:
How often should I clean my kneeling pad?
Perform a mechanical scrub after every use. Conduct a deep enzymatic soak every 30 days or after working in soil with known pathogen issues to maintain a sterile gardening environment.
Can I use a pressure washer on foam pads?
No. High-pressure water can tear the cellular structure of EVA foam. Use a standard garden hose at a pressure below 60 PSI to avoid compromising the pad's ergonomic integrity.
Does vinegar work for disinfecting garden gear?
Vinegar is an acetic acid that can kill some bacteria, but it is not a registered disinfectant for hardy spores. Use a 10 percent bleach solution for guaranteed sanitation against persistent pathogens.
How do I dry a kneeling pad properly?
Air-dry the pad in a shaded area with high ventilation. Avoid direct sunlight, as UV radiation accelerates the breakdown of polymers, leading to cracking and loss of turgor in the foam material.