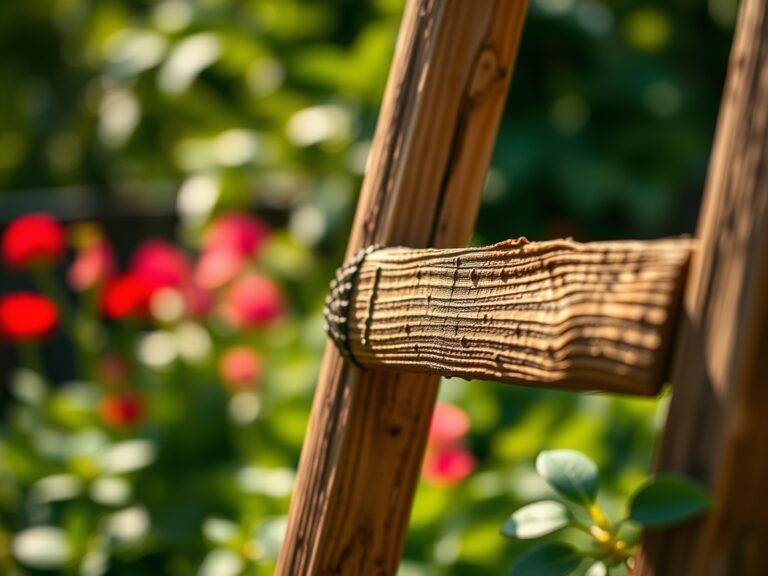
10 Quick Steps to Clean Shovel Blades
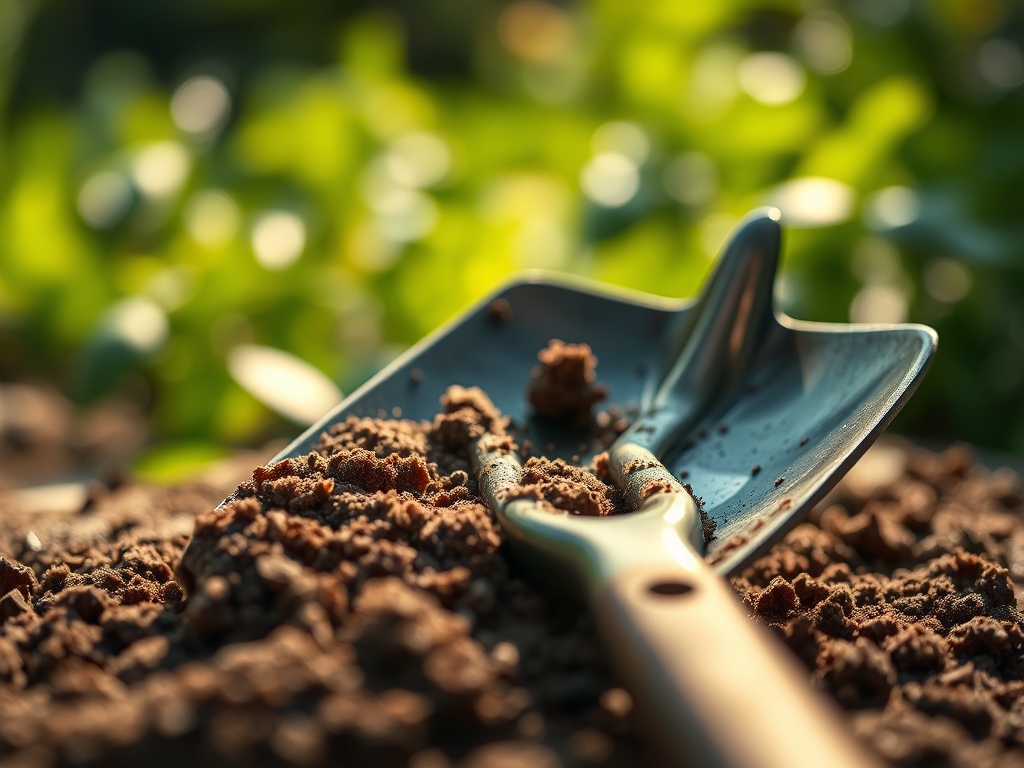
Damp earth clings to the forged steel of a spade; it carries the scent of geosmin and the weight of a season's labor. When soil adheres to metal, it creates a frictional drag that increases the physical effort required for every plunge into the rhizosphere. Neglected blades harbor pathogens like Fusarium or Phytophthora that can decimate the turgor pressure of a healthy crop within days. Maintaining a sharp, sterile edge is a fundamental requirement for any serious horticulturist. By following the precise steps to clean shovel blades, you ensure that your tools do not become vectors for disease or inefficiency. A clean blade slices through root systems with surgical precision; it minimizes tissue trauma and allows the plant to focus energy on recovery rather than defense. This process is not about aesthetics. It is about the mechanical integrity of the tool and the biological safety of the soil. Proper maintenance preserves the tempered edge and prevents the oxidation that leads to structural failure in high carbon steel implements.
Materials:
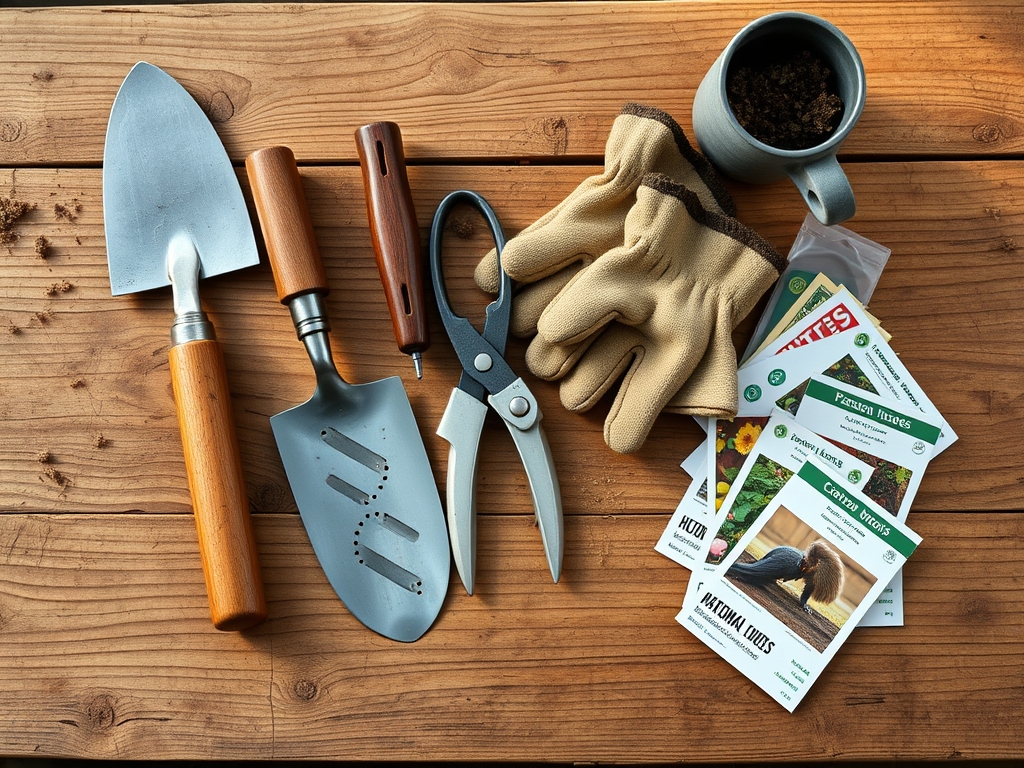
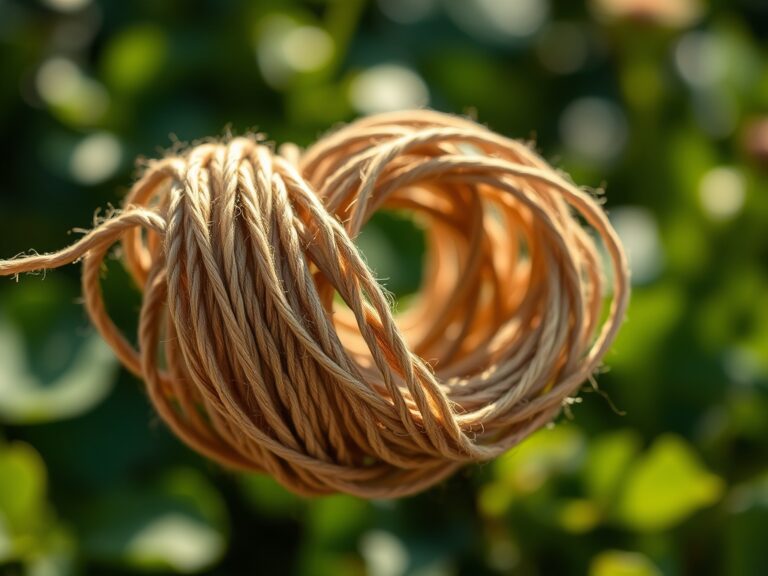
The substrate you interact with dictates the wear on your blades. A **friable loam** with a **pH of 6.5** is ideal for plant growth but contains abrasive silica that wears down metal. To maintain your tools, you need a dedicated cleaning station. Gather a stiff-bristled wire brush, coarse steel wool, and a bucket of dry masonry sand mixed with **one quart of biodegradable vegetable oil**. For disinfection, use a **10 percent bleach solution** or **70 percent isopropyl alcohol**. If you are working in soils with a high Cation Exchange Capacity (CEC), such as heavy clays, the mineral adhesion will be higher. You may need a putty knife to scrape away stubborn deposits. For nutrient management in the garden, ensure you have a balanced **10-10-10 NPK ratio** fertilizer on hand to replenish the beds after your clean tools have finished the heavy lifting.
Timing:
Hardiness Zones 4 through 8 require specific maintenance windows based on the first and last frost dates. Clean your blades thoroughly before the ground freezes in late autumn; this prevents moisture from being trapped against the metal during winter dormancy. The biological clock of the garden dictates that tool sanitation is most critical during the transition from the vegetative stage to the reproductive stage. As plants shift their energy toward flowering and fruiting, their immune responses can become taxed. Using a contaminated shovel during this period can introduce soil-borne pathogens at the worst possible moment. Aim to perform a deep clean every 14 days during the peak growing season or immediately after working in a known diseased area of the landscape.
Phases:
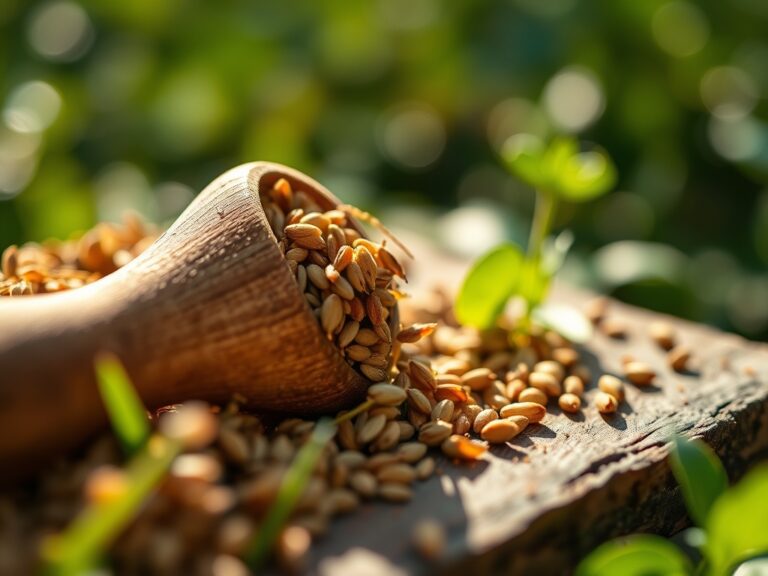
Sowing
Before the first seed hits the furrow, the shovel blade must be free of old organic matter. Use a high-pressure hose to remove bulk soil. This prevents the transfer of weed seeds or fungal spores into the fresh seedbed. A clean blade ensures that the seed depth remains consistent, which is vital for uniform germination.
Pro-Tip: Maintaining a sterile blade prevents the disruption of mycorrhizal symbiosis. When you introduce foreign pathogens via a dirty tool, you can kill the beneficial fungi that help roots absorb phosphorus.
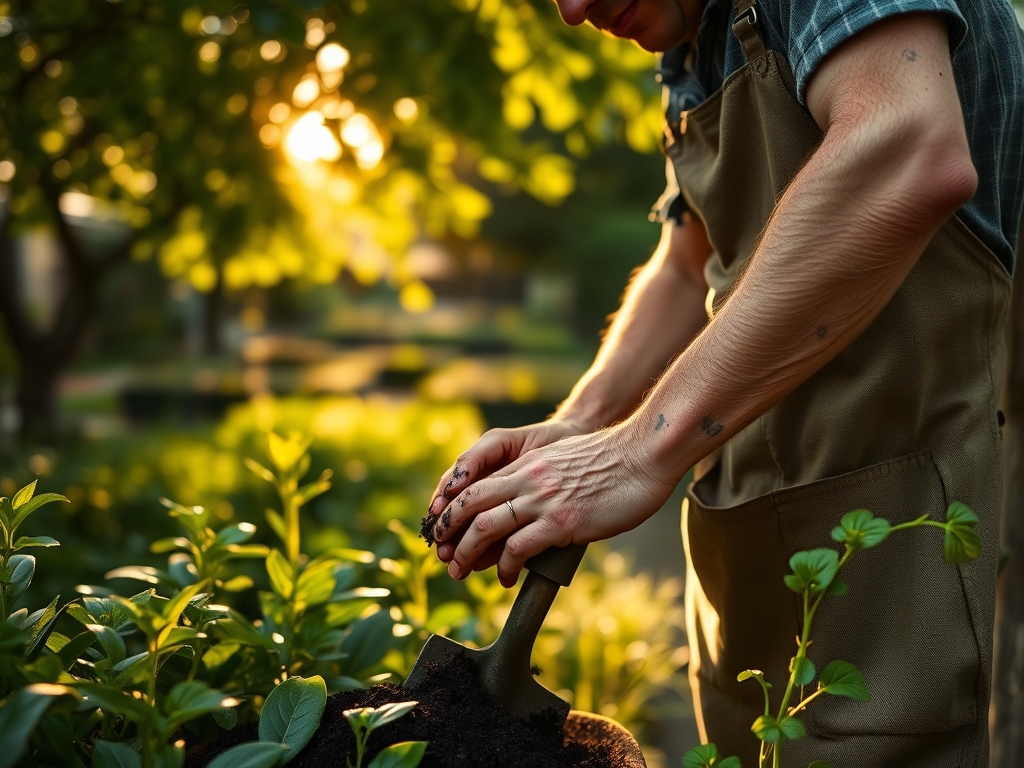
Transplanting
During transplantation, the shovel is used to create a hole that accommodates the existing root ball. A sharp, clean blade creates a smooth interface between the native soil and the transplant. This reduces the risk of air pockets that can lead to root desiccation.
Pro-Tip: A clean cut on a root triggers auxin suppression at the tip; this stimulates lateral root growth. Ragged cuts from a dull, dirty blade cause jagged wounds that are slow to callus and prone to rot.
Establishing
As the plant enters its establishment phase, use your shovel for edge maintenance and mulching. Ensure the blade is wiped down with an oily rag after every use to prevent flash rusting. The friction of the metal against the soil should feel effortless.
Pro-Tip: Smooth metal surfaces reduce the physical resistance of the soil. This prevents excessive compaction in the rhizosphere, allowing for better gas exchange and oxygenation of the root zone.
The Clinic:
Physiological disorders often stem from poor tool hygiene or soil imbalances. Observe the following symptoms and apply the necessary fixes.
Symptom: Nitrogen Chlorosis
The older leaves of the plant turn a pale yellow while the veins remain green. This indicates a lack of mobile nitrogen.
Solution: Apply a high-nitrogen fertilizer with an NPK of 21-0-0 (Ammonium Sulfate) to rapidly boost chlorophyll production.
Symptom: Bacterial Wilt
The plant collapses suddenly despite adequate soil moisture. This is often caused by bacteria introduced through contaminated tools.
Solution: Immediately remove the infected plant and sterilize all tools with isopropyl alcohol to prevent the spread to adjacent specimens.
Symptom: Blossom End Rot
A dark, sunken spot appears on the bottom of the fruit. This is a calcium deficiency often exacerbated by uneven watering.
Solution: Maintain consistent soil moisture levels and ensure the soil pH is between 6.2 and 6.8 to maximize calcium availability.
Maintenance:
Precision is the hallmark of a master horticulturist. Plants require 1.5 inches of water per week delivered directly at the drip line to ensure deep root penetration. Use a soil moisture meter to verify that the water is reaching a depth of 6 to 8 inches. For pruning tasks, use bypass pruners for living tissue to ensure a clean, scissor-like cut that heals quickly. A hori-hori knife is the preferred tool for weeding in tight spaces; its serrated edge must be kept as clean as your shovel blades. After each use, wipe your tools with a dry cloth and store them in a vertical rack to prevent moisture accumulation on the metal surfaces.
The Yield:
Harvesting is the culmination of the biological cycle. For root crops, use a clean garden fork or spade to gently lift the soil from the perimeter of the plant. This avoids mechanical damage to the harvest. For leafy greens, harvest in the early morning when turgor pressure is at its peak. This ensures the cell walls are fully hydrated, providing the best texture and shelf life. Post-harvest, keep produce in a cool, humid environment to slow the rate of senescence. A clean tool ensures that the "day-one" freshness is not compromised by soil contaminants or bruising.
FAQ:
How often should I clean my shovel blades?
Wash off bulk soil after every use. Perform a deep cleaning and disinfection every two weeks during the active growing season. If you encounter diseased plants, sterilize the blade immediately before moving to the next task.
What is the best way to prevent rust on garden tools?
After cleaning and drying the blade, coat the metal with a thin layer of mineral oil or vegetable oil. Storing tools in a bucket filled with oily sand also provides a protective barrier against atmospheric moisture.
Can I use soap and water to clean my tools?
Yes; a mild dish soap is effective for removing sap and organic debris. However, you must dry the tool completely and apply a protective oil coating afterward to prevent the oxidation of the steel.
Why is tool sharpness important for plant health?
Sharp blades create clean, precise wounds that the plant can seal quickly. Dull blades crush plant tissue, creating large, irregular wounds that are highly susceptible to fungal and bacterial infections during the healing process.