6 Best Wax for Metal Tools
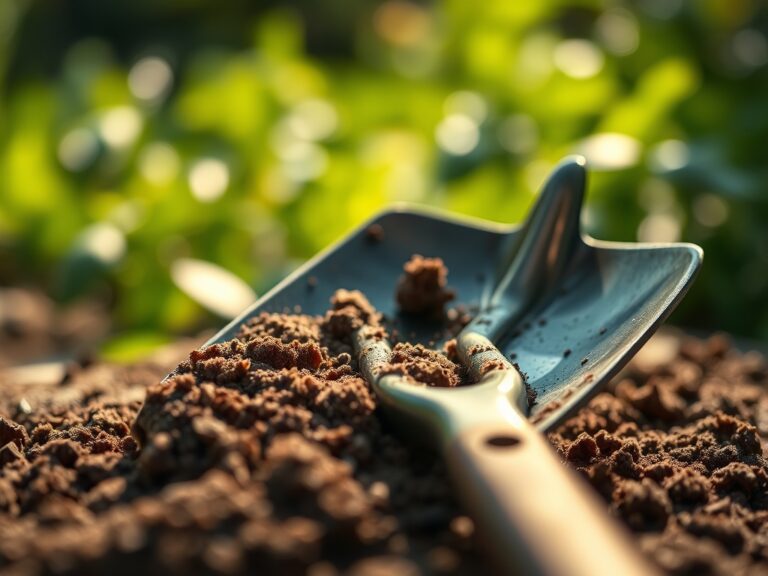
The smell of damp earth and the crisp turgor of a healthy leaf define a productive morning in the garden. For a serious horticulturist, the integrity of the equipment is as vital as the nutrient profile of the soil. Moisture is the enemy of carbon steel. Oxidation begins the moment a blade strikes a wet stem or rests in humid air. To prevent pitting and maintain a surgical edge, applying the best wax for metal tools is a non-negotiable protocol. A high-quality microcrystalline or botanical wax creates a hydrophobic barrier that seals the metal against the corrosive effects of sap and soil acids. Without this protection, a tool becomes a vector for pathogens.
Maintaining a clean, sharp edge ensures that every cut is a clean severance of the vascular tissue rather than a crush injury. When a tool is properly waxed, the friction coefficient drops. This allows the blade to glide through woody stems with minimal effort; preserving the plant's cambium layer and accelerating the healing process. Neglecting this step leads to jagged wounds that invite fungal spores and bacterial infections. A disciplined regimen of cleaning, honing, and waxing is the foundation of professional plant care.
Materials:

The performance of your tools is intrinsically linked to the environment where they work. In a garden with a **soil pH of 6.5 to 7.0**, the substrate is often a friable loam with a high **Cation Exchange Capacity (CEC)**. This soil holds moisture and nutrients like **Nitrogen (10-10-10 NPK ratio)** efficiently, but that same moisture accelerates metal oxidation. To combat this, you need a wax that can withstand the abrasive nature of silty or sandy soils.
Ideal waxes include carnauba-based formulas, beeswax blends, or synthetic microcrystalline waxes. These substances must be applied to surfaces that are free of debris. Use a stiff brush to remove soil particles from the rhizosphere contact points of your shovels and hoes. If you are working in heavy clay soils, the wax must be durable enough to prevent "clogging," where soil sticks to the metal and increases the physical load on the gardener.
Timing:
In Hardiness Zones 5 through 8, the transition from the dormant winter phase to the active vegetative stage in spring is the critical window for tool preparation. You must calibrate your maintenance schedule with the local frost-date windows. As the "Biological Clock" of the garden shifts and plants move from senescence to active growth, your tools will face their highest usage rates.
Apply the best wax for metal tools during the late winter thaw, typically 3 to 4 weeks before the last expected frost. This ensures that when the soil temperature reaches 55 degrees Fahrenheit and root activity begins, your equipment is ready. During the peak reproductive stages of mid-summer, reapply wax every 14 to 21 days to account for the increased exposure to acidic plant resins and high ambient humidity.
Phases:

Sowing
Before the first seed hits the furrow, your hand tools must be frictionless. Use a thin coat of wax on your trowel to ensure clean soil displacement. This prevents the compression of the soil structure, which can hinder the delicate emergence of the radicle.
Pro-Tip: Maintaining a smooth metal surface reduces the physical resistance against the soil. This prevents the disruption of mycorrhizal symbiosis in the upper soil layers; keeping the fungal networks intact for better nutrient uptake.
Transplanting
When moving a specimen from a nursery pot to the field, the hori-hori knife is the primary instrument. Waxing the blade ensures that the tool slices through circling roots without tearing. A clean cut promotes the rapid formation of lateral roots.
Pro-Tip: Sharp, waxed blades minimize tissue trauma. This prevents the overproduction of ethylene, a gaseous hormone that can trigger premature senescence or transplant shock in stressed seedlings.
Establishing
As plants enter the vigorous vegetative stage, pruning becomes necessary to manage the canopy. Bypass pruners must be waxed to prevent sap buildup. If sap hardens on the blade, it creates a gap between the cutting surfaces, leading to ragged tears in the bark.
Pro-Tip: Clean cuts allow the plant to focus its energy on auxin suppression in lateral buds; promoting apical dominance and a stronger vertical structure without wasting resources on wound repair.
The Clinic:
Even with the best tools, physiological disorders can occur in the garden. Use the following guide to identify and rectify common issues.
Symptom: Interveinal chlorosis on young leaves.
Solution: This typically indicates an Iron deficiency. Check the soil pH; if it is above 7.5, the iron is chemically locked. Lower the pH using elemental sulfur.
Fix-It: Apply a chelated iron foliar spray for immediate relief while the soil chemistry adjusts.
Symptom: Blossom end rot in Solanaceae species.
Solution: This is a Calcium transport issue, often caused by inconsistent moisture levels rather than a lack of Calcium in the soil.
Fix-It: Ensure consistent irrigation. Use a soil moisture meter to maintain a steady moisture level of 20% to 30% volumetric water content.
Symptom: Stunted growth and purple-tinted foliage.
Solution: Phosphorus deficiency. This often occurs in cold, wet soils where root uptake is sluggish.
Fix-It: Apply a high-phosphorus starter fertilizer (5-20-10 NPK) near the root zone to stimulate early development.
Maintenance:
Precision irrigation is the partner to precision tool care. Most garden crops require 1.5 inches of water per week delivered at the drip line to ensure deep root penetration. Use a soil moisture meter to verify that water is reaching a depth of 6 to 8 inches.
After every use, wipe your bypass pruners and hori-hori knife with a dry cloth. If you have been working with diseased material, dip the tool in a 10% bleach solution or isopropyl alcohol. Once dry, reapply a light layer of wax. This prevents the metal from reacting with oxygen and moisture during storage. Store tools in a dry, ventilated area, preferably hanging to avoid contact with concrete floors which can wick moisture.
The Yield:
Harvesting is the culmination of the biological cycle. For leafy greens, harvest in the early morning when turgor pressure is at its peak. This ensures the cells are fully hydrated, providing a crisp texture. Use a waxed harvesting knife to make a single, swift cut.
For fruiting crops like tomatoes or peppers, use bypass pruners to snip the pedicel. Never pull the fruit, as this can damage the main stem and create an entry point for pathogens. Post-harvest, move the produce to a cool, shaded area immediately. Reducing the "field heat" slows down the respiration rate; preserving the sugars and nutrients for "day-one" freshness.
FAQ:
Which wax is best for carbon steel tools?
A microcrystalline wax is superior because it provides a hard, long-lasting finish that does not become tacky in high heat. It effectively seals the metal pores against moisture and acidic plant saps that cause rapid oxidation and pitting.
Can I use beeswax on my garden shears?
Yes, beeswax is an effective, non-toxic organic option. It provides excellent water resistance and is safe for tools used on edible crops. However, it may require more frequent reapplication than synthetic waxes during periods of heavy use or high humidity.
How often should I wax my hori-hori knife?
In active use, wax the blade every two weeks. If you are working in highly abrasive, sandy soils or dealing with resinous plants, daily application after cleaning is recommended to maintain the protective barrier and ensure smooth soil penetration.
Does waxing tools prevent the spread of plant diseases?
Waxing alone does not disinfect tools. However, a waxed surface is smoother and less porous, making it harder for pathogens to adhere. You must still sanitize tools with alcohol before waxing if you have worked with diseased plant tissue.