6 Vital Steps to Replace Lopper Springs
The smell of damp earth after a spring thaw signals the immediate need for structural pruning to manage canopy density. When the turgor pressure of a healthy woody stem resists the blade, a failed return spring on your bypass pruners or loppers halts the workflow. Efficiency in the orchard depends on mechanical integrity. Understanding the steps to replace lopper springs ensures your cuts remain precise, preventing jagged wounds that invite fungal pathogens into the vascular cambium. A sluggish tool leads to crushed xylem and phloem tissues; this compromise in the plant's circulatory system can cause localized senescence or limb dieback. Maintaining high-tension recoil allows for clean, swift decapitation of water sprouts and suckers. By restoring the mechanical spring force, you ensure the blade clears the bypass hook with every stroke, maintaining the 0.5 millimeter tolerance required for surgical horticultural work. Prepare your workspace with the same precision you apply to a soil amendment plan; a clean bench prevents the loss of small tension pins and keeps grit out of the pivot assembly.
Materials:
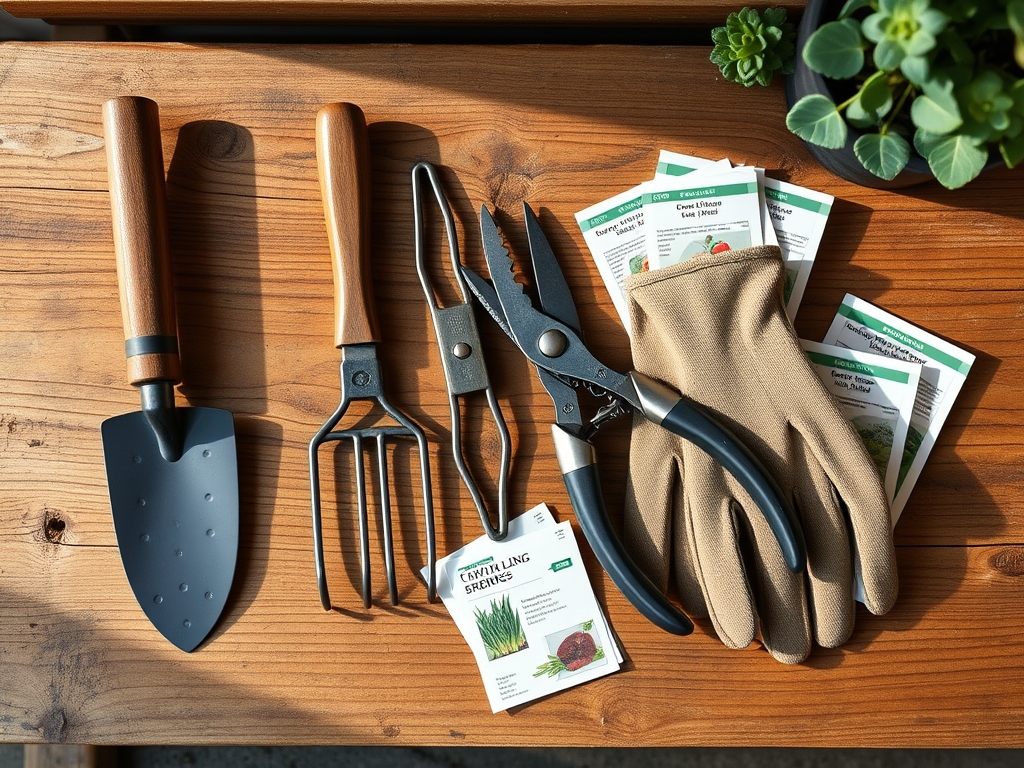
Before addressing mechanical repairs, evaluate the environment where your tools operate. Ideal soil for the woody perennials you are pruning is a **friable loam** with a **Cation Exchange Capacity (CEC)** between 15 and 25. This texture allows for optimal root respiration and moisture retention. Maintain a soil pH between **6.2 and 6.8** to ensure maximum bioavailability of macronutrients. For established shrubs, apply a granular fertilizer with an **NPK ratio of 10-10-10** in early spring. If you are managing heavy fruit production, shift to a **5-10-15 ratio** to prioritize phosphorus and potassium for reproductive health over vegetative surge. Your repair kit must include a replacement coil or volute spring, a 10mm wrench, lithium-based grease, and a wire brush for removing oxidized sap.
Timing:
The window for heavy pruning and tool maintenance is dictated by Hardiness Zones and the Biological Clock of the plant. In Zones 5 through 7, the optimal period for structural pruning is late dormancy, typically between February and March, before the first frost-free date. This timing precedes the "bud break" phase when the plant transitions from its metabolic rest to a state of high auxin production. Pruning during this transition allows the plant to seal wounds rapidly as sap flow increases. Avoid mechanical work during the reproductive stage; diverting energy to wound healing during flowering can significantly reduce the season's yield. Aim to complete all lopper repairs before the photoperiod reaches 12 hours of daylight, as this triggers the rapid expansion of leaf primordia.
Phases:

### Sowing the Mechanical Foundation
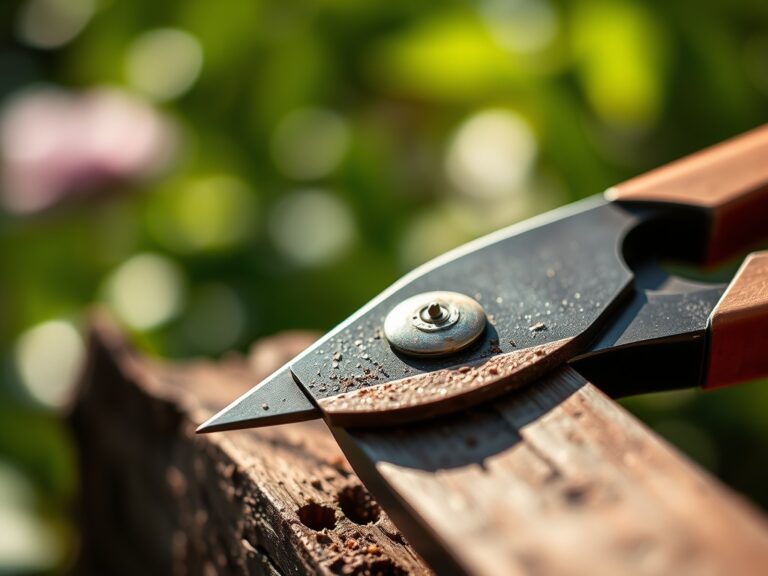
Begin by stabilizing the loppers in a vice or on a flat surface. Use a **hori-hori knife** to scrape away hardened sap and resin from the pivot bolt. Remove the central nut and carefully slide the blades apart. This exposes the internal housing where the spring sits. If the old spring has snapped, use needle-nose pliers to extract the remnants from the recessed anchor holes. Clean the entire assembly with a solvent to ensure no grit interferes with the new spring’s seat.
Pro-Tip: Proper lubrication reduces friction-induced heat. This is vital because excessive heat during tool use can cause micro-cauterization of the plant's rhizosphere-adjacent stems, inhibiting the natural callusing process.
Transplanting the New Spring
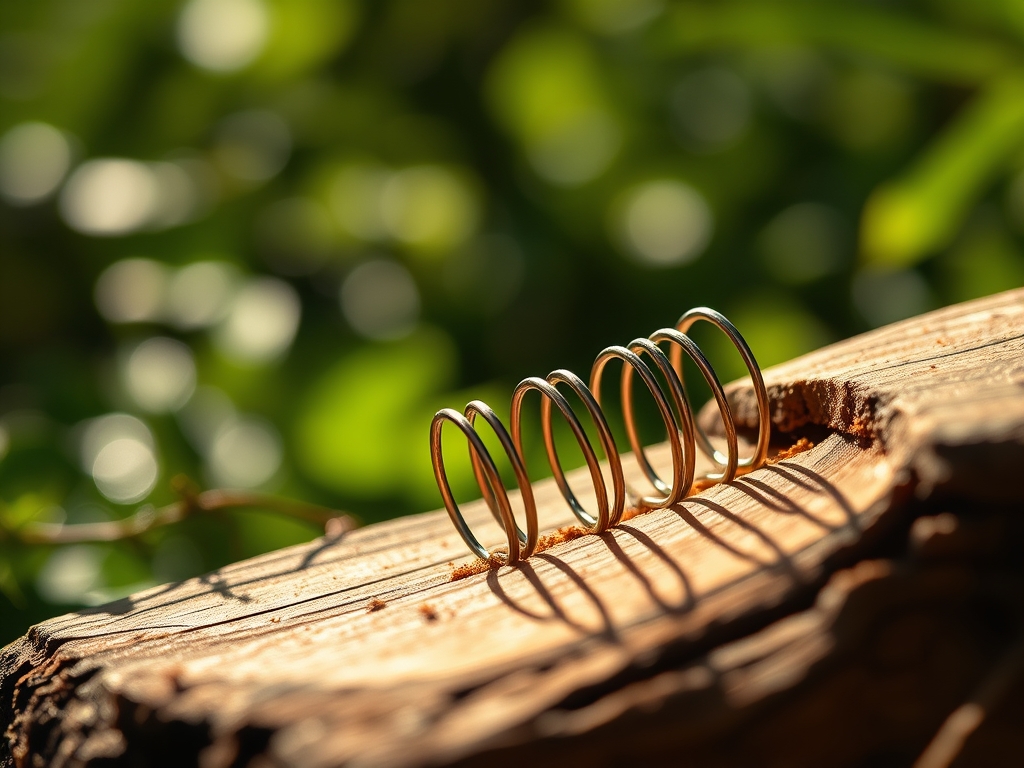
Align the new spring with the tension pegs on the handles. For volute springs, ensure the wider base is seated firmly against the handle chassis. For coil springs, the hooks must be fully engaged in the drilled apertures. Reassemble the bypass blades, ensuring the bevel edge of the cutting blade is facing the correct direction. Tighten the pivot bolt until there is no lateral play, but the handles still move fluidly under the spring's tension.
Pro-Tip: Use a soil moisture meter to check the ground before pruning. High soil moisture increases turgor pressure in the plant; pruning at peak turgor ensures the cleanest separation of cells at the cellular wall level.
Establishing Tension and Alignment
Test the recoil action five to ten times. The handles should return to the fully open position without hesitation. Apply a thin layer of mineral oil to the blades to prevent oxidation. Check the alignment by closing the blades on a piece of paper; a clean shear indicates the pivot tension is correct. If the paper tears, the blades are too loose or the spring is not providing enough counter-resistance to keep the blades flush.
Pro-Tip: Maintaining sharp, spring-loaded tools prevents "crushing" injuries to the plant. Crushed tissue lacks the structural integrity to support mycorrhizal symbiosis during the healing phase, making the plant more susceptible to soil-borne pathogens.
The Clinic:
Diagnosing physiological disorders in the field requires a sharp eye for nutrient and mechanical stress.
- Symptom: Interveinal Chlorosis.
- Solution: This is often a sign of Magnesium deficiency. Apply Epsom salts (magnesium sulfate) at a rate of 1 tablespoon per foot of plant height to restore chlorophyll production.
- Symptom: Necrotic Leaf Margins.
- Solution: Usually indicates Potassium deficiency or salt burn. Flush the soil with 2 inches of water and adjust your NPK ratio to a lower salt index formula.
- Symptom: Stunted Terminal Growth.
- Solution: This suggests Nitrogen chlorosis. Incorporate organic matter with a high C:N ratio or apply a quick-release 20-0-0 fertilizer to stimulate vegetative expansion.
- Symptom: Blossom End Rot.
- Solution: This is a Calcium transport issue, often caused by inconsistent watering rather than a lack of soil calcium. Use a soil moisture meter to maintain a consistent 1.5 inches of water per week.
Maintenance:
Post-repair maintenance is as critical as the repair itself. After every use, wipe the blades with a 70 percent isopropyl alcohol solution to prevent the spread of tobacco mosaic virus or other systemic pathogens. Apply 1.5 inches of water per week at the drip line of your plants to ensure they have the hydration necessary to recover from pruning cuts. Use bypass pruners for stems under 0.5 inches and your newly repaired loppers for limbs up to 1.5 inches. For larger wood, transition to a pruning saw to avoid over-stressing the lopper spring and pivot bolt. Store tools in a low-humidity environment to prevent the spring from losing its temper due to corrosion.
The Yield:
Harvesting at the peak of physiological maturity ensures the highest nutrient density and flavor. For pome fruits, harvest when the base color transitions from green to yellow-green and the fruit detaches with a slight upward twist. For leafy greens, harvest in the early morning when turgor is at its maximum. This "day-one" freshness is preserved by immediately cooling the produce to slow down the rate of respiration and ethylene production. Use your sharp, spring-loaded tools to make clean harvests; jagged cuts on the parent plant can lead to site-specific senescence and reduced secondary yields.
FAQ:
How do I know if my lopper spring needs replacing?
If the handles do not return to the open position automatically or if the spring shows visible signs of oxidation and metal fatigue, replacement is necessary. Sluggish recoil increases hand fatigue and decreases cutting precision.
Can I use any spring for my loppers?
No. You must match the spring type (volute, coil, or leaf) and the specific tension strength to your tool's model. Incorrect tension can cause the blades to bypass improperly, damaging the tool and the plant.
What is the best way to clean sap off lopper blades?
Use a stiff wire brush and a solvent like WD-40 or specialized sap remover. Removing resin reduces friction and prevents the spring from working harder than necessary to open the blades.
Why does my new spring feel too stiff?
New springs require a "break-in" period of 20 to 50 compressions. If stiffness persists, check the pivot bolt; it may be over-tightened, creating mechanical resistance that fights the spring's natural recoil.