9 Basic Ways How to Prep Soil for Potatoes
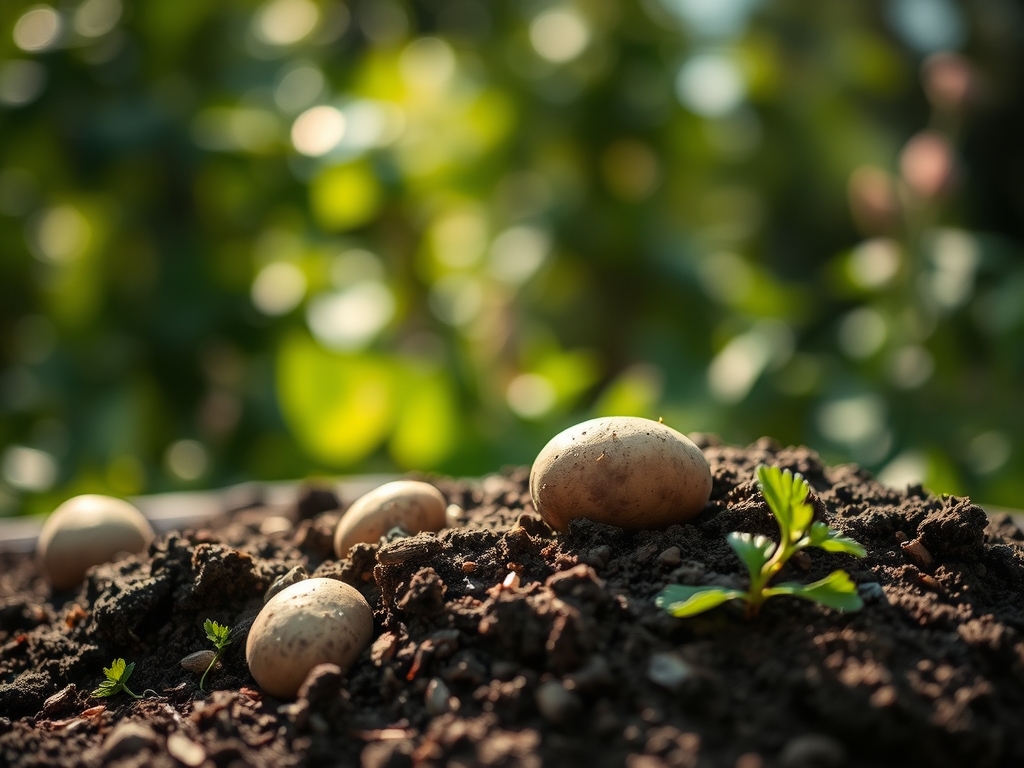
The scent of damp, disturbed earth mixed with the sharp metallic tang of a cold spade signals the start of the potato season. Success in the subterranean world of tubers is not a matter of luck; it is a calculation of soil density and chemical equilibrium. Knowing how to prep soil for potatoes requires an understanding of the rhizosphere where these modified stems expand. When the soil reaches a consistent 50 degrees Fahrenheit, the microbial activity begins to surge. You are looking for a substrate that yields to the touch but maintains enough structure to support the plant. A potato leaf with high turgor pressure is the result of a root system that can easily navigate the soil architecture. If the ground is too compact, the tubers will be stunted and misshapen. If the chemistry is off, you risk scab or nutrient lockout.
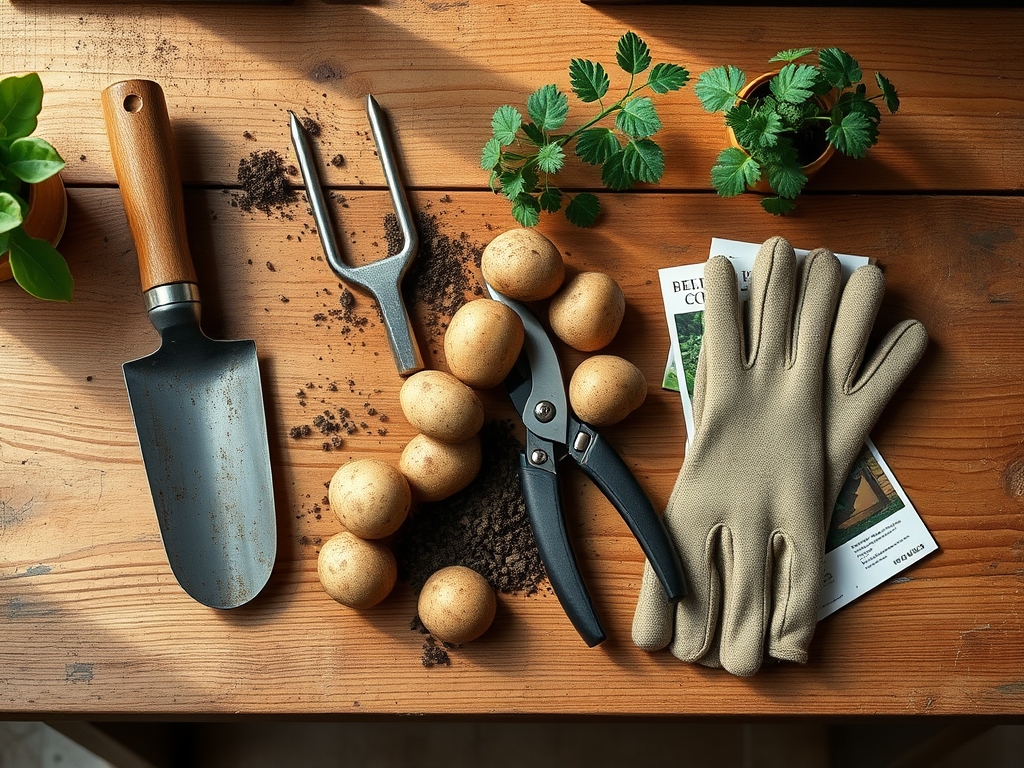
Materials:
The ideal substrate is a friable loam with a high concentration of organic matter to facilitate drainage. Potatoes are heavy feeders that require specific chemical balances to prevent common physiological disorders. Aim for a soil pH between 4.8 and 5.5. This acidic range is critical because it suppresses the growth of Streptomyces scabies; a common soil-borne pathogen that causes surface lesions.
For nutrient inputs, focus on the NPK ratio. A standard 5-10-10 or 10-20-20 fertilizer is preferred. High nitrogen levels during the early stages can lead to excessive foliage growth at the expense of tuber development. The soil must have a high Cation Exchange Capacity (CEC) to hold onto essential minerals like potassium and magnesium. Incorporate well-rotted compost or aged manure at a rate of 20 to 30 pounds per 100 square feet. This organic matter improves soil structure and provides a slow-release source of micronutrients. Avoid fresh manure, as it introduces excess salts and pathogens that can damage the delicate skin of developing tubers.
Timing:
Hardiness Zones 3 through 9 provide the primary window for potato cultivation. In colder zones (3 to 5), soil preparation begins as soon as the ground can be worked in early spring. In warmer zones (8 to 9), potatoes are often grown as a winter crop to avoid the intense heat of summer. The biological clock of the potato is governed by the photoperiod and soil temperature.
Planting should occur 2 to 4 weeks before the last frost date. While the foliage is frost-sensitive, the soil provides an insulating layer for the seed pieces. The transition from the vegetative stage to the reproductive stage (tuber initiation) usually occurs when the plant is 6 to 8 inches tall. This phase is sensitive to temperature; if soil temperatures exceed 75 degrees Fahrenheit, tuber bulking will slow down or cease entirely. Monitoring the soil moisture meter during this window is non-negotiable.
Phases:

Sowing and Seed Preparation
Begin by selecting certified disease-free seed potatoes. Cut larger tubers into pieces weighing approximately 2 ounces, ensuring each piece has at least two "eyes" or axillary buds. Allow these pieces to callus over for 48 hours at room temperature before planting. This prevents rot once they are placed in the soil.
Pro-Tip: The callusing process is a form of suberization. By allowing the cut surface to develop a layer of suberin (a waxy, waterproof substance), you create a biological barrier against soil pathogens and prevent moisture loss from the seed piece.
Transplanting and Hilling
While potatoes are rarely "transplanted" in the traditional sense, the hilling process is the functional equivalent of deepening the root zone. Plant seed pieces 4 inches deep with the eyes facing upward. Once the stems reach 6 inches in height, pull loose soil or mulch around the base of the plant, leaving only the top few inches of foliage exposed.
Pro-Tip: Hilling prevents solanine synthesis. When tubers are exposed to sunlight, they undergo photosynthesis and produce chlorophyll along with solanine, a toxic alkaloid. Hilling ensures the tubers remain in total darkness to maintain food safety and quality.
Establishing the Canopy
As the plant grows, it will develop a dense canopy. This is the period of maximum photosynthetic activity. Maintain consistent moisture levels to support the expansion of the vascular system. The goal is to keep the soil consistently moist but never waterlogged.
Pro-Tip: Proper spacing of 12 inches between plants reduces competition for light and airflow. This minimizes the risk of Phytophthora infestans (late blight) by allowing the foliage to dry quickly after rain or irrigation, disrupting the life cycle of fungal spores.
The Clinic:
Physiological disorders often mimic infectious diseases. Accurate diagnosis is essential for corrective action.
- Symptom: Yellowing of lower leaves (Chlorosis).
- Solution: This typically indicates Nitrogen deficiency. Apply a side-dressing of balanced fertilizer, but do not overcompensate, as excess nitrogen late in the season inhibits tuber maturation.
- Symptom: Hollow Heart (cavities in the center of large tubers).
- Solution: This is caused by rapid, irregular growth due to inconsistent moisture. Maintain a steady irrigation schedule using a soil moisture meter to avoid "growth spurts."
- Symptom: Internal Brown Spot.
- Solution: Usually a sign of Calcium deficiency or heat stress. Ensure the soil has adequate calcium levels (aim for 1,000 ppm) and use mulch to regulate soil temperature.
- Fix-It: If you observe stunted growth and purple-tinted leaves, the plant likely has a Phosphorus deficiency. This is common in cold, wet soils where phosphorus becomes chemically unavailable to the roots.
Maintenance:
Precision is the hallmark of a master horticulturist. Potatoes require 1.5 inches of water per week, delivered at the drip line rather than overhead to prevent leaf pathogens. Use a soil moisture meter to verify that the moisture has penetrated at least 8 inches into the profile.
Weeding should be done with a hori-hori knife to slice through weed roots without disturbing the shallow potato stolons. Avoid deep cultivation once the plants have flowered, as this is when the tubers are expanding. If you must prune yellowing or diseased lower leaves, use sterilized bypass pruners to make clean cuts that heal quickly. Monitor for the Colorado Potato Beetle; hand-picking adults and crushing egg masses on the underside of leaves is the most effective mechanical control.
The Yield:
Harvest timing depends on the desired end product. "New potatoes" can be harvested 2 to 3 weeks after the plant finishes flowering. For storage potatoes, wait until the foliage has undergone senescence (natural die-back). Once the vines are dead, leave the tubers in the ground for 10 to 14 days. This period allows the skin to "set" or toughen, which is vital for long-term storage.
Use a garden fork to gently lift the soil from the perimeter of the hill, working inward to avoid piercing the tubers. Handle the potatoes as little as possible to prevent bruising. Do not wash potatoes intended for storage; instead, brush off loose soil and cure them in a dark, cool (45 to 60 degrees Fahrenheit), well-ventilated area for two weeks.
FAQ:
What is the best soil pH for potatoes?
The optimal range is 4.8 to 5.5. This acidic environment is crucial for preventing common scab, a fungal-like bacterial infection that creates corky lesions on the tuber skin and reduces marketability.
How deep should I plant seed potatoes?
Plant seed pieces 4 inches deep in a trench or hole. As the plant grows, you will add more soil (hilling) until the base of the plant is covered by an additional 6 to 8 inches of earth.
Can I use fresh manure to prep the soil?
No. Fresh manure can burn young roots due to high ammonia levels and may introduce pathogens. Use only well-composted organic matter that has aged for at least six months to ensure a stable nutrient profile.
How much water do potatoes need?
Potatoes require a consistent 1 to 1.5 inches of water per week. Use a soil moisture meter to ensure the root zone remains hydrated, especially during the tuber bulking stage when water stress can cause internal defects.
When is the best time to fertilize?
Incorporate a 5-10-10 fertilizer into the soil at planting. A second "side-dressing" can be applied when the plants are 6 inches tall, just before the first hilling, to support the rapid vegetative growth phase.