7 Simple Steps to Dig Garden Trenches
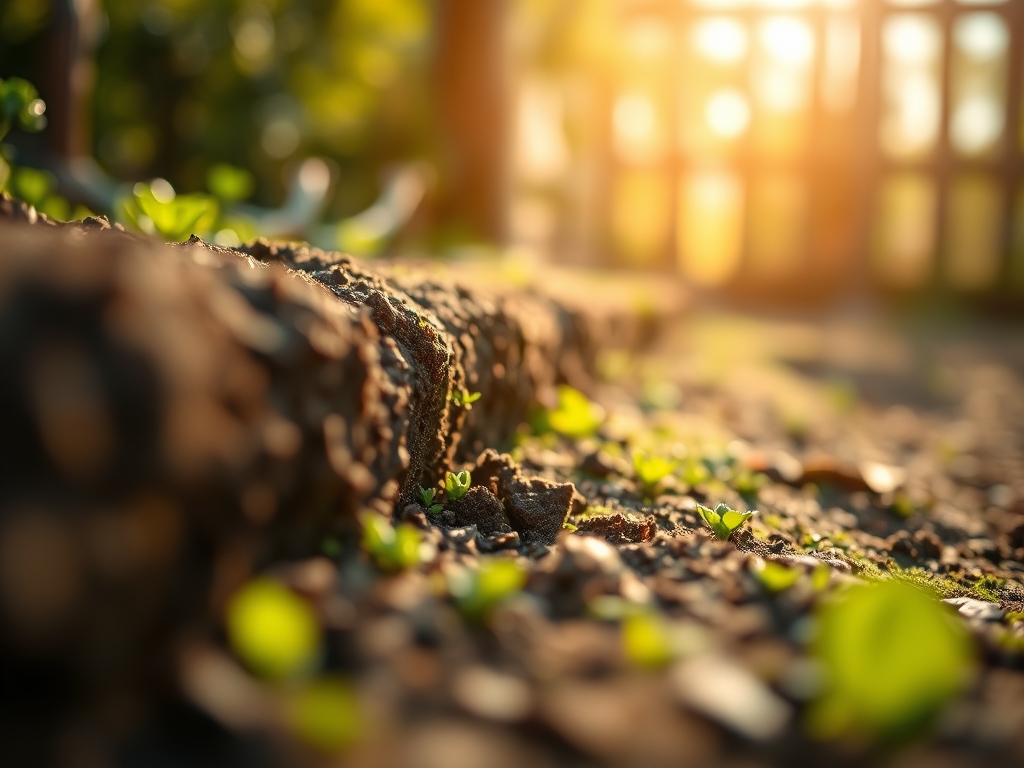
The scent of damp, mineral-rich earth signals the beginning of a successful planting season as moisture interacts with organic matter in the rhizosphere. Proper soil preparation through strategic excavation ensures that roots maintain high turgor pressure and access to essential nutrients. Mastering the steps to dig garden trenches allows for deep placement of amendments and consistent hydration. This technical process transforms compacted subsoil into a friable medium capable of supporting high-density vegetable or floral production throughout the growing season.
Materials:
Excavation requires a substrate that facilitates high Cation Exchange Capacity (CEC). The ideal medium is a friable loam consisting of 40 percent sand, 40 percent silt, and 20 percent clay. This balance prevents anaerobic conditions while retaining moisture. Before digging, verify that the soil pH sits between 6.0 and 7.0 to ensure nutrient bioavailability.
Prepare the following amendments based on specific NPK ratios:
- Nitrogen (N): Blood meal or feather meal (12-0-0) to drive vegetative biomass.
- Phosphorus (P): Bone meal or rock phosphate (0-10-0) to catalyze ATP production and root elongation.
- Potassium (K): Sulfate of potash (0-0-50) to regulate osmotic pressure and enzyme activation.
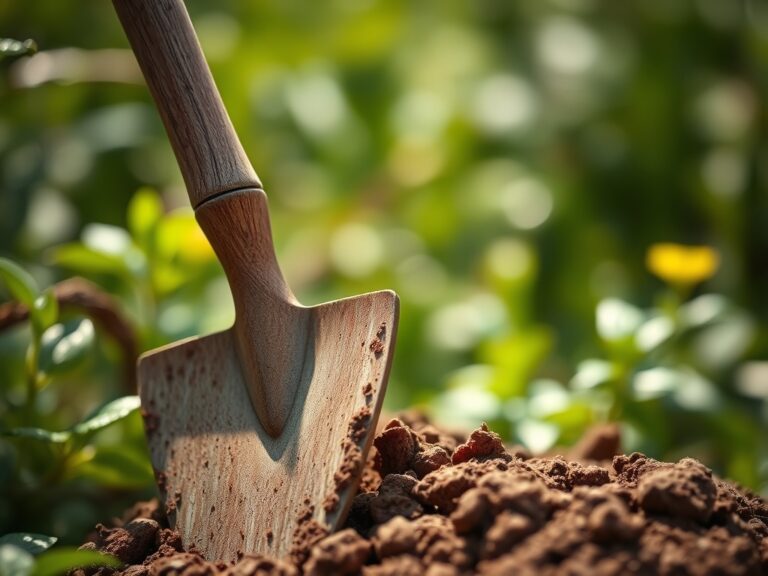
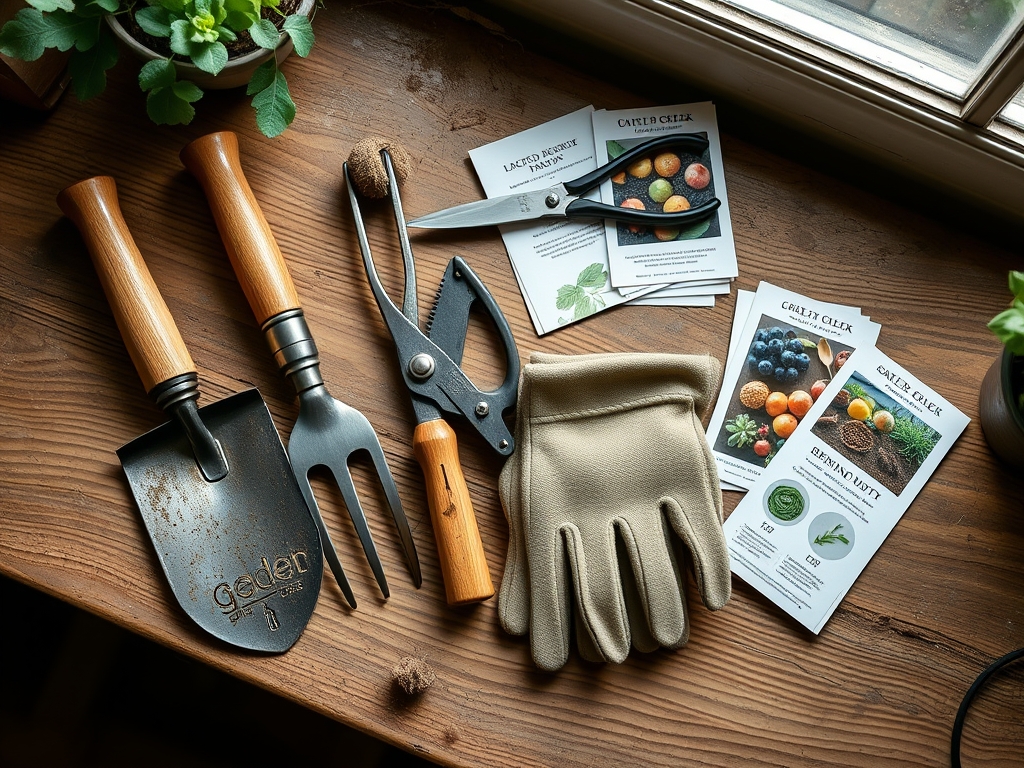
- Tools: A sharpened spade, a hori-hori knife for precise root pruning, and a soil moisture meter to calibrate the baseline hydration of the trench floor.
Timing:
Timing is dictated by the thermal properties of the soil and the specific Hardiness Zone. In Zones 5 through 7, trenching should commence 14 to 21 days before the average last frost date. The goal is to manipulate the "Biological Clock" of the plant; by preparing the trench early, you allow soil microbes to mineralize organic matter before the plant transitions from the vegetative to the reproductive stage.
Soil temperature must reach a consistent 55 degrees Fahrenheit (13 degrees Celsius) at a depth of four inches. Digging in saturated, cold soil leads to compaction and the destruction of soil aggregates. Monitor the photoperiod; as daylight exceeds 12 hours, the increase in solar radiation accelerates the metabolic rate of soil-dwelling organisms, making this the optimal window for trenching and subsequent sowing.
Phases:

Sowing
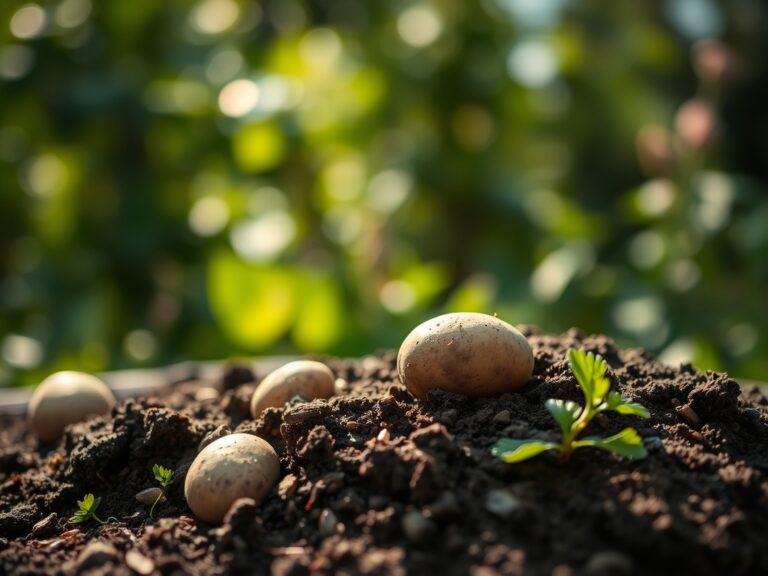
Excavate a trench to a depth of 8 to 12 inches. Place a layer of well-rotted compost at the base. When sowing seeds, ensure the depth is roughly three times the diameter of the seed. Space seeds according to their mature canopy width to prevent competition for light and airflow.
Pro-Tip: Maintain consistent seed-to-soil contact to trigger imbibition. This process is the "Biological Why" behind germination; the seed must absorb water to activate enzymes that break down stored starches into energy.
Transplanting
When moving seedlings into the trench, use a hori-hori knife to loosen any circling roots. Set the transplant at a depth where the root flare is level with the soil surface. Backfill with the amended loam, tamping lightly to remove large air pockets that can desiccate delicate root hairs.
Pro-Tip: Apply a mycorrhizal inoculant to the root ball. This fosters a symbiotic relationship where fungi extend the reach of the root system, increasing the surface area for phosphorus uptake and water absorption.
Establishing
Once the plants are in the ground, the focus shifts to auxin management. For many crops, pinching the terminal bud can suppress apical dominance. This redirects auxins to lateral buds, encouraging a bushier growth habit and a more robust structural framework.
Pro-Tip: Deep trenching encourages geotropism. By placing nutrients deep in the soil profile, you force roots to grow downward, which provides greater stability and access to subsoil moisture during periods of high evapotranspiration.
The Clinic:
Physiological disorders often stem from improper trench preparation or nutrient imbalances within the soil profile.
- Symptom: Interveinal Chlorosis. The leaves turn yellow while the veins remain green.
- Solution: This typically indicates a Magnesium deficiency or high pH. Apply magnesium sulfate (Epsom salts) and check pH levels.
- Symptom: Blossom End Rot. Dark, leathery spots appear on the base of the fruit.
- Solution: This is caused by localized Calcium deficiency often triggered by inconsistent moisture. Ensure the trench receives steady hydration to facilitate calcium transport through the xylem.
- Symptom: Stunted Growth with Purple Foliage.
- Solution: This is a classic sign of Phosphorus deficiency, often occurring in cold soils. Use a high-P liquid fertilizer to provide an immediate boost until soil temperatures rise.
The Fix-It for Nitrogen Chlorosis: If older leaves are uniformly pale yellow, the plant is scavenging nitrogen for new growth. Side-dress the trench with a high-nitrogen organic fertilizer and water it in to a depth of 6 inches.
Maintenance:
Precision is required for long-term plant health. Deliver 1.5 inches of water per week directly at the drip line. Avoid overhead irrigation to minimize the risk of fungal pathogens colonizing the leaf surface. Use a soil moisture meter daily to ensure the root zone stays between 60 and 80 percent field capacity.
Utilize bypass pruners for clean cuts on woody tissue; ragged tears invite disease. Maintain the trench perimeter by removing weeds that compete for nitrogen and water. If the soil surface crusts over, use a hand cultivator to break the tension, allowing oxygen to reach the rhizosphere and preventing the buildup of carbon dioxide.
The Yield:
Harvesting is the culmination of the trenching process. For most fruiting crops, harvest when the fruit reaches its "mature green" or "fully ripe" stage, depending on the species. Use sharp shears to avoid tugging on the main stem, which can cause mechanical damage to the vascular system.
To maintain "day-one" freshness, harvest during the coolest part of the morning when cell turgor is at its peak. Immediately move the produce to a shaded area and reduce the field heat by hydro-cooling or refrigeration. This slows down the rate of respiration and senescence, preserving the sugars and nutrients accumulated during the growing cycle.
FAQ:
How deep should I dig a garden trench?
Dig the trench 8 to 12 inches deep. This depth allows for the incorporation of organic matter and provides sufficient space for root systems to expand without hitting compacted subsoil or experiencing rapid moisture loss.
What is the best soil for trenching?
A friable loam is superior. It consists of roughly equal parts sand and silt with a smaller clay component. This structure ensures a high Cation Exchange Capacity and proper aeration for the rhizosphere.
Can I dig trenches in heavy clay?
Yes, but you must incorporate gypsum and organic matter to break down the clay particles. This improves drainage and prevents the "bathtub effect," where water sits in the trench and causes root rot.
When is the best time to dig?
Dig when the soil is moist but not saturated. Test by squeezing a handful of soil; it should crumble when poked. Digging in wet soil destroys soil structure and leads to severe compaction.