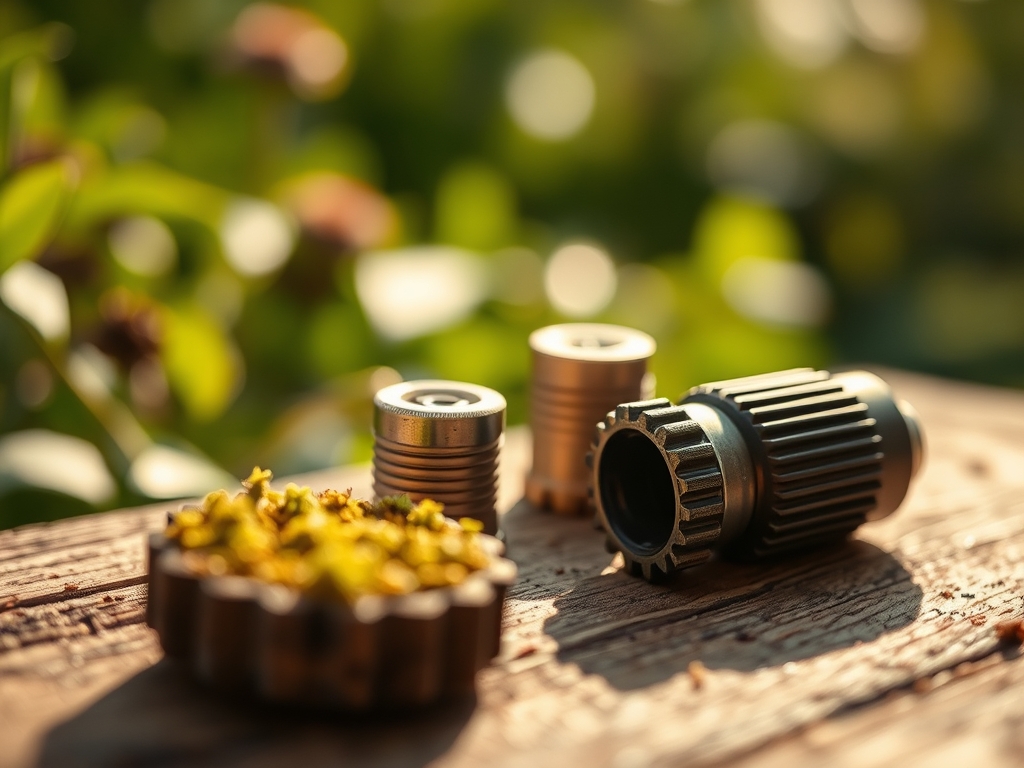
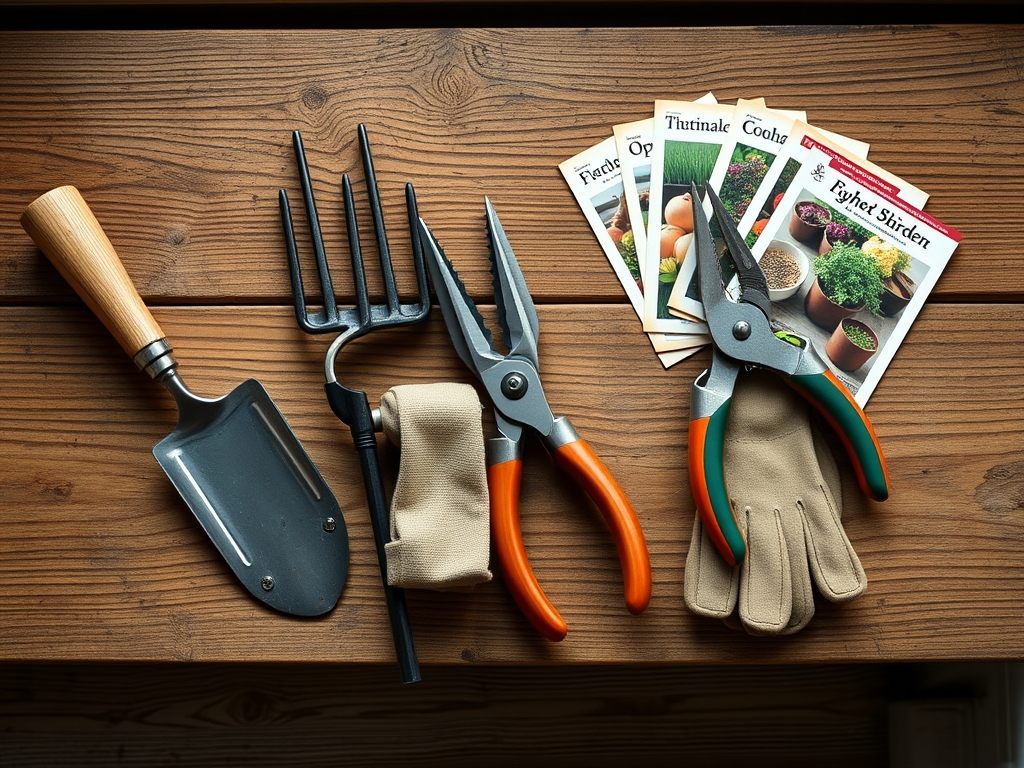
5 Best Replacement Parts for Tools
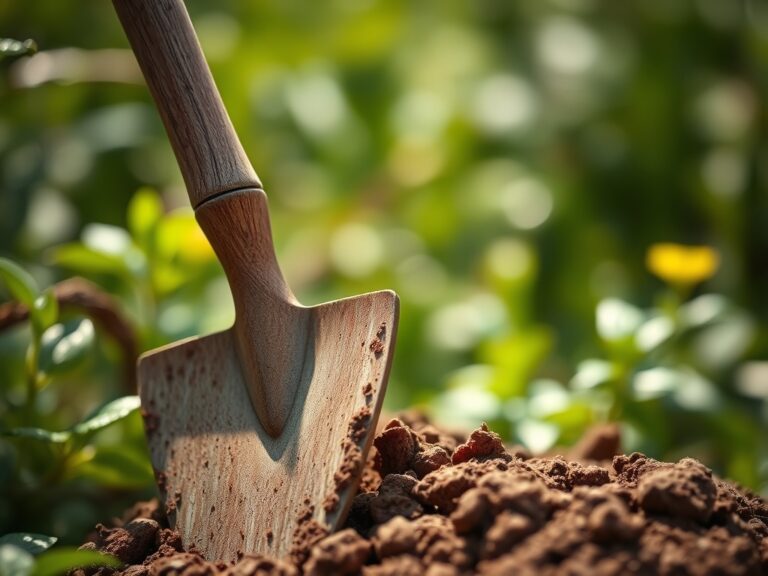
Crushed basalt and the damp, metallic scent of oxidized carbon steel signal a workshop ready for the spring push. When a bypass pruner loses its snap or a spade handle shears under the pressure of heavy clay, the efficiency of your entire season stalls. Maintaining a high-functioning tool kit requires more than occasional sharpening; it demands an inventory of the best replacement parts for tools to ensure every cut is surgical and every lever is sound. A dull blade or a splintered shaft does more than slow your pace. It compromises the vascular health of your specimens by creating ragged wounds that invite pathogens into the xylem. Precision in your equipment mirrors the precision required in the soil. By sourcing high-carbon steel blades and ergonomic hickory handles, you maintain the mechanical advantage necessary to manage a complex landscape. Professional horticulture is an exercise in physics and biology. Your tools are the primary interface between your intent and the rhizosphere. Keeping them in peak condition is the first step toward successful cultivation.
Materials:
Before deploying your refurbished tools, you must prepare the substrate. The ideal medium is a **friable loam** with a granular structure that promotes rapid gas exchange. Aim for a soil pH between **6.2 and 6.8** to maximize nutrient availability. In this range, the Cation Exchange Capacity (CEC) is optimized, allowing the root hairs to effectively swap hydrogen ions for essential cations like potassium and magnesium.
For the vegetative stage, utilize a fertilizer with an NPK ratio of 10-5-5. The high nitrogen content supports the synthesis of chlorophyll and the development of robust leafy biomass. As plants transition to the reproductive phase, shift to a 5-10-10 ratio. The increased phosphorus and potassium levels are critical for ATP transfer and the regulation of stomatal conductance. Ensure your substrate contains at least 5 percent organic matter to support a diverse microbial community. This organic fraction acts as a buffer, stabilizing the rhizosphere against sudden fluctuations in moisture or salinity.
Timing:
Successful planting is governed by the frost-free windows of your specific Hardiness Zone. In Zones 5 through 7, the primary planting window opens when the soil temperature consistently reaches 55 degrees Fahrenheit. This temperature threshold is vital for microbial activity and the breakdown of organic nitrogen into plant-available nitrates.
The biological clock of the plant is driven by the photoperiod. As day length increases, the plant undergoes a transition from vegetative growth to reproductive development. You must time your transplanting to coincide with the early vegetative phase to minimize transplant shock. Monitoring the Growing Degree Days (GDD) provides a data-driven approach to predicting phenological events such as bud burst or flowering. For most temperate species, a GDD accumulation of 250 to 300 signifies the end of dormancy and the start of active nutrient uptake.
Phases:
Sowing
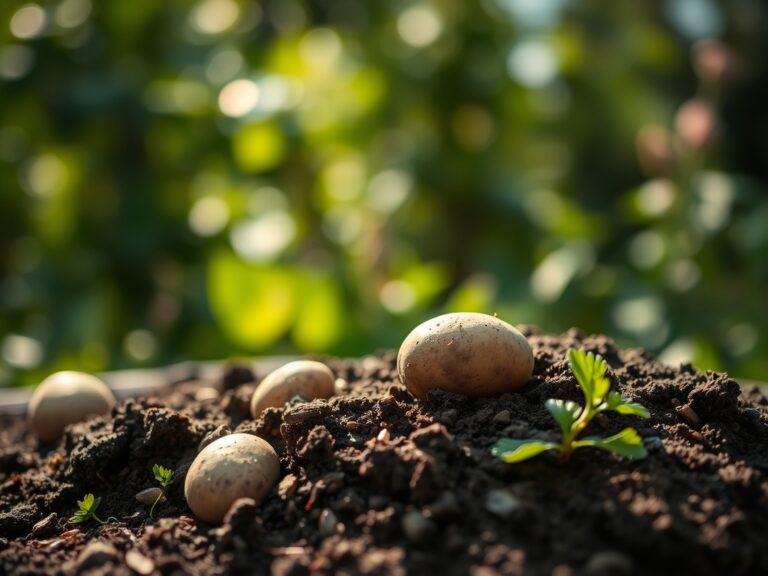
Begin by preparing seed flats with a sterile, peat-based starting mix. Maintain a consistent temperature of 70 degrees Fahrenheit to trigger germination. Ensure the seeds are placed at a depth exactly two times their diameter to balance the need for moisture with the energy reserves of the endosperm.
Pro-Tip: Utilize bottom heat to stimulate rapid cell division in the radical. This leverage of geotropism ensures the primary root moves downward immediately, establishing a strong anchor before the cotyledons emerge.
Transplanting
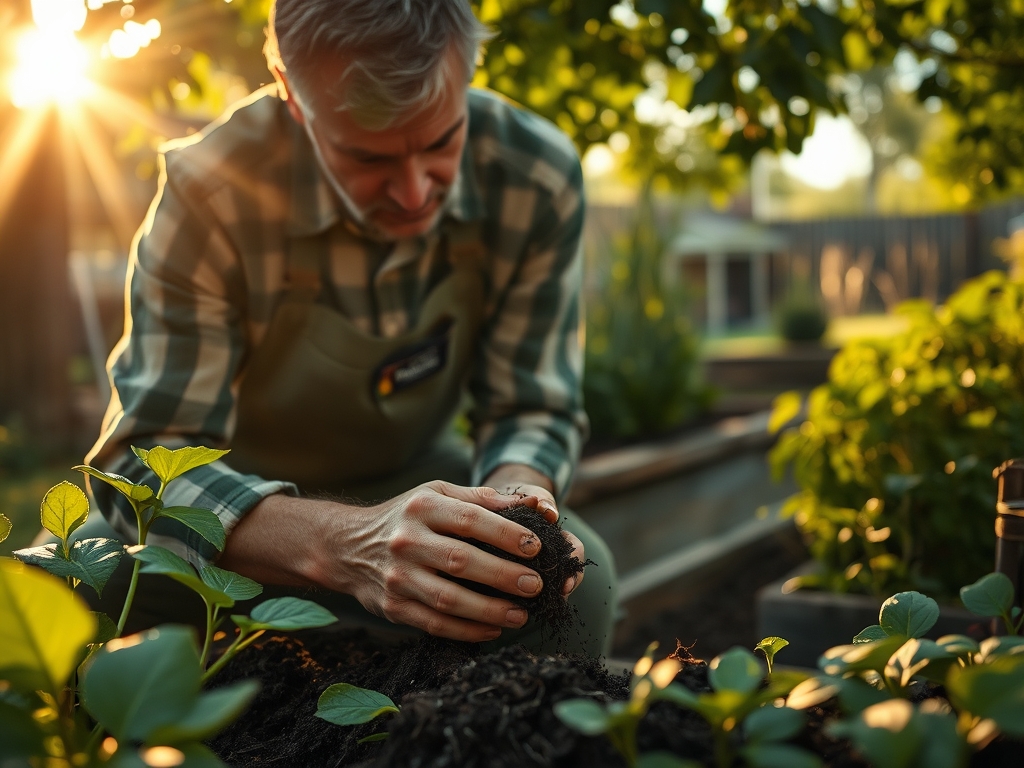
When the first set of true leaves appears, the plant is ready for the field. Use a hori-hori knife to cut a clean hole in the substrate, ensuring the root ball is not compressed. The transition should occur during late afternoon or on an overcast day to reduce the transpiration rate while the roots are disturbed.
Pro-Tip: Inoculate the planting hole with endomycorrhizal fungi. This creates a mycorrhizal symbiosis that effectively increases the root surface area by up to 100 times, significantly enhancing the uptake of immobile nutrients like phosphorus.
Establishing
During the first 14 to 21 days, focus on maintaining high turgor pressure. The plant is establishing its hydraulic system. Avoid heavy fertilization during this window to prevent salt burn on the delicate new root hairs.
Pro-Tip: Practice apical pruning on leggy specimens to trigger auxin suppression. By removing the terminal bud, you redirect growth hormones to the lateral buds, resulting in a bushier, structurally sound plant that can better withstand wind and fruit weight.
The Clinic:
Physiological disorders often mimic disease but are usually rooted in environmental stress or mechanical failure.
- Symptom: Interveinal chlorosis on young leaves.
Solution: This indicates an Iron deficiency, often caused by a pH above 7.5. Lower the pH using elemental sulfur to increase iron solubility. - Symptom: Blossom end rot in fruiting crops.
Solution: This is a Calcium transport issue. Ensure consistent soil moisture. Calcium moves via the transpiration stream; if the soil dries out, the plant cannot move calcium to the distal end of the fruit. - Symptom: Purpling of older foliage.
Solution: This is a classic sign of Phosphorus deficiency. It often occurs in cold soils below 50 degrees Fahrenheit where phosphorus becomes chemically locked. Apply a water-soluble 0-20-0 fertilizer if soil temps are adequate.
Fix-It: For general Nitrogen chlorosis (yellowing of older leaves), apply a side-dressing of blood meal or ammonium sulfate. Nitrogen is mobile within the plant, so the organism will cannibalize older leaves to support new growth if the soil supply is depleted.
Maintenance:
Precision maintenance prevents systemic failure. Use a soil moisture meter to ensure the root zone receives exactly 1.5 inches of water per week, delivered at the drip line to prevent crown rot. Overhead watering should be avoided to minimize the duration of leaf wetness, which reduces the risk of fungal sporulation.
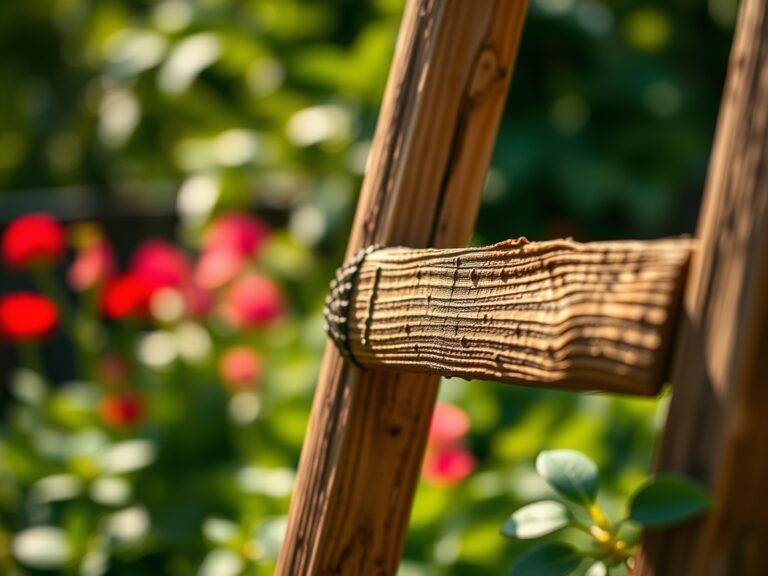
Every ten days, inspect your tools. Use a whetstone to maintain a 20-degree bevel on your bypass pruners. Clean the blades with isopropyl alcohol after every use to prevent the mechanical transmission of viral pathogens. If a wooden handle shows signs of fatigue, replace it immediately with straight-grained ash or hickory to ensure the structural integrity of the tool under load.
The Yield:
Harvesting is a race against senescence. For most crops, the peak nutrient density occurs just before full maturity. Use sharp, sterilized shears to make a clean cut at the pedicel. For leafy greens, harvest in the early morning when turgor pressure is at its maximum; this ensures the cellular walls are fully hydrated, providing a crisp texture.
Post-harvest handling is critical. Rapidly cooling the produce to 40 degrees Fahrenheit slows the respiration rate, preserving the sugars and volatile oils. Avoid bruising, as mechanical damage triggers the release of ethylene gas, which accelerates spoilage and tissue breakdown.
FAQ:
What are the most critical replacement parts for pruners?
The high-carbon steel blade and the volute spring are essential. A sharp blade ensures clean vascular cuts, while a high-tension spring reduces hand fatigue and ensures the tool resets correctly after every pass through woody tissue.
How do I identify a Nitrogen deficiency?
Look for general yellowing (chlorosis) starting at the base of the plant on older leaves. Because nitrogen is a mobile nutrient, the plant translocates it to new growth points, leaving the older foliage depleted and pale.
When should I replace a tool handle?
Replace the handle immediately if you detect longitudinal cracks or significant splintering. A compromised handle lacks the structural integrity to manage heavy soil loads and poses a safety risk to the operator during high-torque maneuvers.
What is the ideal soil pH for most garden tools' work?
Most temperate plants thrive in a pH range of 6.2 to 6.8. This slightly acidic environment ensures that micronutrients like iron and manganese remain soluble and available for uptake by the root system.