8 Best Spades for Heavy Clay
The smell of damp earth in early spring signals the start of the primary growing season. When moisture levels reach field capacity, the turgor pressure within plant cells increases, allowing for rapid expansion of new foliage. However, heavy clay soils present a physical barrier to this growth. These soils are composed of particles smaller than 0.002 millimeters in diameter, which pack tightly together to eliminate pore space. Attempting to penetrate this dense medium requires specialized tools designed for high shear strength. Selecting the best spades for heavy clay is not merely a matter of comfort; it is a mechanical necessity to ensure the rhizosphere is properly aerated and prepared for root expansion. Without a sharp, narrow blade to slice through the colloidal structure of clay, the gardener risks soil compaction and physical exhaustion.
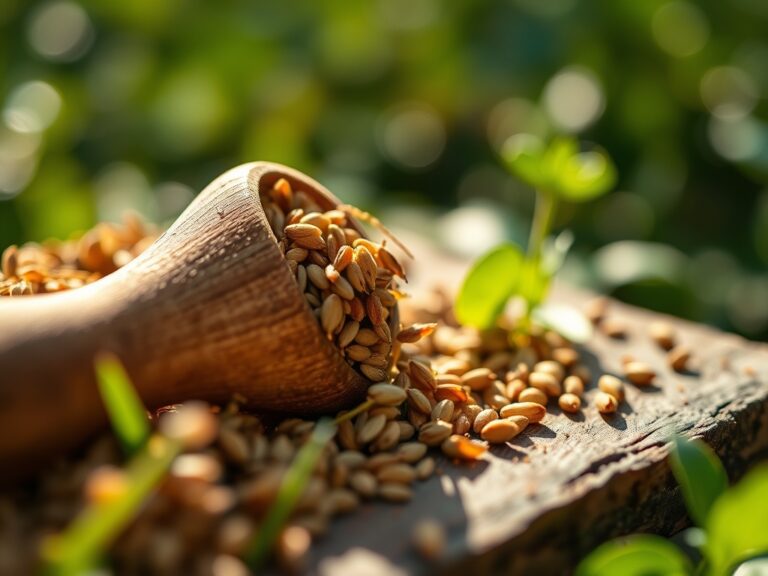
Materials:
Heavy clay typically exhibits a high Cation Exchange Capacity (CEC), often exceeding **30 meq/100g**, which allows it to hold significant amounts of nutrients like calcium, magnesium, and potassium. However, the physical texture is often plate-like and poorly drained. To transition this into a friable loam, you must balance the chemistry and structure. Aim for a soil pH between **6.2 and 6.8** to maximize nutrient bioavailability.
For initial bed preparation, incorporate organic matter to achieve an NPK ratio of 5-10-5 in the top 6 inches of the soil profile. This lower nitrogen concentration prevents excessive vegetative growth while the phosphorus supports root establishment. The ideal substrate should feel gritty when rubbed between fingers, indicating a mix of sand, silt, and clay that resists clumping when squeezed at 25 percent moisture content.
Timing:
In Hardiness Zones 5 through 8, the window for heavy soil manipulation is narrow. You must wait for the soil temperature to reach a consistent 50 degrees Fahrenheit at a depth of 4 inches. Working clay while it is too wet leads to irreversible compaction; working it while it is bone-dry is physically impossible. The biological clock of most temperate perennials begins with the transition from dormancy to the vegetative stage as the photoperiod exceeds 12 hours.
Monitor the frost-date windows closely. In Zone 6, the last frost usually occurs in late April. You should aim to have your primary cultivation completed 14 days prior to this date. This allows the soil microbiology to stabilize after the mechanical disturbance of digging.
Phases:
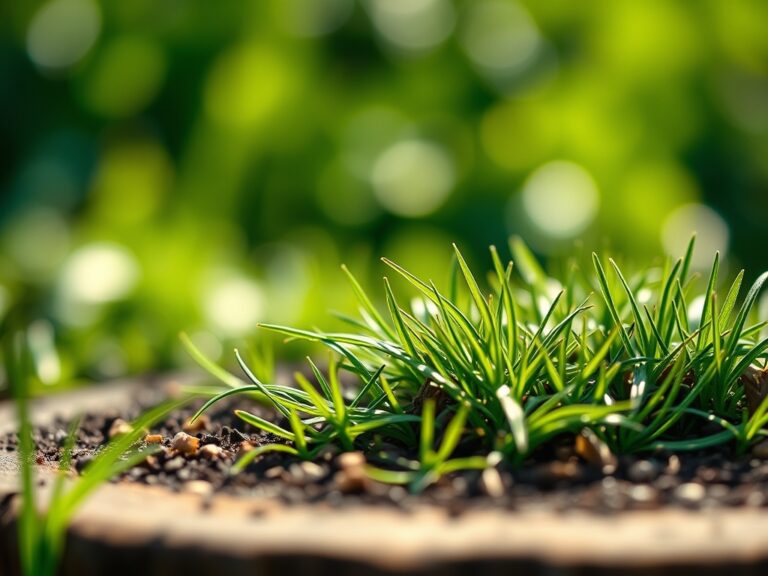
Sowing
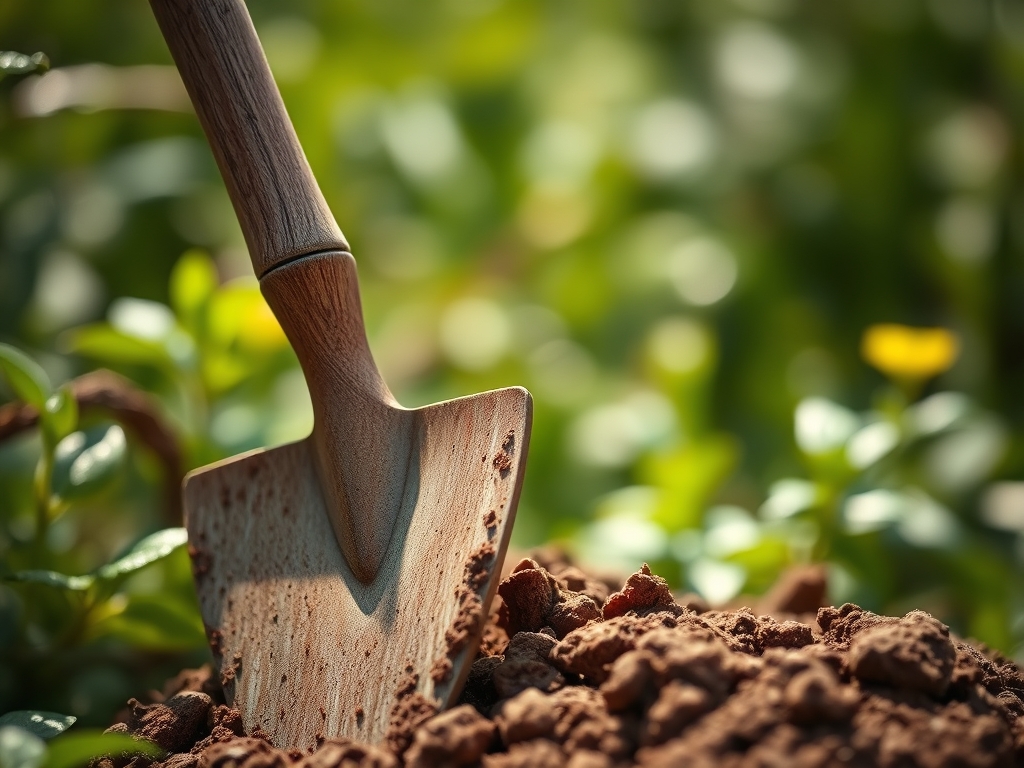
When sowing seeds in clay-heavy areas, use a pointed spade to create a furrow. Cover seeds with a light layer of vermiculite or finished compost rather than the native clay to prevent crusting.
Pro-Tip: Maintaining a loose surface layer prevents "capping," which can block oxygen from reaching the germinating seed. This ensures the seedling can maintain high turgor pressure to break through the soil surface.
Transplanting
Dig a hole twice as wide as the root ball but no deeper. Use a spade with a serrated edge to score the sides of the planting hole. This breaks the "glazing" effect caused by smooth spade blades in wet clay.
Pro-Tip: Scoring the walls of the hole facilitates mycorrhizal symbiosis. It allows fungal hyphae to penetrate the surrounding soil more easily, extending the reach of the root system for water and phosphorus uptake.
Establishing
Once the plant is in the ground, use the spade to create a small berm around the drip line. This directs water toward the root zone.
Pro-Tip: Avoid over-mounding soil against the stem to prevent auxin suppression and crown rot. Keeping the root flare exposed ensures proper gas exchange between the atmosphere and the upper rhizosphere.
The Clinic:
Symptom: Interveinal Chlorosis
This appears as yellowing between the leaf veins while the veins remain green. In clay, this is often a sign of iron or manganese deficiency caused by a high pH level (above 7.5).
Solution: Apply chelated iron or lower the pH using elemental sulfur at a rate of 1 pound per 100 square feet.
Symptom: Leaf Scorch
Brown, brittle edges on leaves indicate the plant cannot move water fast enough to replace what is lost through transpiration.
Solution: Increase mulch depth to 3 inches to reduce soil evaporation and maintain more consistent moisture levels in the clay.
Symptom: Stunted Growth
If plants remain small despite proper feeding, the cause is likely soil compaction.
Solution: Use a broadfork or a narrow-bladed spade to aerate the soil 8 inches away from the plant base.
Fix-It: Nitrogen Chlorosis
If the entire leaf turns pale green or yellow, the plant lacks nitrogen. Apply a quick-release liquid fertilizer with an NPK of 10-0-0 to provide an immediate boost while organic amendments break down.
Maintenance:
Precision is required when managing heavy clay. Apply exactly 1.5 inches of water per week at the drip line. Use a soil moisture meter to check the depth of hydration; clay often looks wet on the surface while remaining dry at the 6-inch mark.
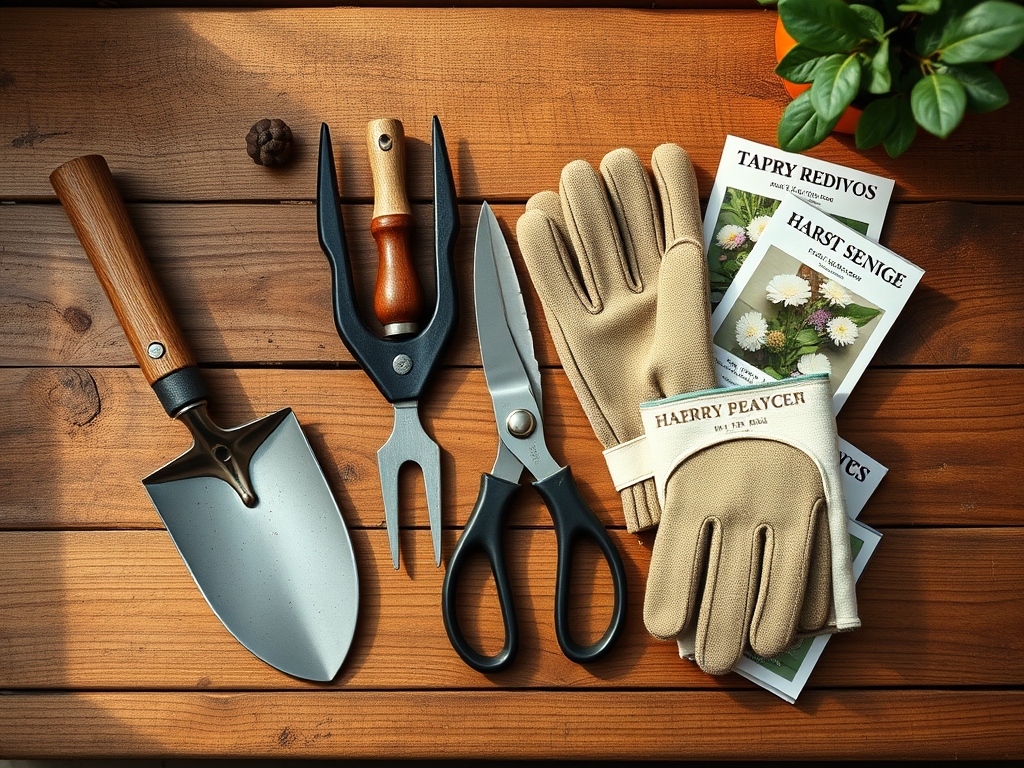
Keep your tools in professional condition. Use a mill file to maintain a 45-degree bevel on your spade edge. When working around established perennials, use a hori-hori knife for precise weeding and a pair of bypass pruners for removing spent stalks. Clean all metal surfaces with a light coating of mineral oil after use to prevent oxidation.
The Yield:
For root crops grown in clay, harvest timing is critical. Use a garden fork or a narrow spade to loosen the soil 4 inches away from the vegetable to avoid mechanical damage. Harvest in the early morning when the plant's sugar content is highest and temperatures are lowest.
Immediately after extraction, rinse the roots in cool water and move them to a shaded, humid environment. This slows the process of senescence and preserves the crisp texture. For flowers, cut stems at a 45-degree angle and submerge them in 110-degree Fahrenheit water to remove air bubbles from the xylem.
FAQ:
What is the best spade shape for clay?
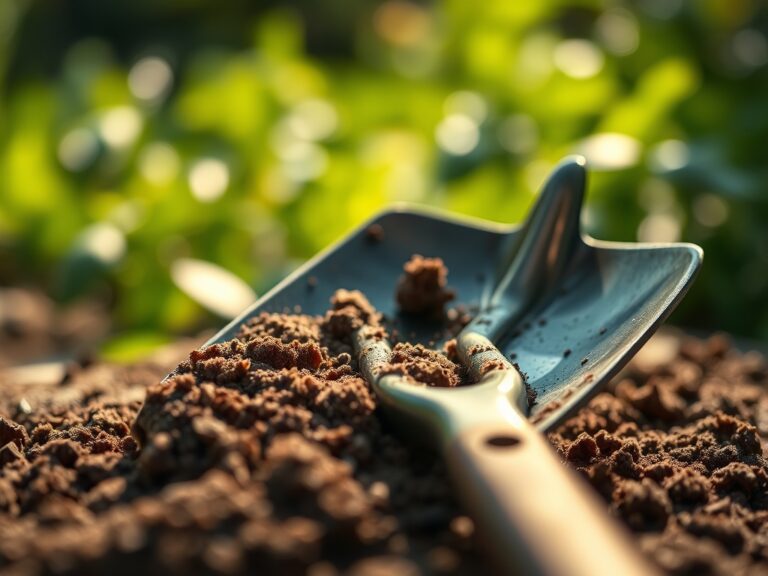
A narrow, slightly pointed "drain spade" or "trenching spade" is best. The reduced surface area allows the blade to penetrate dense clay with less downward force required from the operator.
How do I stop clay from sticking to my spade?
Keep the blade polished and clean. Some gardeners apply a silicone-based spray or a thin layer of vegetable oil to the metal. This reduces the surface tension between the wet clay and the steel.
Can I add sand to heavy clay?
Never add small amounts of sand to clay. Without sufficient organic matter, the sand and clay particles bind together like concrete. Instead, incorporate large volumes of compost or aged manure to improve structure.
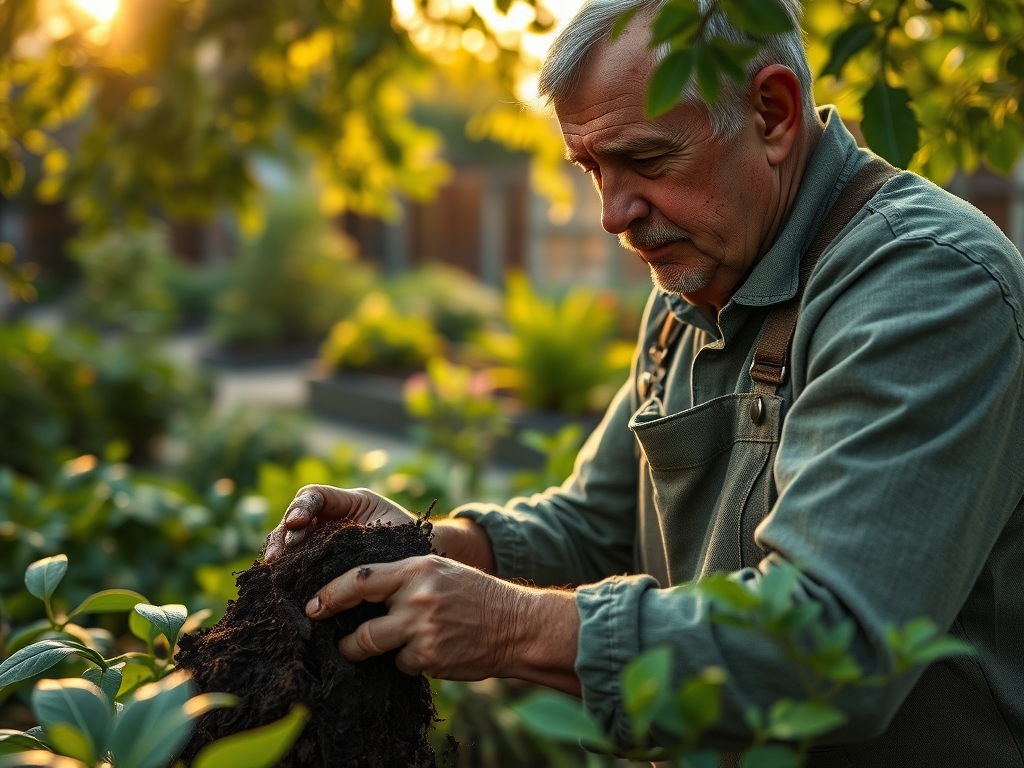
When is clay too wet to dig?
Perform a squeeze test. Take a handful of soil and compress it. If it forms a solid, shiny ball that does not crumble when poked, the moisture content is too high for cultivation.
How deep should I dig in clay?
For most garden beds, a depth of 12 inches is sufficient. This provides enough aerated space for the majority of feeder roots, which typically reside in the top foot of the soil profile.