7 Simple Steps to Build a Tool Pegboard
The smell of damp earth and the crisp snap of turgor in a healthy leaf define the rhythm of a productive greenhouse. Efficiency in the garden begins with mechanical organization; a disorganized workspace leads to delayed transplanting and increased plant stress. Learning the steps to build a tool pegboard ensures that every hori-hori knife and bypass pruner is accessible during critical windows of the growing season. A systematic approach to storage mirrors the precision required for maintaining a stable rhizosphere. Proper organization prevents the cross-contamination of pathogens between tools and ensures that soil moisture meters are calibrated and ready for immediate deployment.
Materials:
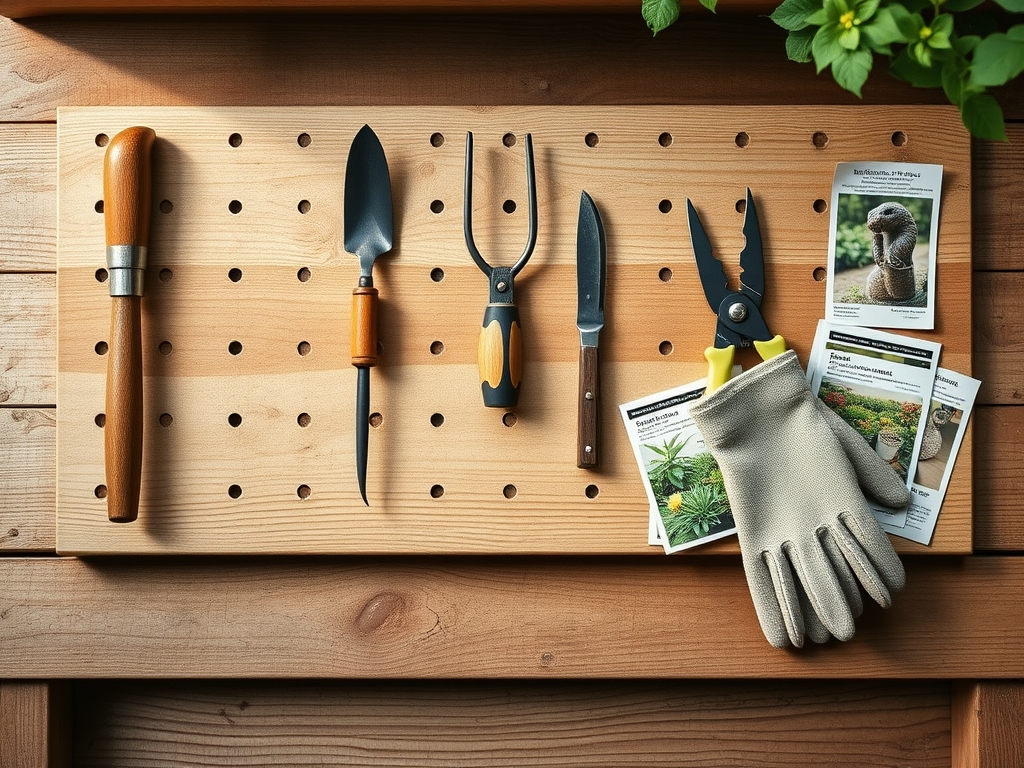
A successful installation requires a substrate that is structurally sound and resistant to the high humidity levels found in a potting shed. The ideal wall surface should mimic a friable loam; it must be firm yet capable of supporting significant weight without crumbling. For the pegboard itself, select a **0.25 inch tempered hardboard** or a galvanized steel panel.
When preparing the surrounding area, consider the chemical balance of the environment. If your storage area is adjacent to fertilizer storage, monitor the ambient pH. High nitrogen fertilizers, specifically those with an NPK ratio of 21-0-0 (Ammonium Sulfate), can off-gas and cause rapid oxidation of untreated metal tools. Use a 1-by-2 inch pressure-treated furring strip to create a 0.75 inch air gap between the wall and the board. This prevents moisture buildup and fungal colonization, much like maintaining proper Cation Exchange Capacity (CEC) in soil prevents nutrient leaching.
Timing:
Timing the installation of your tool board should coincide with the dormant season for your specific Hardiness Zone. In Zones 5 through 7, the ideal window is between the first hard frost and the late winter thaw. This period represents the "Biological Clock" transition where plants move from senescence to complete dormancy. By completing the steps to build a tool pegboard during this phase, you ensure that the system is fully operational before the spring surge in vegetative growth. Avoid installation during periods of high atmospheric humidity (above 70 percent) to prevent the wooden furring strips from swelling before they are secured to the masonry or studs.
Phases:

Sowing the Foundation
The first step involves locating the vertical studs within the wall. Use a level to ensure the horizontal axis is perfectly true. Secure the furring strips at 16-inch intervals using 2.5 inch wood screws. This creates the necessary clearance for peg hooks to seat properly.
Pro-Tip: Proper spacing allows for passive aeration behind the board. This mimics the principle of soil porosity; without air gaps, anaerobic conditions develop, leading to the rapid degradation of organic materials and the corrosion of metal tool heads.
Transplanting the Board
Position the pegboard against the furring strips. Pre-drill holes to prevent the board from splintering. Use 0.75 inch washers with your screws to distribute the load across a larger surface area. This prevents the board from sagging under the weight of heavy spades or trenching shovels.
Pro-Tip: Just as phototropism dictates the direction of plant growth, your tool placement should follow the "path of light." Place frequently used items like bypass pruners at eye level to reduce physical strain and increase operational speed during the height of the growing season.
Establishing the Grid
Map out your tool placement by laying them on the floor first. Group tools by their function: pruning, digging, and measuring. Use heavy-duty locking hooks for heavier items like a 5-pound mattock. Trace the outline of each tool with a permanent marker to ensure they are returned to their specific "niche" after use.
Pro-Tip: Mycorrhizal symbiosis teaches us that systems work better when connected. Grouping your soil testing kit near your moisture meter ensures that you never skip a data point when monitoring the Cation Exchange Capacity of your beds.
The Clinic:
Even a well-built tool board can face environmental challenges. Use the following diagnostic guide to maintain your workspace.
Symptom: Surface oxidation (rust) on tool heads.
Solution: Increase airflow and apply a thin layer of mineral oil.
Fix-It: For tools showing signs of "Nitrogen chlorosis" (yellowing or dulling of the metal), clean with a wire brush and a 10 percent vinegar solution to strip oxidation before resealing.
Symptom: Pegboard warping or bowing.
Solution: Add additional furring strips at 12-inch centers instead of 16-inch.
Fix-It: If the board has already warped, remove it and store it flat under weight in a low-humidity environment for 48 hours before re-installing with more anchors.
Symptom: Hooks falling out when tools are removed.
Solution: Install plastic peg locks or use a small dab of hot glue on the lower peg of the hook.
Fix-It: For high-traffic areas, switch to stainless steel locking clips that screw directly into the board.
Maintenance:
A tool pegboard requires consistent oversight to remain functional. Inspect the structural integrity of the furring strips every six months. In high-moisture environments, use a soil moisture meter to check the humidity levels of the wooden components; they should remain below 15 percent moisture content to prevent rot.
Wipe down all tools after every use in the field. Soil contains salts and minerals that can alter the pH of the tool surface, leading to pitting. Use a hori-hori knife to scrape away stubborn clay deposits. Once a month, sharpen all cutting edges with a whetstone and lubricate the pivot points of your bypass pruners with a silicone-based lubricant. Ensure the floor beneath the board remains clear of organic debris to discourage the nesting of pests that could damage the wooden frame.
The Yield:
The "yield" of a well-organized tool board is measured in time and plant health. When your tools are clean and sharp, you make cleaner cuts on your specimens. A clean cut heals faster because the plant can more efficiently mobilize auxins to the wound site, reducing the risk of infection. By following the steps to build a tool pegboard, you create a workflow that allows for "day-one" freshness in your harvests. You can move from the field to the wash station in minutes, preserving the turgor pressure of leafy greens and the delicate aromatics of herbs.
FAQ:
What is the best height for a tool pegboard?
Mount the center of the board at 48 to 60 inches from the floor. This allows for ergonomic access to primary tools while keeping heavy shovels within a safe lifting range to prevent back strain.
Can I use pegboard in an outdoor shed?
Yes, but you must use galvanized steel or plastic panels. Standard tempered hardboard will absorb atmospheric moisture, leading to swelling, fungal growth, and structural failure within one to two growing seasons.
How much weight can a standard pegboard hold?
A 0.25 inch tempered board can support approximately 100 pounds if anchored to studs every 16 inches. Distribute weight evenly to prevent localized stress fractures or bowing of the board material.
How do I prevent tools from rusting on the board?
Maintain humidity levels below 50 percent and ensure tools are dry before hanging. Apply a light coat of camellia oil or mineral oil to carbon steel blades to create a hydrophobic barrier against oxidation.