9 Simple Steps to Install a Weather Vane
The smell of bruised tomato foliage and the metallic scent of wet clay define the gardener's workspace. Success in the garden relies on precise environmental monitoring; understanding wind direction is as critical as measuring soil moisture. You must master the steps to install a weather vane to predict local microclimate shifts. A sudden shift in wind can signal an incoming cold front that drops temperatures below the 32 degree Fahrenheit threshold, causing ice crystals to rupture plant cell walls. By installing a weather vane atop a fence post or garden shed, you gain a mechanical advantage in predicting atmospheric changes. This installation requires the same structural integrity as a deep-rooted perennial. You will need a level, a drill, and a clear line of sight above the canopy to ensure the directional fins capture laminar airflow rather than turbulent eddies caused by nearby structures or dense shrubbery.
Materials:
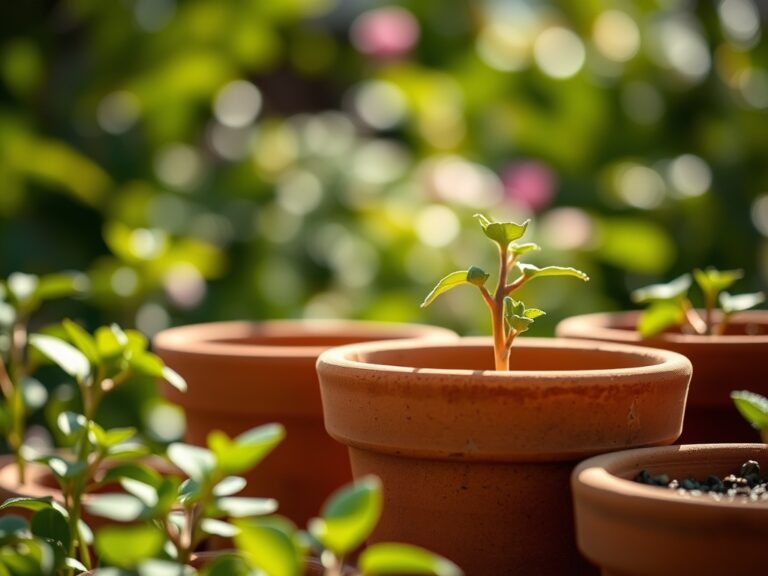
While the weather vane itself is metal, the substrate it sits upon is often the garden soil surrounding a support post. For a stable mounting post, you require a **friable loam** that allows for proper drainage around the base to prevent rot. Ideal soil for post-setting should have a **Cation Exchange Capacity (CEC) of 15 to 25 milliequivalents per 100 grams**, ensuring that the soil can hold onto essential minerals if you are planting around the base. The NPK ratio for surrounding vegetation should be a balanced **10-10-10** to support steady growth without excessive succulent tissue. Maintain a **soil pH between 6.2 and 6.8** to optimize nutrient availability. If the soil is heavy clay, incorporate organic matter to increase porosity and prevent the post from heaving during freeze-thaw cycles.
Timing:
Installation should occur during the dormant season or early spring before the Biological Clock triggers the transition from vegetative to reproductive stages in your local flora. In Hardiness Zones 5 through 7, the window opens after the ground thaws but before the spring equinox. Observe the photoperiod; as days lengthen, plants begin auxin-driven upward growth. You must complete the steps to install a weather vane before the canopy closes. Installing during the "bud swell" stage ensures you do not disturb the rhizosphere of established perennials during their most sensitive growth phase. Aim for a day with low wind speeds, ideally below 5 miles per hour, to ensure the rod is perfectly plumb during the setting process.
Phases:

Sowing the Foundation
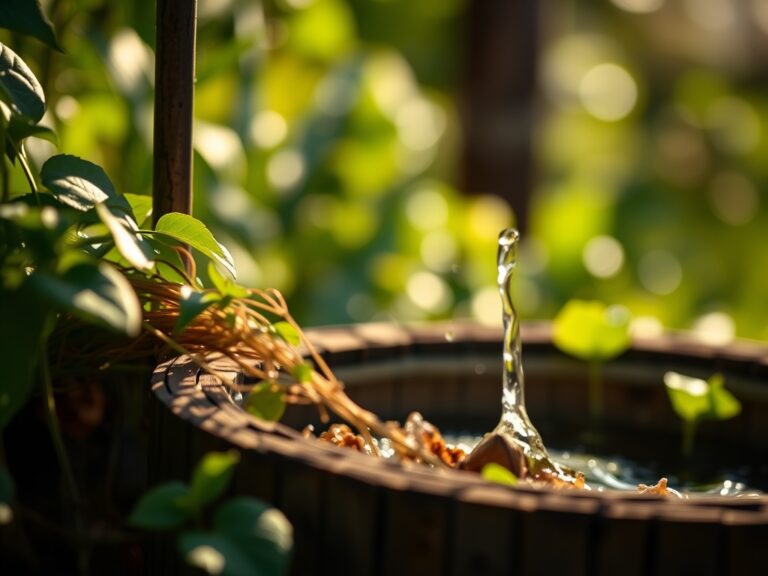
The first step is securing the mounting bracket or post. If using a wooden 4×4 post, dig a hole 24 inches deep to get below the frost line in most temperate zones. Fill the bottom with 3 inches of crushed stone to facilitate drainage. Place the post and use a spirit level to ensure vertical alignment.
Pro-Tip: Proper drainage at the base prevents anaerobic conditions. Soil compaction around the post can lead to root hypoxia for nearby plants; using gravel ensures gas exchange remains high in the upper soil profile.
Transplanting the Vane
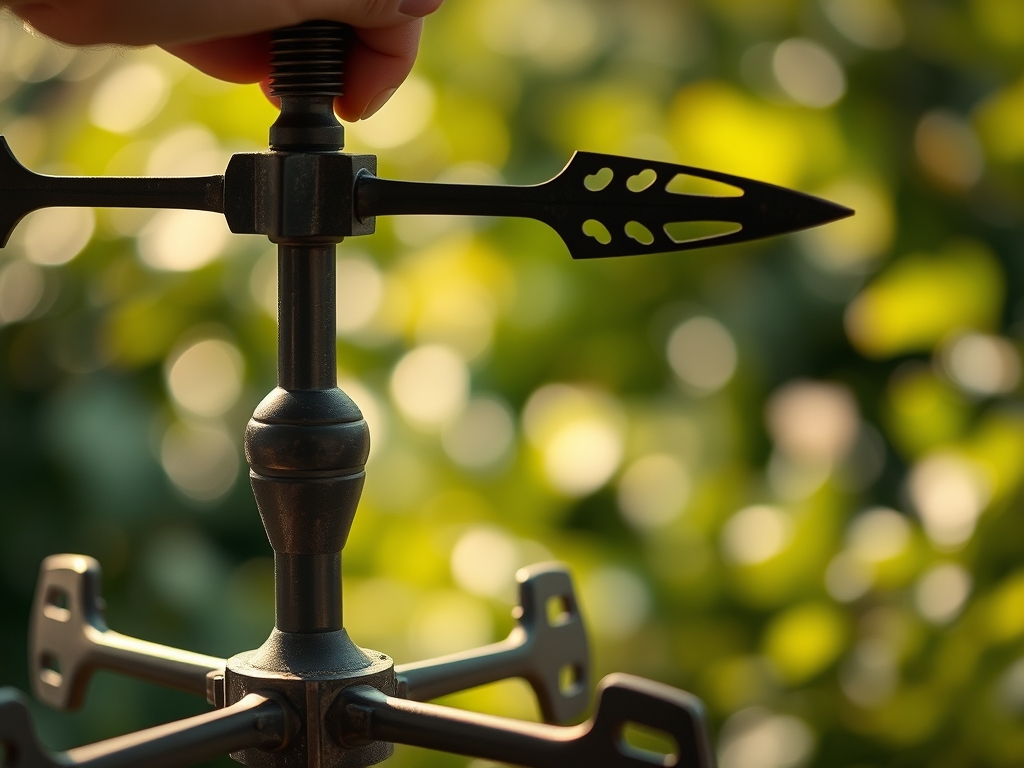
Once the post is cured and stable, attach the mounting base. Use stainless steel screws to prevent galvanic corrosion. Slide the directional globes and the N-S-E-W directional arms onto the rod. Use a compass to align the "N" indicator with true north, not magnetic north.
Pro-Tip: Alignment is a form of horticultural data collection. Just as plants utilize phototropism to orient their leaves toward the sun, your weather vane must be oriented to the cardinal points to provide data that correlates with regional weather patterns.
Establishing the Pivot
The final phase involves placing the ornament and the wind blade on the spindle. Apply a small amount of lithium grease to the pivot point. This reduces friction and ensures the vane responds to even slight breezes of 1 to 2 knots. Ensure the assembly is tightened so that the directional arms remain fixed while the ornament spins freely.
Pro-Tip: Reducing friction is akin to maintaining turgor pressure in a plant. Without smooth movement, the vane becomes "wilted" or unresponsive, failing to provide the kinetic feedback needed to judge upcoming transpiration demands on your crops.
The Clinic:
Physiological stressors in the garden often manifest as physical symptoms. Your weather vane helps you diagnose these before they become terminal.
- Symptom: Marginal leaf scorch on windward side.
Solution: High winds increase the transpiration rate beyond what the roots can supply. Use the vane to identify the direction of prevailing desiccating winds and install a windbreak. - Symptom: Stunted growth and thick, woody stems.
Solution: This is often thigmomorphogenesis, where plants limit height in response to wind. Use the vane to monitor wind frequency; if constant, provide temporary staking. - Symptom: Nitrogen chlorosis (yellowing of older leaves).
Fix-It: Apply a high-nitrogen fertilizer with a 21-0-0 ratio. High wind can dry out the top inch of soil where nitrogen-fixing bacteria are most active; keep the area mulched to 2 inches deep. - Symptom: Iron deficiency (interveinal chlorosis in new leaves).
Fix-It: Check soil pH. If it is above 7.0, iron becomes insoluble. Apply chelated iron and use elemental sulfur to lower the pH to a 6.5 target.
Maintenance:
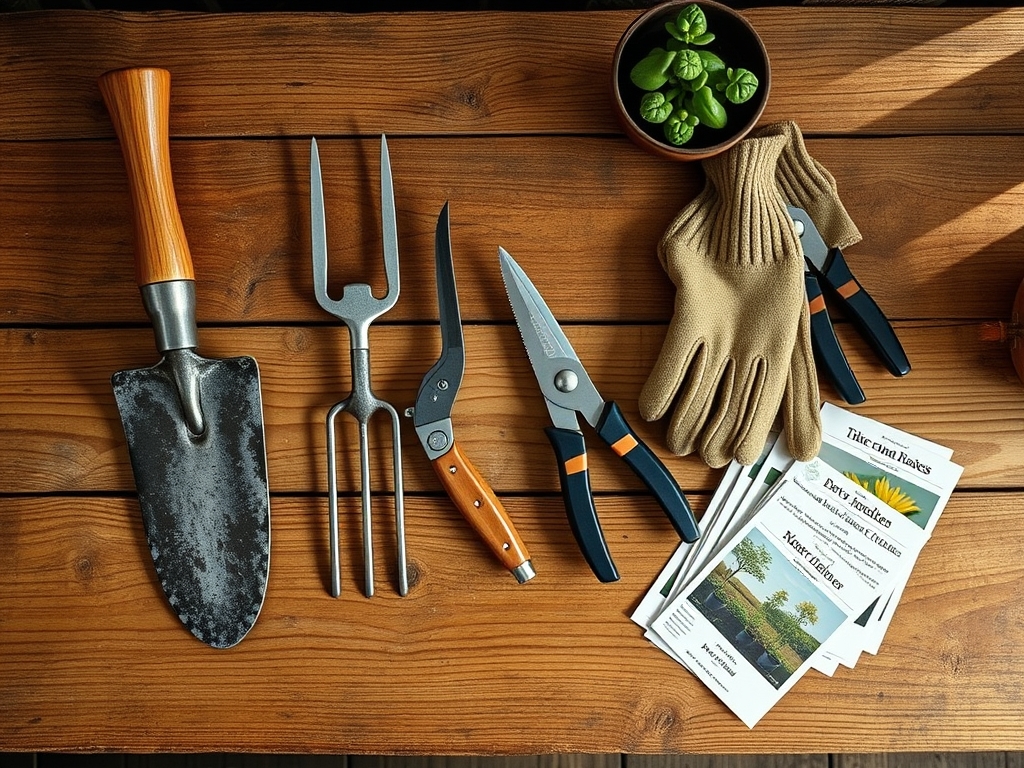
A weather vane requires seasonal calibration just as a garden requires consistent hydration. Use a soil moisture meter to ensure the ground around the mounting post remains stable; excessive drying can cause soil to shrink and the post to tilt. Apply 1.5 inches of water per week at the drip line of any plants surrounding the vane's base. Every six months, use your bypass pruners to clear any encroaching branches that might interfere with the vane's rotation. If the vane becomes sluggish, remove the ornament and clean the spindle with a hori-hori knife to scrape away oxidized metal or debris. Ensure the directional arms have not shifted; a 5-degree deviation can lead to incorrect weather predictions and improper irrigation scheduling.
The Yield:
The "yield" of a weather vane is high-quality environmental data. By tracking wind direction, you can predict when to harvest delicate flowers like Dahlias or Ranunculus. Harvest these when the vane indicates a calm morning and the flowers are at maximum turgor. Use a sharp knife to cut at a 45-degree angle and immediately plunge the stems into 110 degree Fahrenheit water. This "searing" technique prevents air embolisms in the xylem, ensuring "day-one" freshness for up to 7 days. Proper wind monitoring allows you to harvest before a "North-Wester" brings in dry air that would otherwise cause the blooms to undergo rapid senescence.
FAQ:
How high should I install my weather vane?
Install the vane at least 7 to 10 feet above the ground. It must be clear of the roofline or garden canopy to avoid turbulent air. This ensures the vane captures a true reading of the prevailing wind direction.
Does the weather vane need to be grounded?
Yes, if it is the highest point on a structure. Use a copper grounding wire and a 8-foot grounding rod driven into the earth. This protects your garden structures from lightning strikes during summer convective storms.
What is the best material for a garden weather vane?
Polished copper or cast aluminum are superior. These materials resist the corrosive effects of high humidity and acidic rainfall (pH below 5.0). Avoid cheap plastics that degrade under high Ultraviolet (UV) radiation exposure within two seasons.
How do I align the vane to True North?
Use a compass to find Magnetic North, then adjust for your local magnetic declination. You can find this value on a topographic map. Aligning to True North ensures your wind data matches professional meteorological reports for your specific region.