7 Vital Steps to Install a Clay Tile Path
The smell of damp earth after a heavy rain indicates more than just moisture; it signals the activation of microbial life within the rhizosphere. When you begin the steps to install a clay tile path, you are not merely placing stones on dirt. You are managing the structural integrity of the landscape while ensuring the surrounding flora maintains high turgor pressure. A poorly executed path leads to soil compaction, which chokes off oxygen to root systems and halts nutrient uptake. Success requires a mastery of drainage and substrate density.
Clay tiles offer a high thermal mass that can influence the microclimate of your garden beds. Unlike porous wood or loose gravel, vitrified clay provides a stable, non-reactive surface that resists the chemical weathering common in high-acidity soils. By following a rigorous engineering protocol, you ensure that the path remains level through seasonal freeze-thaw cycles. This process begins with a deep understanding of the ground beneath your feet and the biological requirements of the plants that flank the walkway.
Materials:
The foundation of any hardscape project is the soil profile. For a clay tile path, you must assess the Cation Exchange Capacity (CEC) of the surrounding area to ensure that runoff does not negatively impact plant health. The ideal substrate for the surrounding garden beds is a friable loam with a pH range of 6.2 to 6.8. This allows for optimal availability of macronutrients.
Before installation, prepare the adjacent planting zones with a balanced organic fertilizer. Aim for an NPK ratio of 10-10-10 for general establishment, or a 5-10-10 ratio if you are prioritizing root development over vegetative growth. You will need:
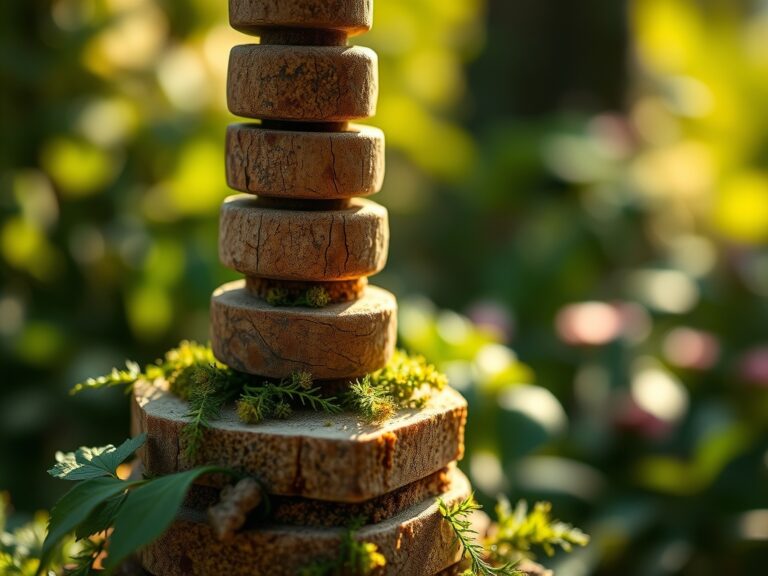
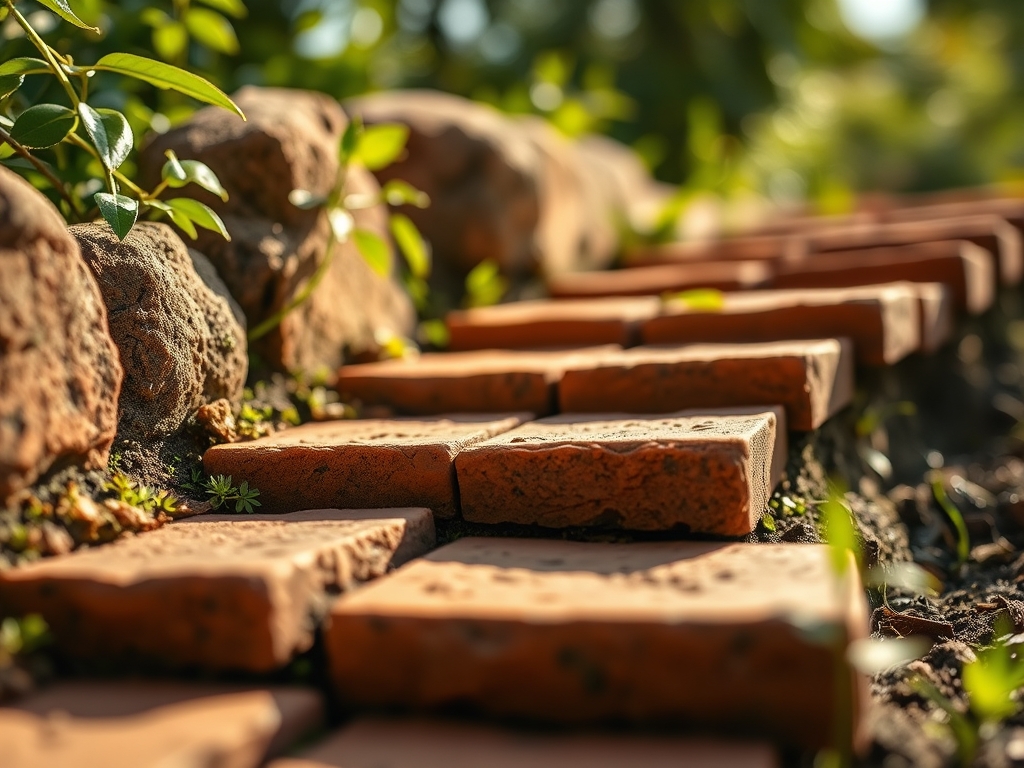
- Vitrified clay tiles: Minimum thickness of 20mm for pedestrian traffic.
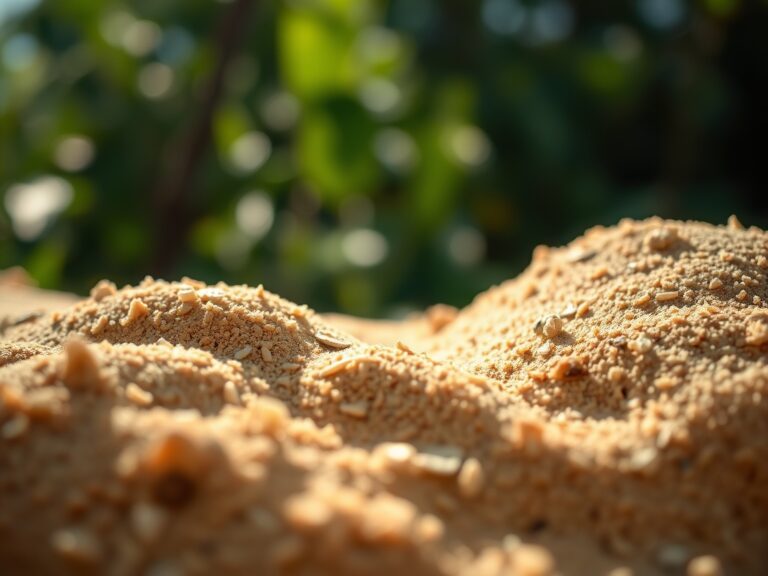
- Crushed limestone base: Size 0-20mm for maximum compaction.
- Sharp sand: For the leveling bed; avoid rounded play sand which lacks the angularity needed for friction.
- Geotextile fabric: To prevent the migration of fines and suppress weed seed germination from the seed bank.
Timing:
Hardiness Zones 3 through 9 each present unique challenges for installation. In colder zones, you must wait until the ground has fully thawed and the soil moisture level has dropped below the plastic limit. Attempting to excavate saturated soil leads to "smearing," which destroys soil structure and reduces pore space.
Observe the biological clock of your garden. The best window for installation is during the transition from the vegetative stage to the reproductive stage of your perennial borders, typically late spring or early autumn. This timing ensures that the heavy foot traffic and soil disturbance do not interfere with the high-energy demands of spring budding or the critical nutrient sequestration that occurs before winter senescence. Avoid installation during peak summer if the path borders sensitive species, as high ambient temperatures increase the rate of transpiration and transplant shock.
Phases:

Sowing the Foundation
Excavate the path to a depth of 6 to 8 inches. This depth allows for a 4-inch compacted aggregate base and a 1-inch sand setting bed. Ensure a 2 percent slope away from structures to prevent hydrostatic pressure buildup.
Pro-Tip: Mycorrhizal symbiosis is often disrupted during excavation. Apply a granular mycorrhizal inoculant to the edges of the trench to help the surrounding root systems recover their ability to absorb phosphorus and water.
Transplanting the Tiles
Lay the tiles starting from a fixed edge. Use a rubber mallet to set each tile into the sand bed. Maintain a joint width of 1/8 to 1/4 inch. This gap is essential for thermal expansion; without it, the tiles may buckle or crack when temperatures fluctuate.
Pro-Tip: Use a string line to maintain a straight trajectory. This prevents "creep" in the pattern. Biologically, straight edges in a path can help manage phototropism in border plants by providing a clear boundary for light competition and air circulation.
Establishing the Joints
Fill the joints with polymeric sand or a fine stone dust. This stabilizes the units and prevents the infiltration of organic matter that would otherwise support weed growth. Sweep the material into the cracks and lightly mist with water to activate the binding agents.
Pro-Tip: Avoid over-saturating the joints. Excess water can leach into the sub-base and cause "heaving." Maintaining a dry, stable base prevents auxin suppression in nearby plants, as it ensures the soil remains well-aerated and free of anaerobic pockets.
The Clinic:
Physiological disorders in the garden often manifest after major landscaping changes. Watch for these symptoms:
- Nitrogen Chlorosis: Leaves turn pale yellow while veins remain green. This often occurs if high-carbon mulch is mixed into the soil during construction. Fix-It: Apply a quick-release liquid nitrogen fertilizer with a 20-0-0 ratio to restore chlorophyll production.
- Iron Deficiency: Interveinal chlorosis on new growth. This is common if the limestone base of your path raises the soil pH above 7.5. Fix-It: Apply chelated iron or elemental sulfur to lower the pH.
- Root Asphyxiation: Wilting despite moist soil. This indicates soil compaction from heavy machinery. Fix-It: Use a broadfork or core aerator to restore oxygen flow to the root zone.
- Leaf Scorch: Brown, crispy edges on leaves. This is caused by radiant heat from the clay tiles. Fix-It: Increase irrigation frequency to maintain leaf turgor.
Maintenance:
A clay tile path requires precise hydrological management. Ensure the surrounding plants receive 1.5 inches of water per week at the drip line, rather than at the base of the stem. Use a soil moisture meter to verify that water is penetrating at least 6 inches deep.
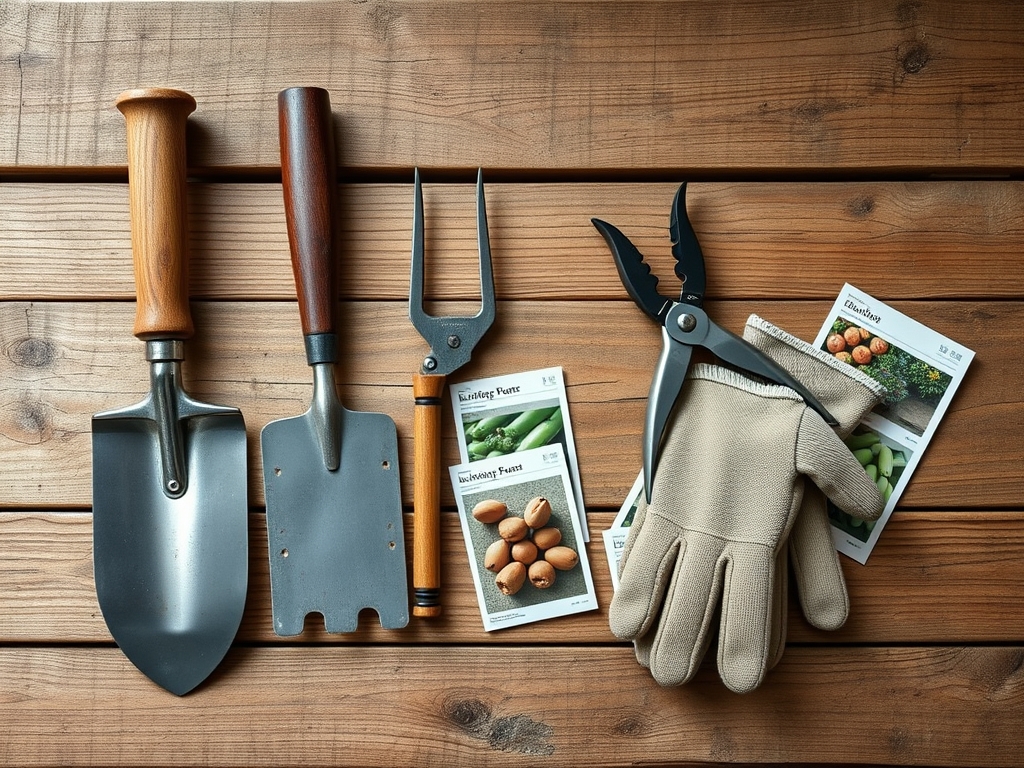
Keep your hori-hori knife sharp for removing any opportunistic weeds that take root in the margins. Use bypass pruners to maintain a 6-inch clearance between foliage and the path surface; this improves airflow and reduces the incidence of fungal pathogens like powdery mildew. Check the level of the tiles annually; if settling occurs, lift the affected tile and add sharp sand to restore the grade.
The Yield:
If your path winds through a cutting garden or edible plot, timing the harvest is critical. For flowers like zinnias or dahlias, harvest when the buds are half-open. For herbs, harvest before the plant enters the reproductive stage to ensure the highest concentration of essential oils.
To maintain "day-one" freshness, use a sharp blade to avoid crushing the vascular tissue (xylem and phloem). Immediately submerge the stems in 100-degree Fahrenheit water to remove air embolisms and facilitate rapid hydration. Store in a cool, dark location for two hours before arranging.
FAQ:
How deep should I dig for a clay tile path?
Excavate to a total depth of 6 to 8 inches. This accommodates 4 inches of compacted gravel, 1 inch of sand, and the thickness of the tile. Proper depth ensures structural stability and prevents frost heaving in cold climates.
Can I lay clay tiles directly on dirt?
No. Placing tiles on native soil leads to uneven settling and cracking. Soil lacks the drainage and load-bearing capacity of an aggregate base. A proper sub-base prevents soil compaction and protects the rhizosphere of adjacent plants.
What is the best sand for tile joints?
Use polymeric sand or sharp sand. These materials provide the necessary friction to lock tiles in place. Avoid soft, rounded sands, which wash away easily and do not provide the structural "interlock" required for a permanent walkway.
How do I prevent weeds from growing between tiles?
Install a heavy-duty geotextile fabric beneath the gravel base. This creates a physical barrier against the soil seed bank. Additionally, ensure joints are tightly packed with polymeric sand to prevent organic matter from accumulating and supporting germination.