8 Neat Ways How to Build a Compost Enclosure
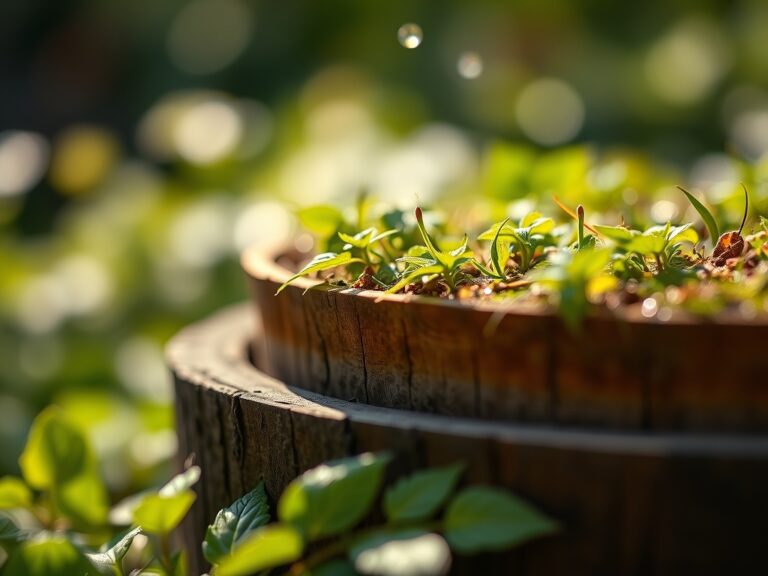
Damp earth rich in actinomycetes produces a distinct olfactory profile that signals biological health. When the turgor pressure of a plant is optimal, the leaves stand rigid; this indicates a rhizosphere capable of efficient nutrient uptake. Achieving this level of soil vitality requires a steady supply of decomposed organic matter. Learning how to build a compost enclosure allows a gardener to manage the thermophilic decomposition process effectively, turning raw carbon and nitrogen into stable humus.
The structural integrity of your enclosure dictates the internal temperature of the pile. To reach the thermophilic range of 135 to 160 degrees Fahrenheit, the enclosure must provide sufficient insulation while allowing for aerobic respiration. A pile smaller than 3 cubic feet often fails to retain enough metabolic heat to kill weed seeds and pathogens. Conversely, a pile that is too large may become anaerobic at the core due to compaction and lack of oxygen. By following a systematic construction approach, you create a controlled environment where microbial populations can thrive, eventually yielding a product with a high Cation Exchange Capacity (CEC). This process ensures that your garden beds receive a nutrient-dense amendment that improves soil structure and water retention.
Materials:
Selecting the right materials for your enclosure depends on the desired longevity and thermal properties. Common options include **heat-treated (HT) cedar**, **galvanized hardware cloth**, or **recycled pallets**. Avoid chemically treated lumber containing chromated copper arsenate, as these compounds can leach into the finished compost and alter the soil pH. The ideal finished product should have a **pH between 6.0 and 8.0** to ensure maximum nutrient availability.
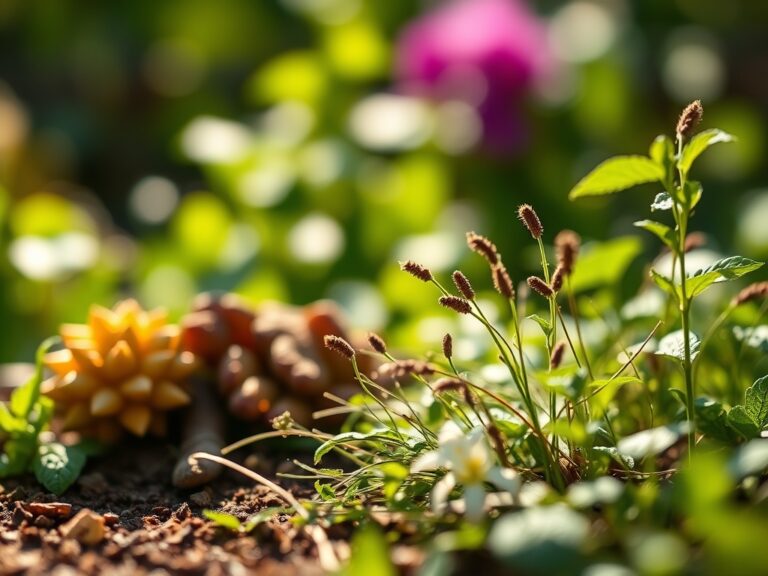
The substrate within the enclosure should eventually resemble a friable loam. To achieve a balanced NPK ratio (typically 1.0-0.5-1.0 in finished compost), you must manage the Carbon-to-Nitrogen (C:N) ratio of the inputs. Aim for a 30:1 C:N ratio. High-carbon "browns" include dried leaves and straw, while high-nitrogen "greens" include fresh grass clippings and kitchen scraps. A well-managed enclosure facilitates the transition of these raw materials into a substance with high porosity and excellent drainage.
Timing:
Composting efficiency is tied to the ambient temperature and the Hardiness Zone. In Zones 3 through 6, microbial activity slows significantly during the winter months as the pile temperature drops below 40 degrees Fahrenheit. In these regions, the enclosure should be insulated with straw bales or wrapped in heavy-duty plastic to maintain a baseline level of biological activity. In Zones 7 through 11, the challenge is often moisture retention; high evaporation rates can desiccate the pile and stall decomposition.
The biological clock of the garden also dictates when to build and harvest compost. The most critical window for application is during the transition from the vegetative to the reproductive stages of plant growth. For most annuals, this occurs in late spring or early summer. Applying finished compost during this window provides a slow-release source of phosphorus and potassium, which supports flower and fruit development. Ensure the compost has reached full senescence—meaning it is dark, crumbly, and no longer generates heat—before application to avoid nitrogen sequestration.
Phases:

Sowing the Pile
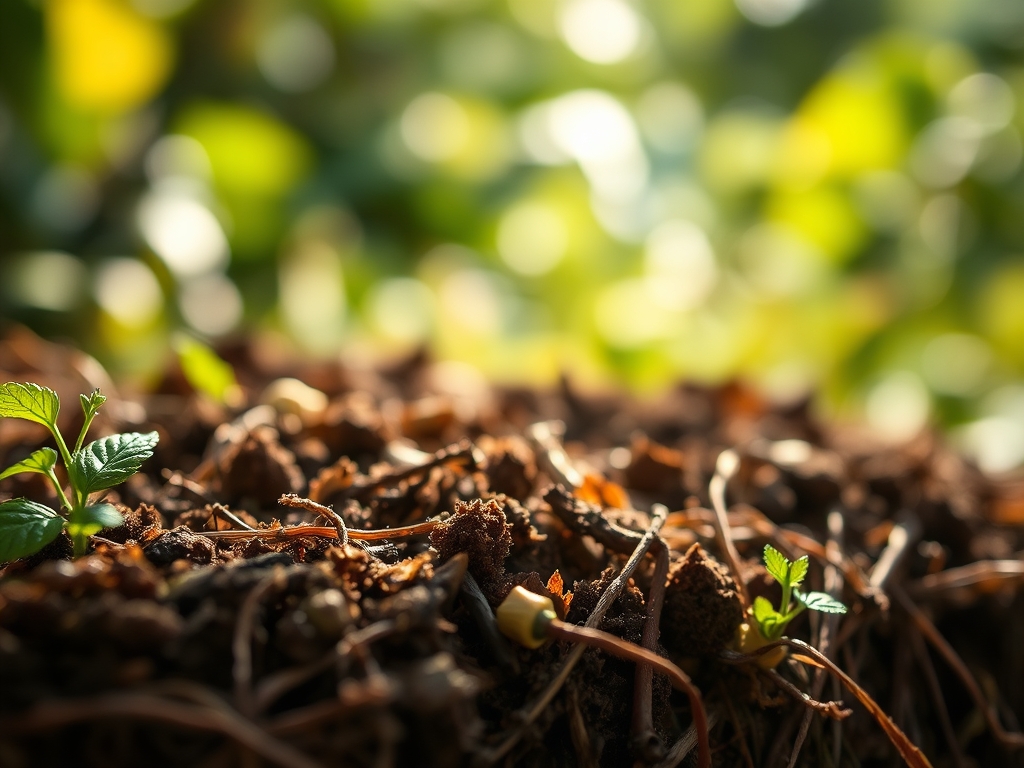
The initial phase involves layering materials to kickstart microbial colonization. Start with a 6-inch layer of coarse carbon materials, such as chipped branches, at the base to facilitate airflow. Follow this with a 4-inch layer of nitrogen-rich materials.
Pro-Tip: Incorporating a shovel of existing garden soil introduces indigenous microorganisms and mycorrhizal fungi. This microbial inoculation ensures that the decomposition process begins immediately through established fungal networks.
Transplanting and Turning
As the internal temperature peaks, the pile must be turned to move cooler exterior material to the center. This aeration provides the oxygen necessary for aerobic bacteria to continue the breakdown of complex lignins. Use a manure fork to lift and fluff the material every 7 to 10 days.
Pro-Tip: Turning the pile prevents the accumulation of organic acids that can lower the pH. Maintaining an aerobic environment prevents the development of anaerobic bacteria that produce methane and foul odors.
Establishing Stability
The final phase is the curing stage. Once the pile no longer heats up after turning, it must sit undisturbed for 4 to 8 weeks. During this time, the microbial population shifts from thermophilic bacteria to actinomycetes and fungi.
Pro-Tip: Allowing the compost to cure ensures the stabilization of ammonium into nitrate. This prevents ammonia toxicity, which can burn sensitive root hairs and inhibit the plant's ability to regulate turgor pressure.
The Clinic:
Monitoring the physiological state of your compost pile is essential for a high-quality yield.
- Symptom: Putrid Odor (Rotten Eggs)
- Solution: This indicates anaerobic conditions and excess moisture. Incorporate dry carbon (straw or sawdust) and turn the pile to increase oxygenation.
- Symptom: Cold Pile (No Decomposition)
- Solution: This is often a result of a nitrogen deficiency or low moisture. Add "green" materials like urea or fresh grass clippings and ensure the pile is as damp as a wrung-out sponge.
- Symptom: Ammonia Smell
- Solution: This suggests a C:N ratio that is too low (excess nitrogen). Add high-carbon materials like shredded cardboard to balance the chemistry.
Fix-It for Nitrogen Chlorosis: If your plants show yellowing of older leaves, your compost may not be fully finished. Unfinished compost can cause nitrogen immobilization, where soil microbes consume available nitrogen to break down the remaining carbon. Supplement with a liquid seaweed fertilizer until the soil biology stabilizes.
Maintenance:
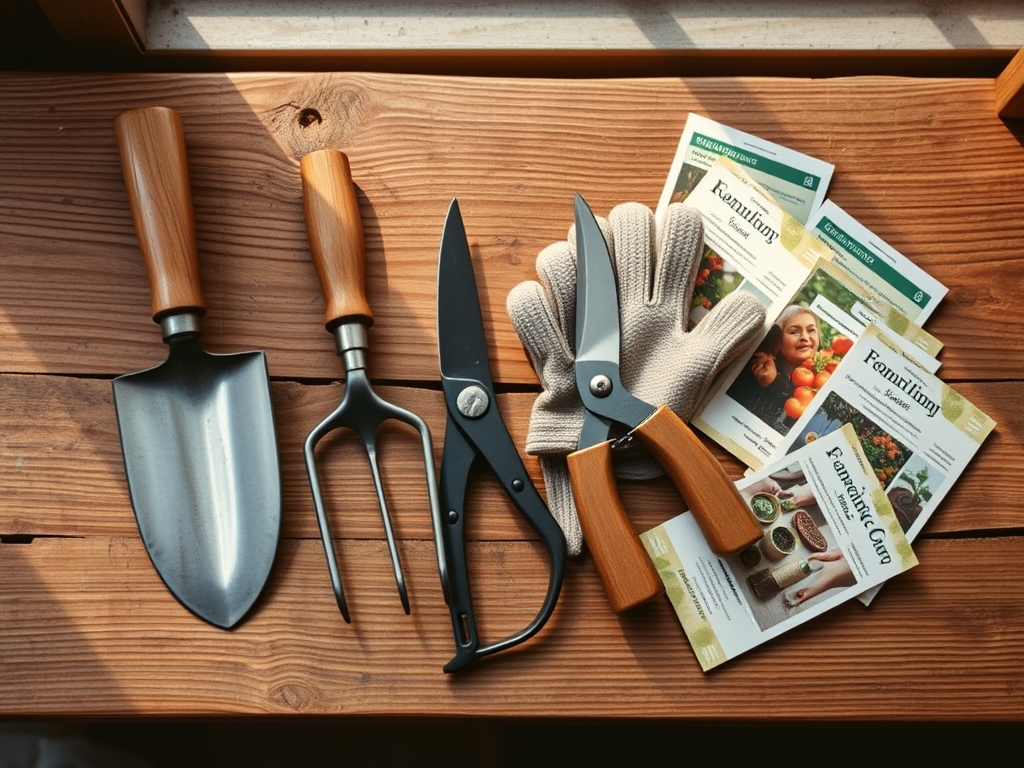
Effective maintenance requires precision tools and consistent data. Use a soil moisture meter to ensure the pile remains between 40% and 60% moisture content. If the pile feels dry, apply 1.5 inches of water across the surface, ensuring even penetration to the core.
For structural maintenance, use a hori-hori knife to scrape away any invasive root systems that may attempt to grow into the base of the enclosure from the surrounding soil. Use bypass pruners to chop larger stalks and stems into 1-inch pieces before adding them to the pile; smaller particle sizes increase the surface area available for microbial enzymatic activity. Check the structural integrity of the enclosure walls annually, replacing any boards that show signs of advanced fungal decay.
The Yield:
Harvesting compost is a matter of timing and screening. The material is ready when it is dark brown, smells earthy, and the original components are no longer recognizable. Use a 1/4-inch hardware cloth screen to sift the compost, returning any large, undecomposed fragments to the active pile.
For "day-one" freshness and maximum biological potency, use the compost immediately after sifting. If storage is necessary, keep the compost in a shaded area and cover it with a breathable tarp to prevent nutrient leaching from rainfall. Finished compost should be applied at a depth of 1 to 2 inches to the soil surface or incorporated into the top 6 inches of the planting bed to enhance the soil's water-holding capacity and biological activity.
FAQ:
How big should a compost enclosure be?
A functional enclosure should be at least 3 feet wide, 3 feet deep, and 3 feet tall. This 27 cubic foot minimum volume provides the necessary insulation to maintain thermophilic temperatures required for efficient decomposition.
What is the best wood for a compost bin?
Cedar and Redwood are the superior choices due to their natural resistance to rot and insects. They contain tannins that inhibit fungal decay, ensuring the structure lasts for several years without the need for chemical treatments.
How often should I turn my compost?
Turn the pile every 7 to 14 days. Frequent aeration provides the oxygen necessary for aerobic microbes to thrive. Monitoring the internal temperature with a long-stem thermometer can help determine the exact timing for turning.
Can I put weeds in my compost enclosure?
Only if the pile reaches 145 degrees Fahrenheit for at least three consecutive days. This temperature is sufficient to denature weed seeds. If your pile remains cool, avoid adding invasive species or seed-bearing weeds to prevent contamination.