10 Pro Ways How to Design a Kitchen Herb Garden
Crushing a fresh leaf of Rosmarinus officinalis between your thumb and forefinger releases volatile oils that linger long after the work is done. This tactile connection to the plant is the foundation of high-level horticulture. Understanding how to design a kitchen herb garden requires more than aesthetic placement; it demands a mastery of the rhizosphere and the physiological needs of Mediterranean and temperate species. Success is measured by turgor pressure and the concentration of essential oils within the glandular trichomes. You must engineer an environment where drainage is instantaneous and solar radiation is maximized. A poorly designed garden leads to root senescence and fungal pathogens. A professional design ensures a constant supply of high-grade culinary aromatics by balancing soil chemistry with precise microclimate management. Every square inch of the planting bed must serve a functional purpose in the life cycle of the herb.
Materials:
The substrate is the most critical component of your design. Most culinary herbs require a **pH between 6.0 and 7.0**. Mediterranean herbs like lavender and thyme prefer the higher end of that scale, around **6.7 to 7.0**, to facilitate the uptake of calcium and magnesium. Use a **friable loam** consisting of 40 percent sand, 40 percent silt, and 20 percent clay to ensure adequate pore space for oxygen.
For the initial establishment phase, utilize a balanced NPK ratio of 5-10-5. The higher phosphorus content encourages robust root development without forcing excessive, weak vegetative growth. As plants mature, transition to a 10-10-10 slow-release organic fertilizer. Avoid high-nitrogen blends like 20-0-0; excessive nitrogen increases water content in the leaves but dilutes the concentration of essential oils, resulting in diminished flavor profiles. The Cation Exchange Capacity (CEC) of your soil should be maintained through the addition of well-aged compost, which acts as a buffer for nutrient availability.
Timing:
Timing is dictated by the USDA Hardiness Zones and the specific photoperiod requirements of each species. In Zones 7 through 9, perennial herbs can be established in the autumn to allow for root expansion during the cool season. In Zones 3 through 6, planting must wait until the soil temperature consistently reaches 60 degrees Fahrenheit.
The "Biological Clock" of an herb garden is the transition from the vegetative stage to the reproductive stage. For herbs like cilantro (Coriandrum sativum), this transition is rapid. Once the plant perceives a photoperiod longer than 12 hours or experiences heat stress above 85 degrees Fahrenheit, it will bolt. This shift redirects energy from leaf production to seed production, causing the leaves to become bitter. Professional designers use "succession planting" every 21 days to ensure a continuous vegetative harvest regardless of the reproductive clock.
Phases:
Sowing
Direct sow seeds at a depth of two times the seed diameter. For small seeds like oregano, surface sowing is required as they are photoblastic and need light to trigger germination. Maintain a consistent moisture level of 70 percent in the top inch of soil until the first true leaves emerge.
Pro-Tip: Utilize the principle of Phototropism by rotating indoor seed trays 180 degrees daily. This prevents the elongation of the hypocotyl, ensuring a sturdy stem that can support the plant's future biomass.
Transplanting
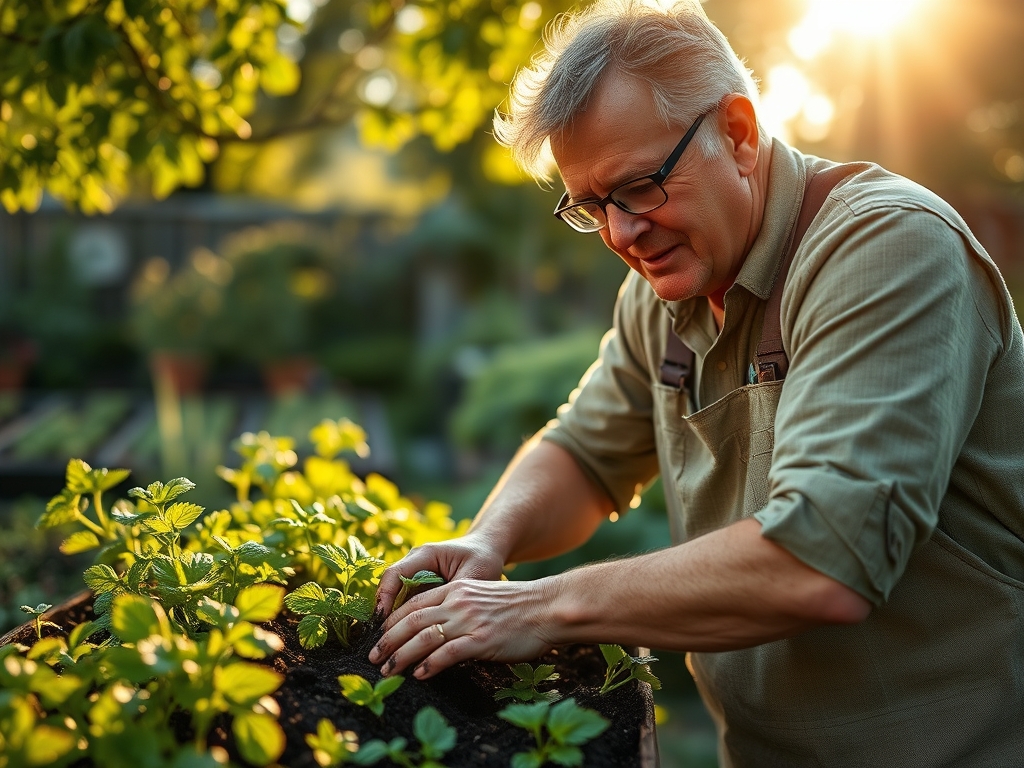
When seedlings reach three inches in height, transplant them into the garden. Dig a hole twice the width of the root ball. Ensure the crown of the plant sits exactly at the soil line to prevent crown rot.
Pro-Tip: Inoculate the planting hole with mycorrhizal fungi. This symbiotic relationship extends the root system's reach, increasing the plant's ability to absorb phosphorus and water during periods of environmental stress.
Establishing
During the first 14 days, the focus is on mitigating transplant shock. Provide temporary shade if temperatures exceed 80 degrees Fahrenheit. Do not apply fertilizer during this window; allow the roots to seek nutrients naturally to encourage expansion.
Pro-Tip: Practice Apical Dominance suppression. Pinch off the terminal buds of basil and mint once they have three sets of true leaves. This redirects auxins to the lateral buds, creating a bushier, more productive plant.
The Clinic:
Physiological disorders often mimic disease but are usually the result of environmental or nutritional imbalances.
Symptom: Interveinal chlorosis (yellowing between green veins) on new growth.
Solution: This indicates an Iron (Fe) deficiency, often caused by a pH above 7.5. Lower the pH using elemental sulfur or apply chelated iron.
Symptom: Purpling of the underside of older leaves.
Solution: This is a classic Phosphorus (P) deficiency. This often occurs in cold soils where microbial activity is low. Apply a water-soluble high-phosphorus starter fertilizer.
Symptom: Tip burn on young succulent leaves.
Solution: This is caused by Calcium (Ca) localized deficiency, often due to inconsistent watering. Ensure the soil moisture meter stays in the "moist" range to facilitate calcium transport through the xylem.
Fix-It for Nitrogen Chlorosis: If the entire plant is pale green and growth is stunted, apply a fish emulsion (5-1-1). Nitrogen is mobile within the plant; the plant will sacrifice older leaves to feed new growth, so treat immediately to preserve the harvest.
Maintenance:
Precision maintenance is the difference between a surviving garden and a thriving one. Deliver exactly 1.5 inches of water per week at the drip line. Use a soil moisture meter to verify that the root zone at a 4-inch depth is damp but not saturated. Over-watering leads to anaerobic conditions, killing the beneficial aerobic bacteria in the soil.
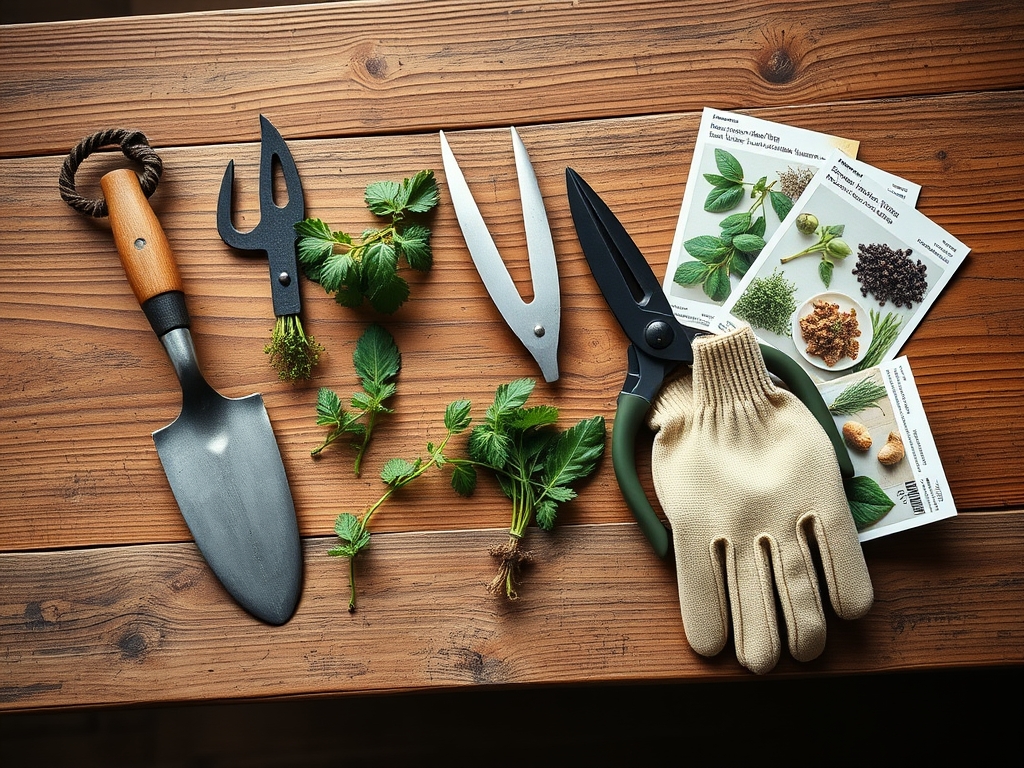
Use a hori-hori knife for weeding to ensure you remove the entire taproot of invasive species without disturbing the herb's lateral roots. For pruning, use bypass pruners rather than anvil pruners; bypass blades provide a clean, scissor-like cut that heals faster and reduces the risk of botrytis. Sanitize tools with 70 percent isopropyl alcohol between plants to prevent the mechanical transmission of pathogens.
The Yield:
Harvesting should occur in the early morning after the dew has evaporated but before the sun's heat volatilizes the essential oils. For leafy herbs, never remove more than one-third of the total biomass at a single time. This ensures the plant retains enough leaf area for photosynthesis to recover.
Use sharp shears to cut just above a node. Post-harvest, place the stems immediately into a container of water at 40 degrees Fahrenheit. This maintains turgor pressure and slows the rate of senescence. For woody herbs like rosemary, harvest the top four inches of new growth, as the older wood will not regenerate as effectively.
FAQ:
What is the best soil for a kitchen herb garden?
A well-draining, friable loam with a pH of 6.0 to 7.0 is ideal. Ensure the soil has a high Cation Exchange Capacity (CEC) by incorporating organic compost to hold and exchange essential nutrients like potassium and magnesium.
How much sun do kitchen herbs need?
Most culinary herbs require a minimum of six to eight hours of direct solar radiation daily. This light intensity is necessary for the synthesis of complex carbohydrates and the production of the essential oils that provide flavor.
Can I grow herbs in containers?
Yes, provided the container has a minimum volume of one gallon and excellent drainage. Use a professional-grade soilless mix containing peat moss and perlite to prevent compaction and ensure adequate oxygen reaches the rhizosphere.
How often should I fertilize my herbs?
Apply a balanced 10-10-10 fertilizer every four to six weeks during the active growing season. Avoid over-fertilizing, as excessive nutrients can lead to rapid vegetative growth with a significant reduction in the concentration of aromatic compounds.