6 Key Steps to Prevent Root Rot
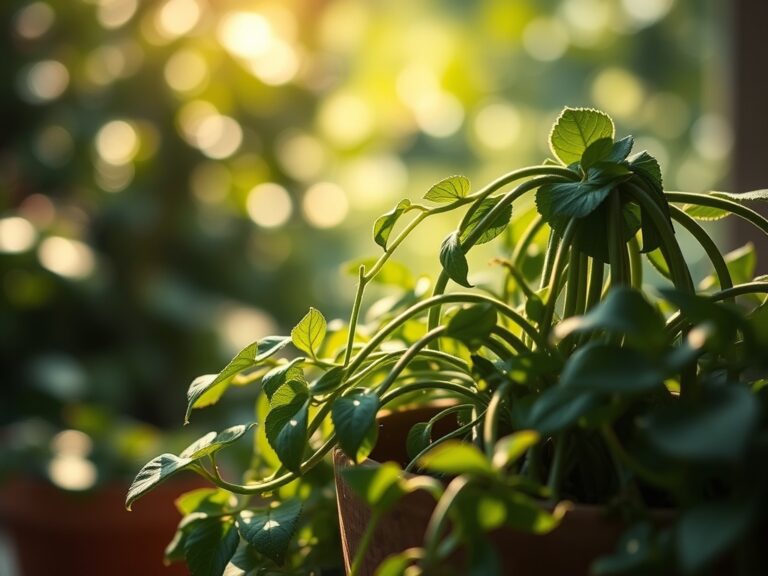
Healthy roots smell like fresh earth and snap with a crisp resistance that indicates high internal turgor pressure. When oxygen is displaced by stagnant water, the rhizosphere becomes an anaerobic graveyard where pathogens like Pythium and Phytophthora thrive. Detecting the early signs of decay requires a clinical eye for yellowing foliage and softening stems. Implementing specific steps to prevent root rot ensures that the vascular system remains unobstructed and nutrient uptake remains at peak efficiency.
The primary mechanism of root failure is the exclusion of oxygen. Most terrestrial plants require a soil atmosphere containing at least 10 to 15 percent oxygen to maintain cellular respiration. When saturation occurs, the plant shifts to fermentation, producing ethanol which attracts opportunistic fungi. To stop this cycle, you must manage the physical structure of the substrate and the frequency of hydration. Prevention is a structural challenge that begins with the selection of the growing medium and the configuration of the drainage system.
Materials:
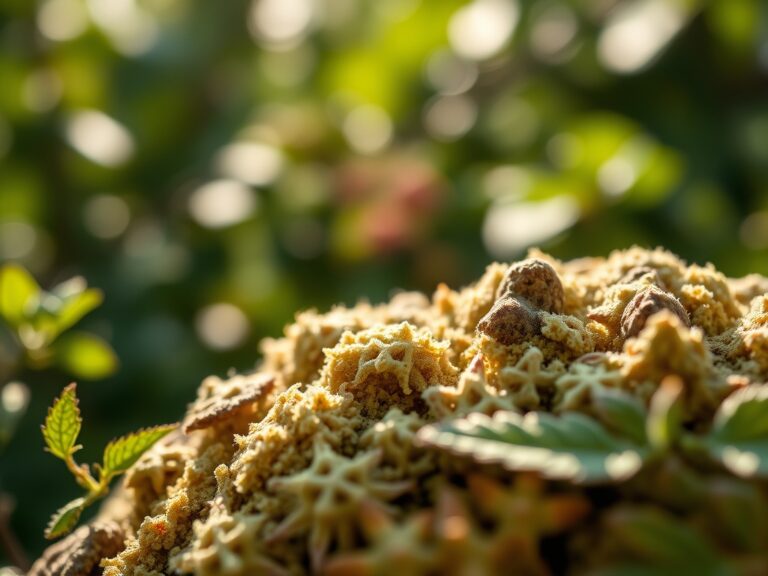
Successful prevention starts with a substrate that balances water retention with air porosity. A friable loam is the gold standard; it should consist of roughly 40 percent sand, 40 percent silt, and 20 percent clay. For container gardening, a mix of 60 percent aged pine bark, 20 percent perlite, and 20 percent peat moss provides the necessary macropores for gas exchange.
The chemical profile of the soil dictates nutrient availability and microbial health. Aim for a pH range of 6.0 to 6.8 for most temperate species to maximize the bioavailability of phosphorus and micronutrients. For the initial establishment phase, use a low-impact NPK ratio such as 5-10-5. This emphasizes root development through phosphorus without forcing excessive vegetative growth via high nitrogen. High nitrogen levels can lead to succulent, thin-walled cells that are more susceptible to fungal penetration. Ensure the Cation Exchange Capacity (CEC) is between 15 and 25 meq/100g to allow for stable nutrient buffering.
Timing:
Timing is a function of the environmental thermal window and the physiological stage of the plant. In Hardiness Zones 5 through 8, the primary risk for root rot occurs during the shoulder seasons of spring and autumn when soil temperatures hover between 45 and 55 degrees Fahrenheit. During these periods, microbial activity is low but moisture levels are often high due to seasonal rains.
The "Biological Clock" of the plant dictates its water requirements. During the vegetative stage, the plant has a high transpiration rate and can handle more frequent irrigation. However, as the plant transitions to the reproductive stage (flowering or fruiting), the metabolic focus shifts. Over-watering during this transition is a common mistake that leads to root stress. Always monitor the photoperiod; as days shorten, the plant's metabolic rate slows, requiring a significant reduction in water volume to prevent saturation in the root zone.
Phases:
Sowing
When starting seeds, use a sterile, soilless medium to avoid introducing pathogens. Maintain a constant temperature of 70 degrees Fahrenheit to ensure rapid germination. Slow germination increases the time seeds sit in moist soil, raising the risk of "damping off," a form of early-stage root rot.
Pro-Tip: Utilize mycorrhizal inoculants during sowing. These symbiotic fungi colonize the root system, extending the surface area for nutrient absorption and physically blocking pathogenic fungi from attaching to the root cortex.
Transplanting
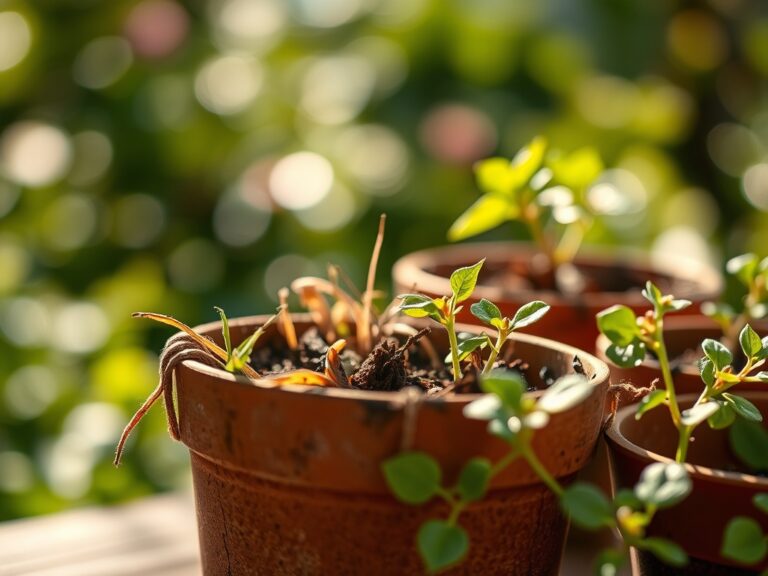
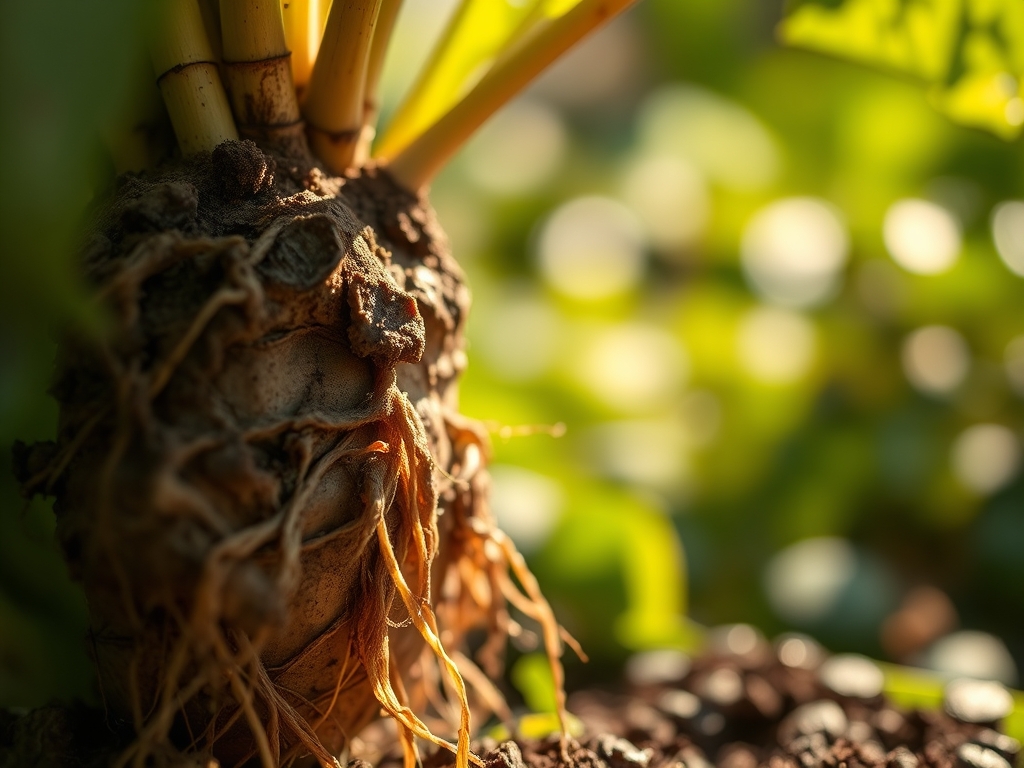
Before moving a plant, inspect the root ball. Healthy roots are white or tan. If you see brown, slimy tips, prune them back to healthy tissue using sterilized shears. Set the plant at the same depth it was previously growing. Burying the crown too deep leads to stem rot and limits oxygen access to the upper rhizosphere.
Pro-Tip: Avoid heavy fertilization immediately after transplanting. High salt concentrations in the soil can cause osmotic shock, drawing water out of the young roots and creating microscopic wounds that serve as entry points for rot-causing organisms.
Establishing
During the first 14 to 21 days, focus on deep, infrequent watering to encourage roots to grow downward. Surface-level moisture encourages shallow root systems that are more prone to temperature fluctuations and rot.
Pro-Tip: Monitor for auxin suppression. If the leading shoot stops growing (apical dominance loss), it may indicate the roots are struggling with low oxygen. Reducing water immediately allows the plant to re-establish the hormonal balance required for root elongation.
The Clinic:
Physiological disorders often mimic the symptoms of root rot, but their solutions differ.
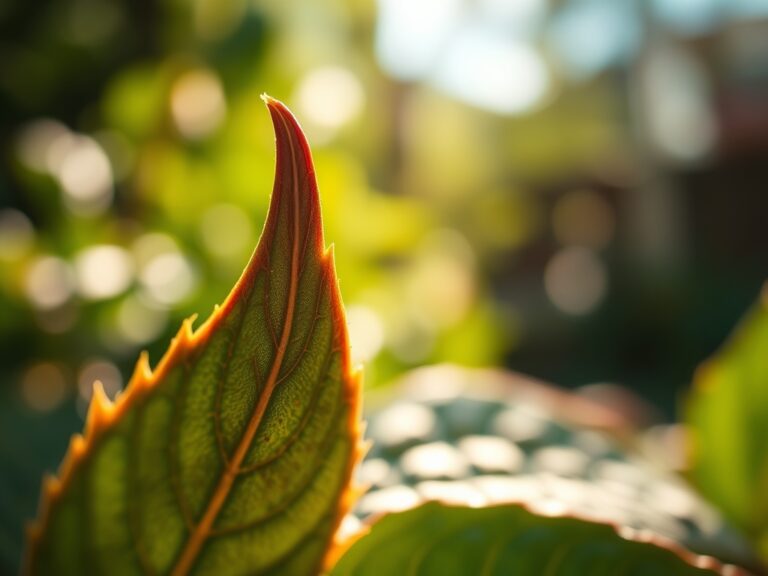
Symptom: Interveinal Chlorosis
- Identification: Yellowing between the leaf veins while the veins remain green.
- Solution: This is often a sign of Iron or Magnesium deficiency caused by a pH imbalance. Check soil pH; if it is above 7.0, the plant cannot uptake iron even if it is present. Lower the pH using elemental sulfur.
Symptom: Leaf Epinasty
- Identification: Downward curling or twisting of leaves without wilting.
- Solution: This is a classic sign of anaerobic stress. The roots are saturated and producing ethylene gas. Cease irrigation immediately and use a soil probe to aerate the root zone.
Symptom: Nitrogen Chlorosis
- Identification: General paling or yellowing of the oldest leaves first.
- Fix-It: Apply a water-soluble fertilizer with a 10-5-5 ratio. Nitrogen is mobile within the plant; the plant is moving nitrogen from old leaves to support new growth because the roots are failing to pull enough from the soil.
Maintenance:
Precision is the hallmark of a professional. Use a soil moisture meter to check the moisture level at a depth of 4 to 6 inches before adding water. For established landscape plants, provide 1.5 inches of water per week delivered at the drip line rather than the base of the trunk. This encourages the lateral spread of the root system.
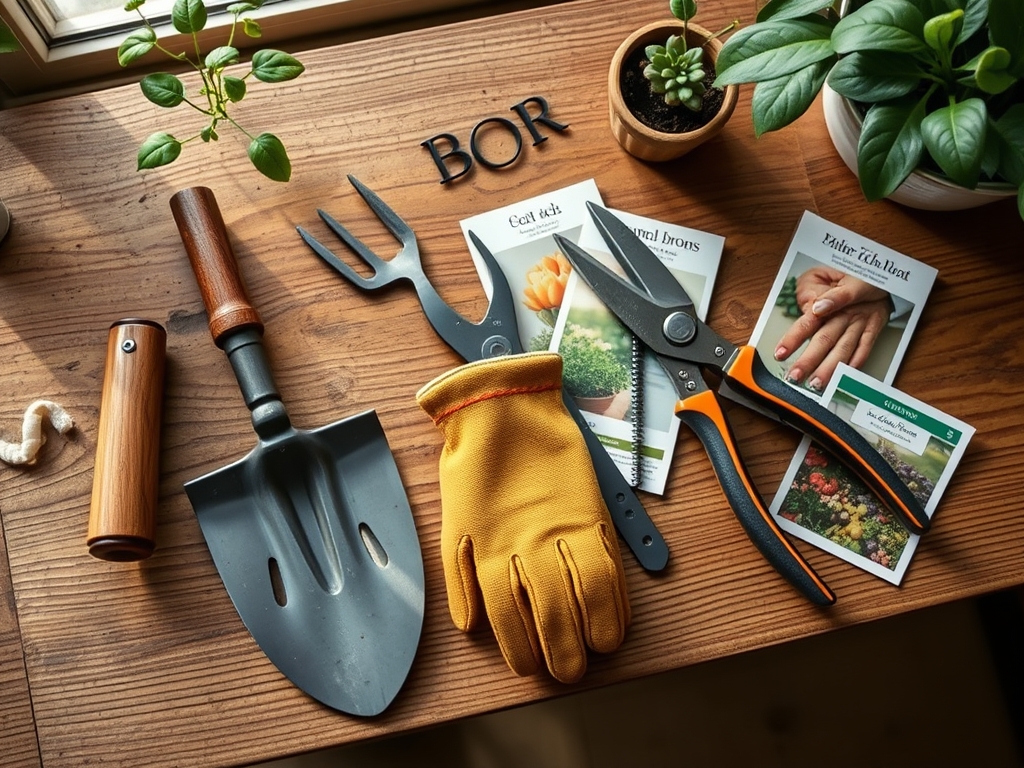
Keep a hori-hori knife sharpened to remove weeds that compete for oxygen and nutrients. When pruning, use bypass pruners to make clean cuts; ragged tears on the canopy can stress the plant and reduce the energy available for root defense. If you suspect soil compaction, use a core aerator to remove 3-inch plugs of soil, which improves the gas exchange rate within the rhizosphere.
The Yield:
If you are growing for harvest, timing is critical for maintaining cellular integrity. Harvest in the early morning when turgor pressure is at its peak. This ensures the plant tissues are fully hydrated and crisp. For flowers, use a sharp blade to cut at a 45-degree angle and immediately submerge the stems in water at 100 degrees Fahrenheit. This "heat shock" can help clear air bubbles from the xylem, ensuring the plant continues to draw water even after it has been separated from its root system. For root crops, avoid washing them until immediately before use; excess moisture during storage will trigger the same rot mechanisms seen in the field.
FAQ:
How do I know if my plant has root rot?
Gently remove the plant from its container or dig near the base. Healthy roots are firm and white. Rotting roots appear brown or black, feel slimy to the touch, and emit a sulfurous, sour odor.
Can a plant recover from root rot?
Recovery is possible if at least 50 percent of the root system is still healthy. Prune away all decayed tissue, treat the remaining roots with a diluted hydrogen peroxide solution, and repot in fresh, well-draining substrate.
Does mulch cause root rot?
Mulch is beneficial but can cause rot if applied too thickly or against the stem. Maintain a 2-to-3-inch layer and keep it at least 4 inches away from the plant base to allow for evaporation.
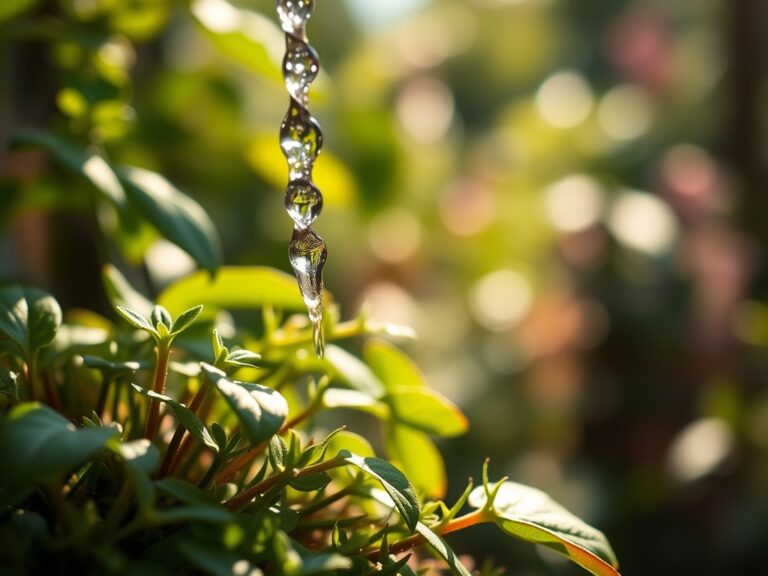
How often should I water to prevent rot?
There is no fixed schedule. Water only when the top 2 inches of soil feel dry to the touch. Environmental factors like humidity, wind, and temperature dictate the actual transpiration rate and water necessity.