10 Simple Steps to Build a Firewood rack
The scent of damp, decaying organic matter signals the transition of the forest floor into a state of dormancy. As turgor pressure drops in deciduous leaves and senescence begins, the priority shifts from cultivation to preservation. Seasoning timber requires a dedicated structure to prevent fungal colonization and maintain low moisture content. Following specific steps to build a firewood rack ensures your fuel remains above the soil line, protecting the integrity of the wood fibers from ground-level moisture and pests.
Materials:
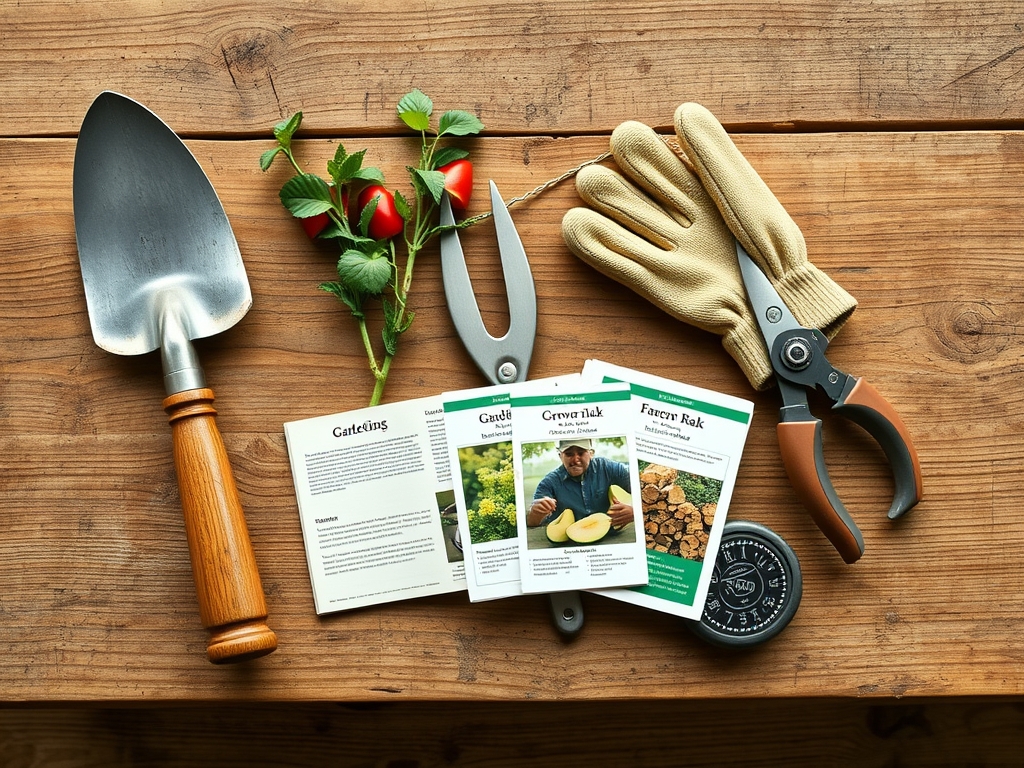
While a wood rack is a structural project, its placement depends entirely on the soil substrate. Avoid placing the rack on raw, **friable loam** with high organic content; this soil type holds excessive moisture. Instead, target a site with a high **Cation Exchange Capacity (CEC)** that has been stabilized with gravel to prevent sinking. If the area is used for peripheral plantings, ensure the soil pH is maintained between **6.0 and 7.0**. Use pressure-treated 2×4 lumber for the base to resist rot. For nearby nitrogen-hungry plants, a balanced NPK ratio of **10-10-10** in the surrounding beds will offset any localized nutrient leaching caused by runoff from the woodpile.
Timing:
Construction should occur during the dormant season, typically between Hardiness Zones 4 and 7 after the first hard frost. This timing prevents the compaction of active rhizosphere zones and avoids disrupting the biological clock of nearby perennials. By building when the ground is frozen or dry, you minimize damage to the soil structure. Ensure the rack is completed before the spring thaw, as the transition from vegetative to reproductive stages in local flora makes the ground too soft for heavy structural loads.
Phases:
Sowing the Foundation
Clear a rectangular area measuring 4 feet by 8 feet. Level the ground using a rake and compact the soil to reduce pore space. Lay down four concrete deck blocks at each corner to act as the primary load-bearers.
Pro-Tip: Elevating the rack at least 6 inches above the soil surface prevents moisture wicking. This is vital because wood acts as a capillary mat; keeping it elevated stops the migration of soil-borne fungi into the timber.
Transplanting the Frame
Connect the deck blocks using 8-foot pressure-treated beams. Use galvanized lag bolts to secure the joints. The frame must be perfectly level to ensure even weight distribution. If the rack tilts, the center of gravity shifts, potentially collapsing the stack and crushing any underlying root systems.
Pro-Tip: Use a spirit level to check the horizontal plane. Even weight distribution prevents localized soil compaction, which can lead to anaerobic conditions in the soil and root suffocation for nearby shrubs.
Establishing the Uprights
Install four 4-foot vertical posts at the corners. Brace these with diagonal cross-members to prevent shearing forces. The vertical height should not exceed 5 feet to maintain structural stability and ease of access.
Pro-Tip: Leave at least 2 inches of space between the rack and any existing walls. This promotes airflow via the Venturi effect, accelerating the evaporation of sap and moisture from the wood. Proper airflow mimics the natural transpiration process, drying the wood from the inside out.
The Clinic:
Monitoring the wood rack environment is similar to diagnosing plant health. Look for these physiological and structural symptoms:
Symptom: White, thread-like filaments on the bottom layer of wood.
Solution: This is mycelium growth. Increase the elevation of the rack or improve drainage by adding a 3-inch layer of crushed stone beneath the structure.
Symptom: Rapid decay of the rack's base boards.
Solution: Check for soil contact. Wood-to-soil contact facilitates the transfer of decomposers. Replace with UC4B rated pressure-treated lumber designed for ground burial.
Symptom: Chlorosis in nearby ornamental plants.
Solution: This is often Nitrogen chlorosis caused by high carbon runoff (sawdust/bark) robbing the soil of nitrogen. Apply a high-nitrogen fertilizer with an NPK of 21-0-0 to the affected area.
Fix-It: If the rack begins to lean, the soil has likely reached its saturation point. Install a French drain or a gravel curtain to divert water away from the foundation.
Maintenance:
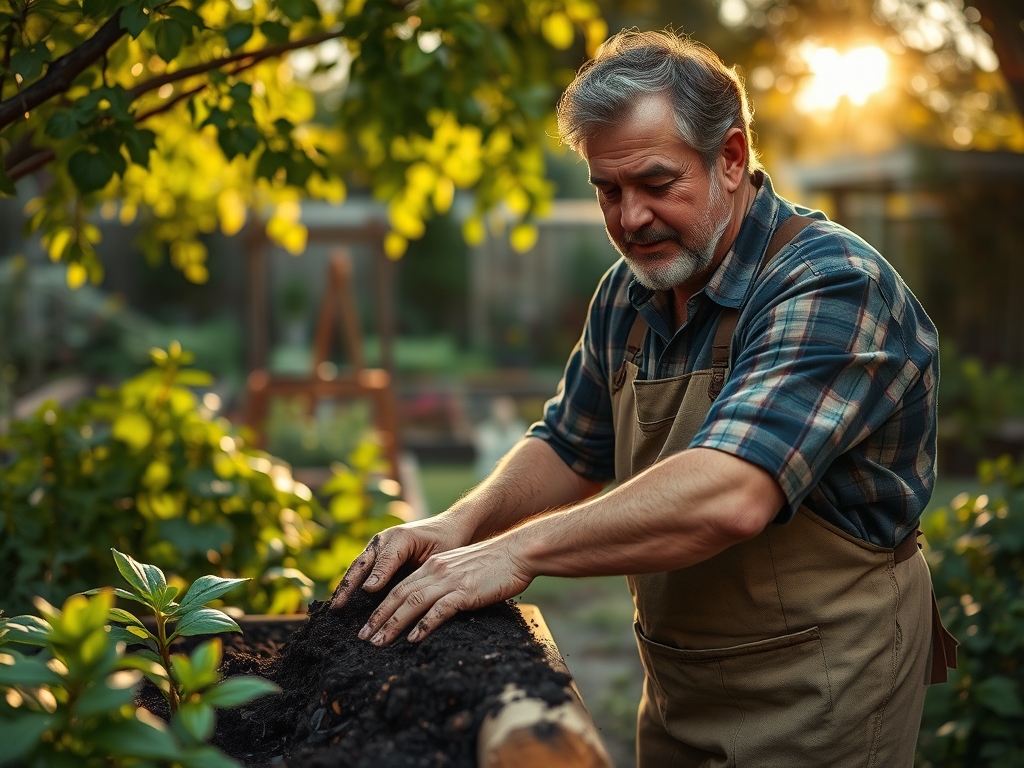
A firewood rack requires seasonal inspections to ensure structural integrity. Use a soil moisture meter around the base to check for drainage issues. If the soil remains at 80% saturation for more than 48 hours after rain, the site needs regrading. Use a hori-hori knife to clear any encroaching weeds or vines that might trap humidity against the wood. Prune back overhanging branches with bypass pruners to ensure the pile receives maximum solar radiation. Maintain a clear zone of 12 inches around the perimeter to prevent the "bridge" effect, where pests move from the wood to your garden plants.
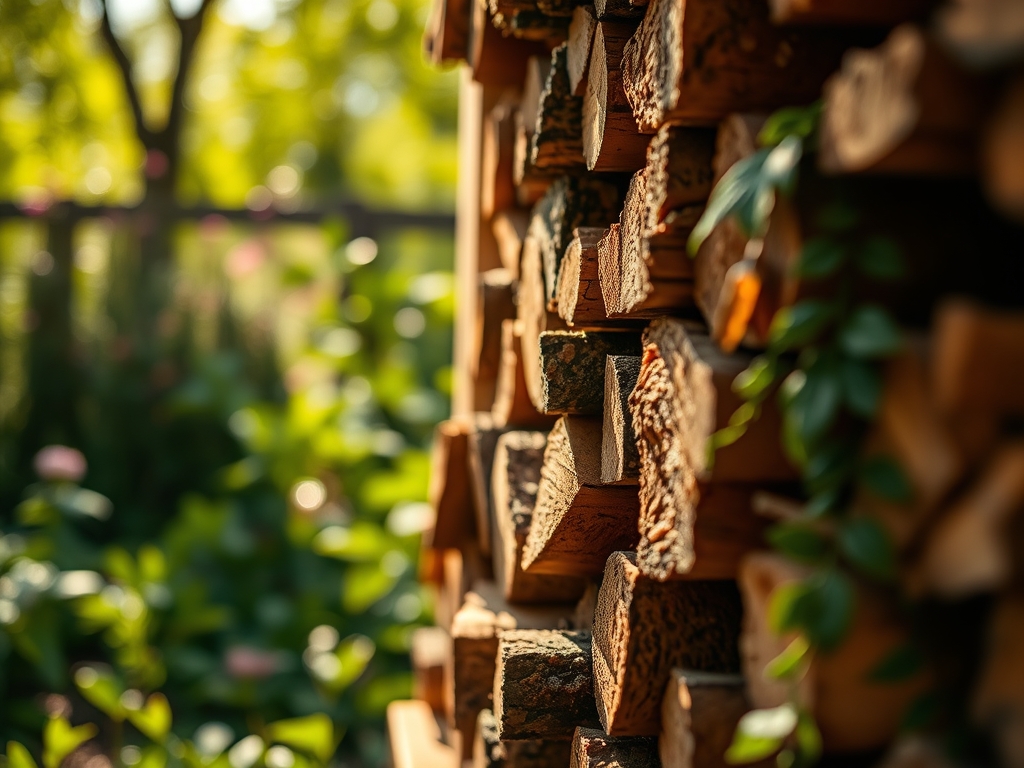
The Yield:
The yield of a well-constructed rack is seasoned firewood with a moisture content below 20%. Test the wood using a digital moisture meter by splitting a log and testing the interior face. Wood seasoned in a properly built rack will exhibit "checking" or small cracks at the ends, indicating the cellular collapse of the tracheids as water departs. This ensures a clean burn with minimal creosote buildup. For day-one freshness in your wood-burning experience, only bring in enough wood for 24 hours of use to prevent condensation in the home.
FAQ:
What is the best wood for a firewood rack?
Use pressure-treated pine or cedar. Pressure-treated lumber resists rot and insect infestation, while cedar contains natural oils that repel wood-boring beetles. Ensure all fasteners are galvanized or stainless steel to prevent corrosion from the wood treatments.
How high should I stack the firewood?
Limit the stack to 4 feet high. Stacking beyond this height increases the risk of instability and excessive soil compaction. A standard 4×8 foot rack holds exactly one cord of wood, which is the industry standard for measurement.
Can I build a rack directly on the grass?
No. Placing a rack on turf kills the grass by blocking photosynthesis and creates a moist microclimate that rots the bottom logs. Always use concrete blocks or a gravel pad to separate the wood from the living biomass.
How far from the house should the rack be?
Place the rack at least 30 feet from the home. This distance acts as a fire break and prevents wood-boring insects from migrating into the house structure. Ensure the location receives at least 6 hours of direct sunlight.