9 Simple Steps to Setup Self Watering Pots
The scent of anaerobic decay in a waterlogged container is the smell of failure; conversely, the crisp snap of a leaf with high turgor pressure signals a plant in physiological equilibrium. Mastering the steps to setup self watering pots requires moving beyond basic gardening into the realm of hydraulic engineering and soil physics. These systems rely on capillary action to move water from a sub-irrigation reservoir into the rhizosphere, ensuring consistent moisture levels without the oxygen deprivation common in traditional top-watering. By maintaining a steady volumetric water content, you prevent the physiological stress of drought-and-flood cycles that often lead to blossom end rot or stunted growth.
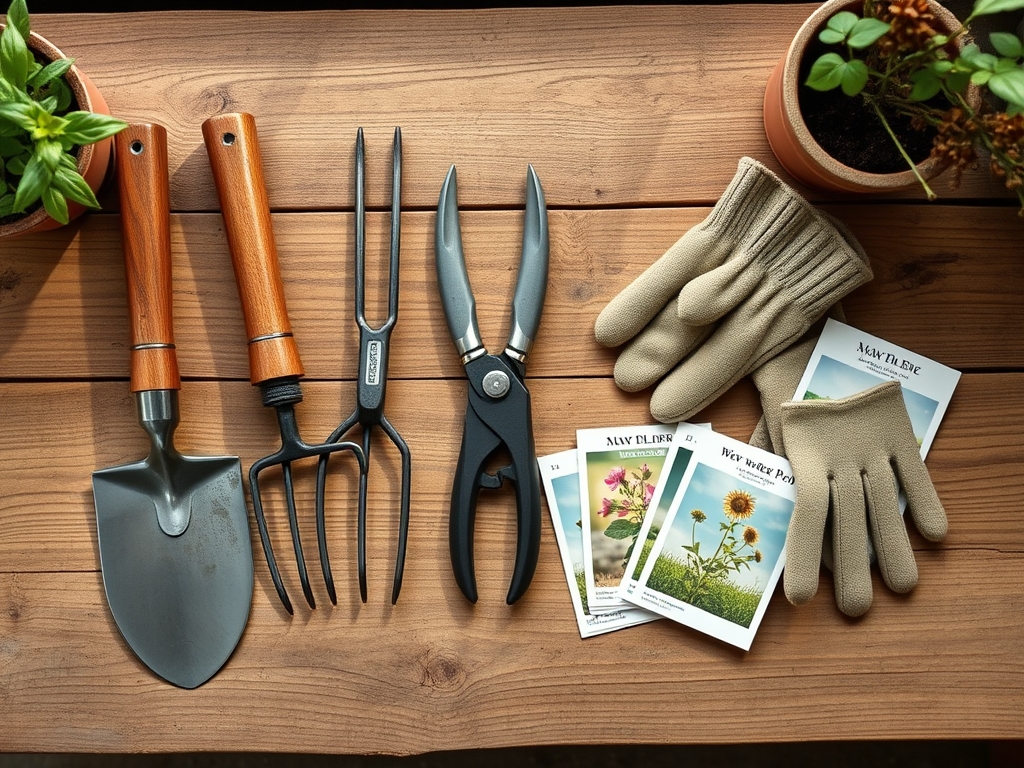
Materials:
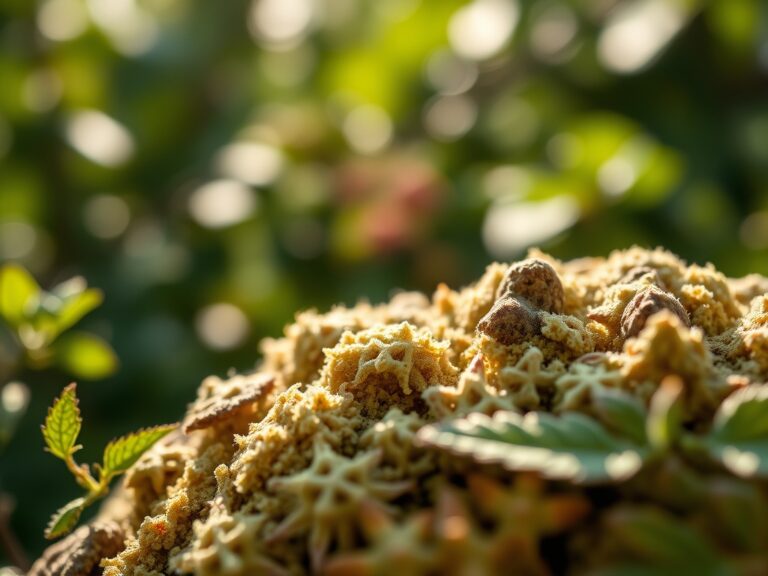
The success of a self-watering system depends entirely on the physical texture and chemical composition of the substrate. You require a friable medium with high porosity to facilitate wicking. Do not use standard “topsoil” or heavy garden clay; these will compact and lead to root asphyxiation.
Substrate and Nutrition Specifications:
- Base Medium: A mix of 60% sphagnum peat moss or coconut coir, 20% perlite, and 20% vermiculite. This ensures a high Cation Exchange Capacity (CEC) to hold nutrients while maintaining air-filled porosity.
- Target pH: Maintain a range of 5.8 to 6.5 for most horticultural crops. Use dolomitic lime to buffer acidity if using peat-based mixes.
- NPK Ratios: For vegetative growth, integrate a slow-release fertilizer with a 10-10-10 ratio. For fruiting crops like tomatoes, pivot to a 5-10-15 ratio to prioritize phosphorus and potassium over excessive nitrogen.
- Wicking Mechanism: Use a polyester or nylon wicking cord, or a perforated wicking chamber integrated into the pot design.
Timing:
Timing your installation is critical to align with the plant's biological clock. In Hardiness Zones 5 through 7, the window for setting up outdoor self-watering containers begins two weeks after the last predicted frost date, typically when soil temperatures consistently exceed 60 degrees Fahrenheit.
The transition from the vegetative stage to the reproductive stage is a period of high metabolic demand. For indeterminate species, the photoperiod dictates energy allocation. Setting up your pots in early spring allows the root system to colonize the substrate before the high-evapotranspiration demands of mid-summer. If you transplant too late, the plant may suffer from transplant shock, delaying the onset of senescence and reducing your total seasonal yield.
Phases:
Sowing and Germination
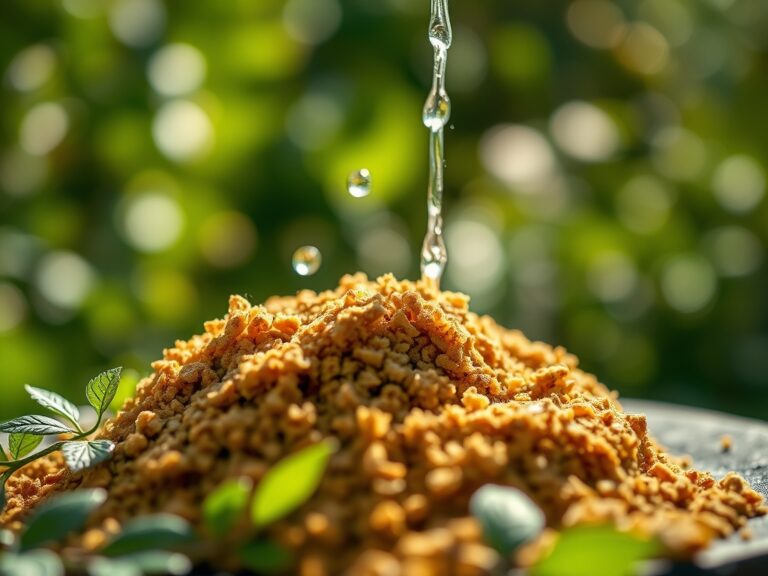
When starting seeds directly in a self-watering pot, you must top-water initially. Capillary action is often insufficient to reach the top half-inch of dry substrate where seeds reside. Maintain a consistent moisture level until the radicle emerges and the first true leaves appear.
Pro-Tip: Seedlings exhibit phototropism, growing toward light sources. Ensure 14 to 16 hours of high-intensity light to prevent leggy growth, which is caused by the elongation of cells on the shaded side of the stem due to auxin accumulation.
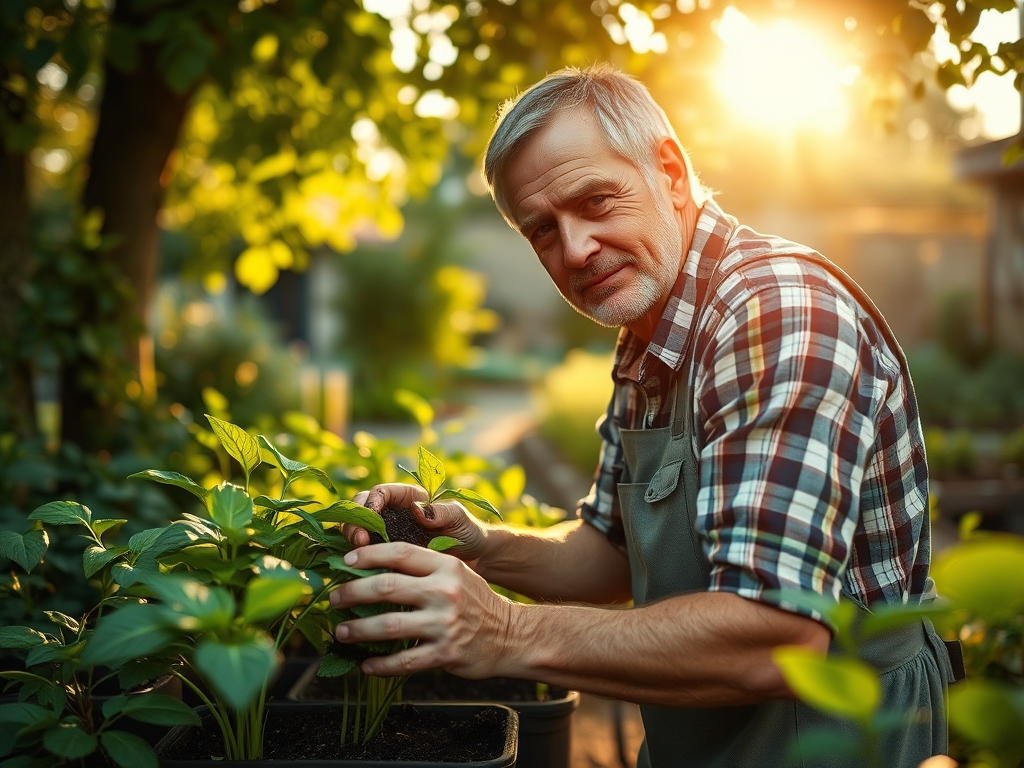
Transplanting
When moving a nursery start into the system, prune any circling roots with bypass pruners to encourage lateral branching. Position the root ball so the crown sits exactly at the substrate surface. Fill the reservoir immediately after transplanting to establish the hydraulic link.
Pro-Tip: Inoculate the root zone with mycorrhizal fungi. This symbiotic relationship expands the surface area of the root system, significantly increasing the uptake of phosphorus and micronutrients through the fungal hyphae.
Establishing the Hydraulic Link
The first 14 days are the establishment phase. During this time, monitor the moisture gradient using a soil moisture meter. The bottom third of the pot should register as "Wet," while the top third should remain "Moist."
Pro-Tip: Avoid auxin suppression by not over-handling the terminal buds during the establishment phase. Maintaining apical dominance ensures the plant directs energy toward vertical growth and deep root penetration into the wicking zone.
The Clinic:
Physiological disorders in self-watering pots are usually linked to mineral imbalances or reservoir stagnation.
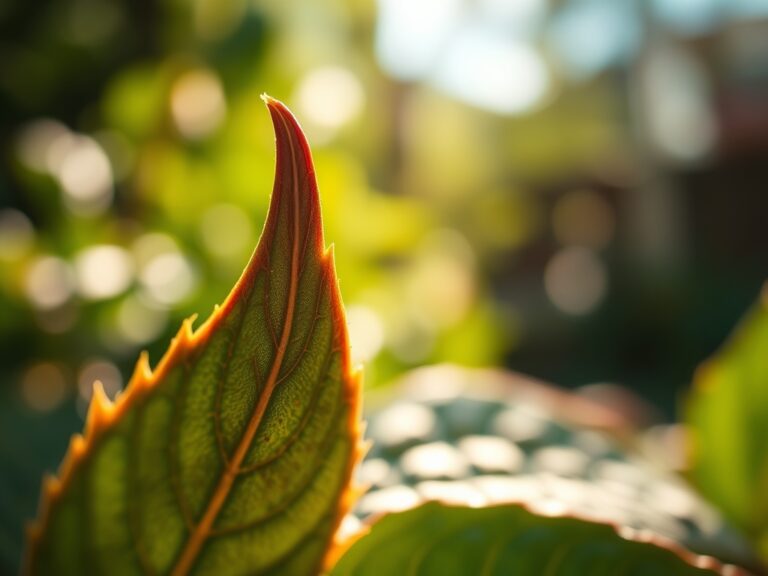
- Symptom: Interveinal Chlorosis (Yellowing between leaf veins).
- Cause: Magnesium deficiency or high pH blocking iron uptake.
- Fix-It: Apply a foliar spray of Epsom salts (magnesium sulfate) at a concentration of 1 tablespoon per gallon of water. Check pH and adjust to 6.2.
- Symptom: Leaf Tip Burn.
- Cause: Soluble salt accumulation. Because water evaporates from the surface, salts from fertilizers move upward and concentrate at the soil line.
- Fix-It: Flush the substrate from the top with a volume of water equal to twice the pot capacity once every 30 days.
- Symptom: Nitrogen Chlorosis (Uniform paling of older leaves).
- Cause: Nitrogen depletion in the reservoir.
- Fix-It: Supplement the reservoir with a water-soluble 20-20-20 fertilizer at half strength to restore vegetative vigor.
Maintenance:
Precision is the hallmark of a master horticulturist. Use a soil moisture meter daily to verify that the wicking system is functional. While the reservoir automates the frequency, you must still monitor the volume. Most high-demand crops require approximately 1.5 inches of water per week during the peak of the growing season.
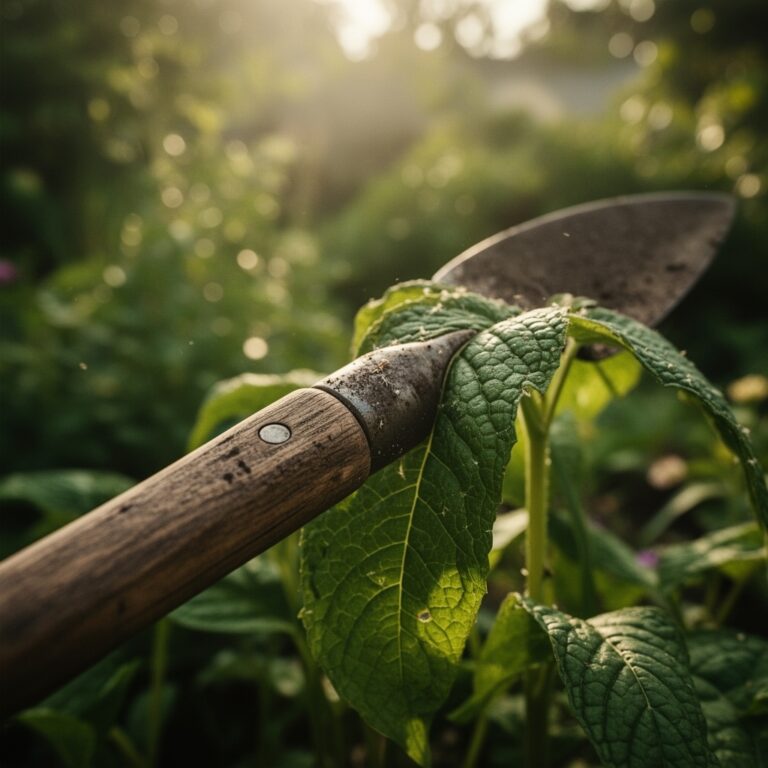
Check the reservoir for biofilm or algae growth every two weeks. If the water becomes turbid, drain the reservoir and refill with fresh, dechlorinated water. Use a hori-hori knife to remove any weeds that compete for nutrients within the confined volume of the pot. Ensure the overflow drain is clear; a blocked drain will lead to total saturation, killing the aerobic bacteria necessary for nutrient cycling.
The Yield:
Harvesting is the culmination of successful physiological management. For fruiting crops, harvest when the fruit reaches "breaker stage" or full color to maximize sugar content (Brix levels). Use bypass pruners to make clean cuts; tearing the stem creates a site for pathogen entry.
For leafy greens, harvest in the early morning when turgor pressure is at its maximum. This prevents wilting and preserves the cellular structure. Post-harvest, immediately submerge greens in 40-degree Fahrenheit water to remove field heat and slow the rate of respiration, ensuring "day-one" freshness for up to a week.
FAQ:
Can I use garden soil in self-watering pots?
No. Standard garden soil lacks the necessary porosity and will compact, causing root rot. Use a specialized soilless mix containing peat or coir and perlite to ensure proper capillary action and aeration within the rhizosphere.
How often should I refill the reservoir?
Frequency depends on the plant's evapotranspiration rate and ambient temperature. In mid-summer, high-demand plants may require a refill every 2 to 3 days. Always monitor the water level indicator to prevent the wick from drying out.
Do self-watering pots cause root rot?
Only if the overflow drain is blocked. These systems are designed to keep the roots above the water line, using a wicking medium to provide moisture. Proper drainage ensures the root zone remains aerobic and healthy.
What fertilizer is best for these systems?
Use a balanced, slow-release granular fertilizer mixed into the top few inches of the substrate. Alternatively, use a water-soluble fertilizer in the reservoir at half-strength to avoid excessive salt buildup and maintain a stable Cation Exchange Capacity.