10 Pro Tips How to Install Soaker Hoses
Soaker hoses transform water delivery in garden beds by releasing moisture directly into the root zone at a rate of 0.25 to 0.5 gallons per foot per hour. Learning how to install soaker hoses correctly reduces water waste by 50 percent compared to overhead sprinklers and prevents foliar diseases caused by wet leaves. The porous rubber tubing sweats water along its entire length, maintaining consistent soil moisture that promotes mycorrhizal fungi colonization and improves cation exchange capacity in the rhizosphere.
Materials
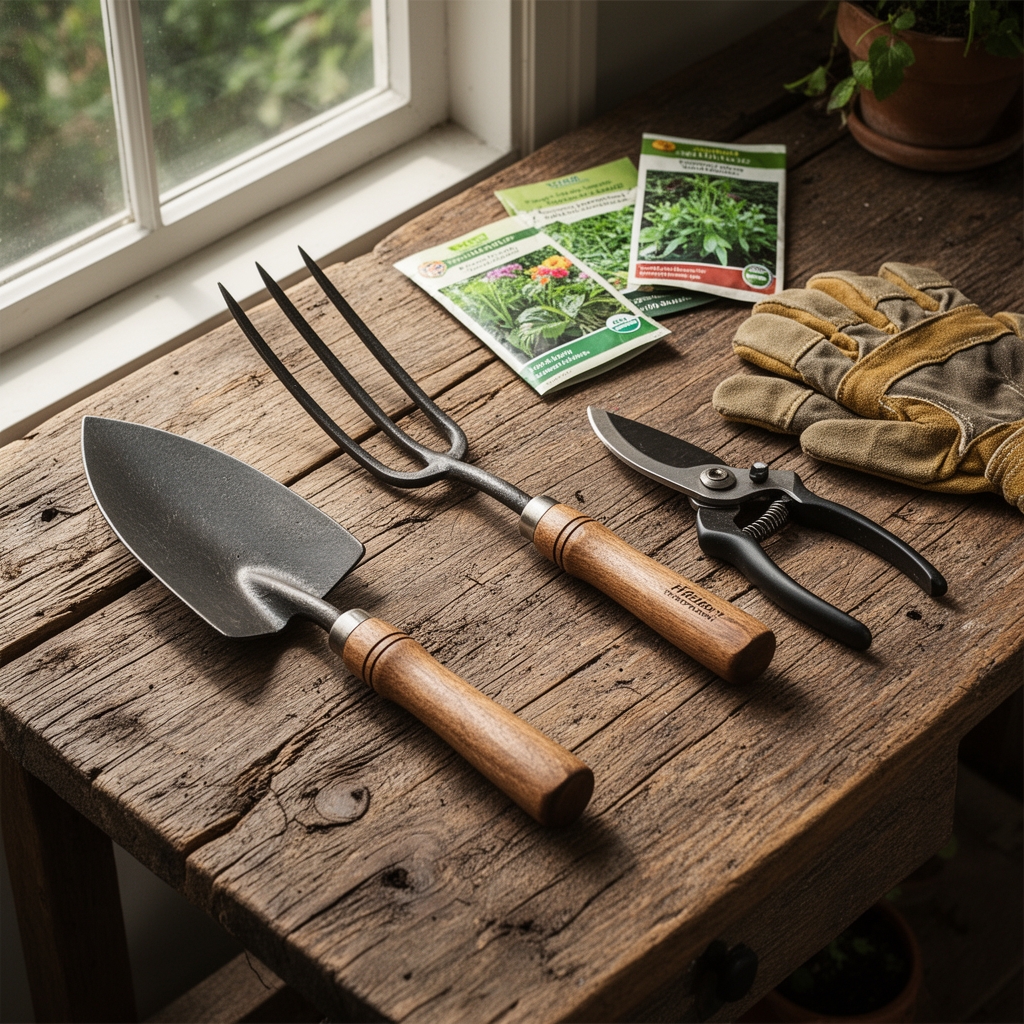
Standard soaker hoses measure 25, 50, or 100 feet in length with a 5/8-inch diameter. Select hoses made from recycled rubber rather than vinyl for durability in pH ranges from 5.5 to 7.5. You will need brass Y-connectors rated for 60 PSI, not plastic fittings that crack under thermal expansion. A pressure regulator set to 10 PSI prevents blowouts and ensures even water distribution.
Ground staples or landscape pins secure the hose every 3 feet. Use 6-inch galvanized steel staples in clay soils with high plasticity. Mulch requirements include 2 to 3 inches of shredded hardwood bark or composted pine fines to insulate the hose and reduce evaporation. For beds receiving regular applications of 4-4-4 organic fertilizer, the nitrogen component will leach efficiently through slow soaker irrigation without runoff.
End caps seal the terminal point of each hose run. Thread sealant tape wraps clockwise three times around male hose threads to prevent weeping at connections. A backflow preventer protects municipal water supplies where local codes require cross-connection control.
Timing
Install soaker hoses in USDA Hardiness Zones 3 through 10 after the last spring frost date when soil temperature reaches 55°F at 4 inches depth. In Zone 7, this window opens between April 15 and May 1. Zones 9 and 10 allow year-round installation but autumn setup between September and November prepares beds for winter vegetable production.
Avoid installation during drought periods when soil has contracted and cracked. Moisture content should register 40 to 60 percent of field capacity, allowing easy penetration of ground staples without disturbing established root systems. Clay soils require installation when moisture levels prevent the formation of rock-hard peds that resist stake insertion.
Phases

Layout Phase: Uncoil soaker hoses in full sun for 2 hours to increase pliability. Arrange hoses in parallel runs 12 to 18 inches apart for vegetable beds or in concentric circles around trees and shrubs. Keep runs under 100 feet to maintain adequate pressure at terminal ends. Snake the hose in S-curves through densely planted perennial borders, positioning the tubing 2 inches from plant crowns.
Pro-Tip: Draw your layout on graph paper at a 1:12 scale before installation. Mark the location of each Y-connector and calculate total hose footage needed, then add 15 percent for curves and overlaps.
Connection Phase: Attach the pressure regulator to the spigot first, then connect the backflow preventer if required. Thread the timer between these components and the main feeder hose. Run a 5/8-inch standard garden hose from the timer to the garden bed entry point. Convert to soaker hose using a brass coupling rated for continuous outdoor use.
Pro-Tip: Install ball valves at each Y-connector junction to control water flow to individual zones. This allows varied irrigation schedules for plants with different moisture requirements, such as drought-tolerant herbs versus moisture-demanding brassicas.
Anchoring Phase: Press ground staples over the hose at curves and straight runs. Drive staples until the crown sits flush with the hose surface but does not compress the tubing. Compressed sections reduce flow by 30 percent and create dry spots. Test the system at full pressure before applying mulch, checking for leaks at all threaded connections.
Pro-Tip: Mark the location of buried soaker hoses with small flags or colored stakes at bed corners. This prevents accidental spading or tilling damage during spring soil preparation or fall cover crop seeding.
Troubleshooting
Symptom: Uneven water distribution with wet zones near the water source and dry patches at run ends.
Solution: Reduce total run length to 75 feet maximum or install a 25 PSI booster pump. Verify the pressure regulator functions correctly at 8 to 12 PSI.
Symptom: Mineral deposits clog pores in hard water regions with dissolved solids above 250 ppm.
Solution: Flush hoses monthly by removing end caps and running water at full pressure for 3 minutes. Install an inline sediment filter with a 150-mesh screen.
Symptom: Roots penetrate hose pores in clay soils, blocking water flow.
Solution: Elevate hoses on 1/2-inch PVC spacers or rotate hose position 6 inches laterally each season.
Symptom: Algae growth develops inside hoses stored with standing water.
Solution: Drain all hoses completely after each use in humid climates. Store coiled hoses in full sun to prevent anaerobic conditions.
Symptom: Hose develops cracks after winter freeze-thaw cycles.
Solution: Remove hoses before first frost in Zones 3 through 6. Drain completely and store indoors at temperatures above 40°F.
Maintenance
Run soaker hoses for 30 to 45 minutes twice weekly to deliver 1 inch of water in loam soils. Clay soils require 60-minute sessions once weekly due to slower percolation rates of 0.1 inches per hour. Sandy soils need three 20-minute sessions weekly to compensate for rapid drainage.
Monitor soil moisture at 6 inches depth using a tensiometer or moisture meter. Readings should remain between 20 and 40 centibars for most vegetable crops. Adjust runtime by 10-minute increments based on weekly readings during peak growing season.
Flush accumulated sediment every 30 days during active use. Remove end caps and allow full-pressure water to expel particulates for 2 minutes per 50 feet of hose length. Inspect brass fittings for verdigris corrosion and replace gaskets showing compression damage or splits.
FAQ
How deep should I bury soaker hoses?
Place soaker hoses directly on soil surface beneath 2 to 3 inches of organic mulch. Burial deeper than 1 inch reduces oxygen diffusion to roots and concentrates auxin distribution at incorrect depths.
Can I connect soaker hoses to drip irrigation systems?
Yes, but install separate pressure regulators. Drip systems operate at 20 to 30 PSI while soaker hoses require 8 to 12 PSI maximum for optimal performance.
What is the lifespan of soaker hoses?
Quality rubber soaker hoses last 5 to 8 years with proper storage and maintenance. UV exposure reduces lifespan by 40 percent, so maintain consistent mulch coverage.
Do soaker hoses work on slopes?
Install hoses perpendicular to slope direction on grades under 8 percent. Steeper slopes require contouring at 18-inch vertical spacing to prevent water rushing to downslope positions.
How do I winterize soaker hoses?
Disconnect all hoses after first frost. Drain completely by elevating one end and allowing gravity drainage for 30 minutes. Coil loosely and store in a climate-controlled space above freezing temperature.