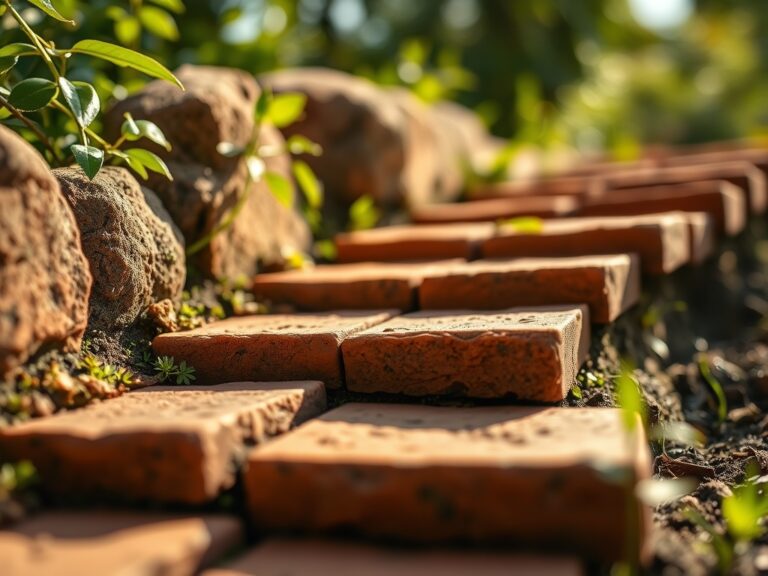
8 Best Terra Cotta Pots for Design
The scent of damp, mineral-rich earth hitting kiln-fired clay signals a specific physiological shift in the garden. When a plant achieves maximum turgor pressure, its cell walls are rigid and its metabolic processes are optimized. Selecting the best terra cotta pots for design is not merely an aesthetic choice; it is a functional decision that governs the gas exchange of the rhizosphere. Standard plastic containers trap heat and moisture, often leading to anaerobic conditions and root rot. In contrast, high-quality terra cotta provides a porous membrane that allows oxygen to penetrate the root zone while wicking away excess moisture through capillary action. This breathable environment supports the structural integrity of the plant from the primary taproot to the apical meristem. For the serious horticulturist, the container is the first line of defense against physiological stress. By choosing vessels that balance thermal mass with permeability, you ensure that the substrate temperature remains stable even during peak solar radiation. This stability is critical for maintaining the delicate symbiotic relationships between roots and beneficial soil microbes.
Materials:
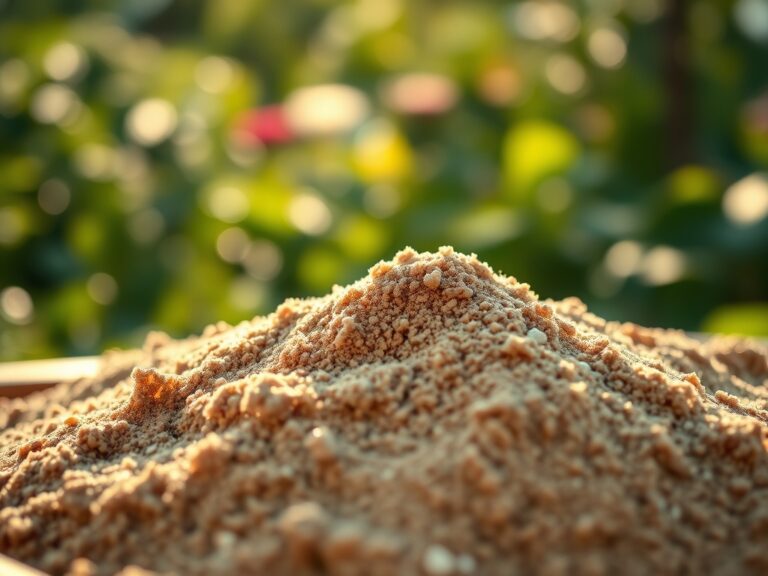
The success of any containerized plant depends on the interaction between the clay walls and the substrate within. For most ornamental and edible species, a **friable loam** with a high sand content is necessary to prevent compaction. The ideal substrate should maintain a **pH level between 6.0 and 7.0** to ensure maximum nutrient bioavailability.
When potting in terra cotta, manage your NPK ratios based on the specific growth stage of the plant. A baseline 10-10-10 NPK ratio provides balanced support for vegetative growth; however, once the plant enters the reproductive phase, shift to a 5-10-10 ratio to prioritize phosphorus for root and flower development. Terra cotta pots have a high Cation Exchange Capacity (CEC) potential when they accumulate mineral salts over time. You must monitor the electrical conductivity of the soil to prevent salt buildup, which can lead to osmotic stress. Use a mixture of 40 percent compost, 40 percent peat or coco coir, and 20 percent perlite to ensure the physical texture allows for rapid drainage while retaining enough moisture to prevent the clay from pulling too much water away from the root hairs.
Timing:
Timing your planting requires a strict adherence to USDA Hardiness Zones and local frost-date windows. In Zones 5 through 7, the window for outdoor terra cotta placement typically begins two weeks after the last predicted frost, when soil temperatures consistently reach 60 degrees Fahrenheit (15.5 Celsius). Terra cotta is susceptible to "spalling" or cracking if the moisture within the clay pores freezes and expands.
The biological clock of the plant dictates the transition from the vegetative stage to the reproductive stage. This shift is often triggered by the photoperiod, or the amount of light received in a 24 hour cycle. For short-day plants, this occurs as nights lengthen; for long-day plants, it happens as the summer solstice approaches. Ensure your pots are positioned to receive at least six to eight hours of direct solar radiation to drive photosynthesis. If you are forced to transplant during a period of high heat, perform the task in the late evening to allow the plant to recover its turgor pressure overnight without the stress of transpiration.
Phases:

Sowing
When starting seeds directly in terra cotta, ensure the clay is pre-saturated. Dry terra cotta will pull moisture away from the seed coat, preventing the imbibition necessary for germination. Place seeds at a depth two to three times their width.
Pro-Tip: Maintain consistent humidity to trigger the breakdown of abscisic acid in the seed. This chemical inhibition must be overcome for the embryo to emerge and begin the process of phototropism, where the seedling grows toward the light source.
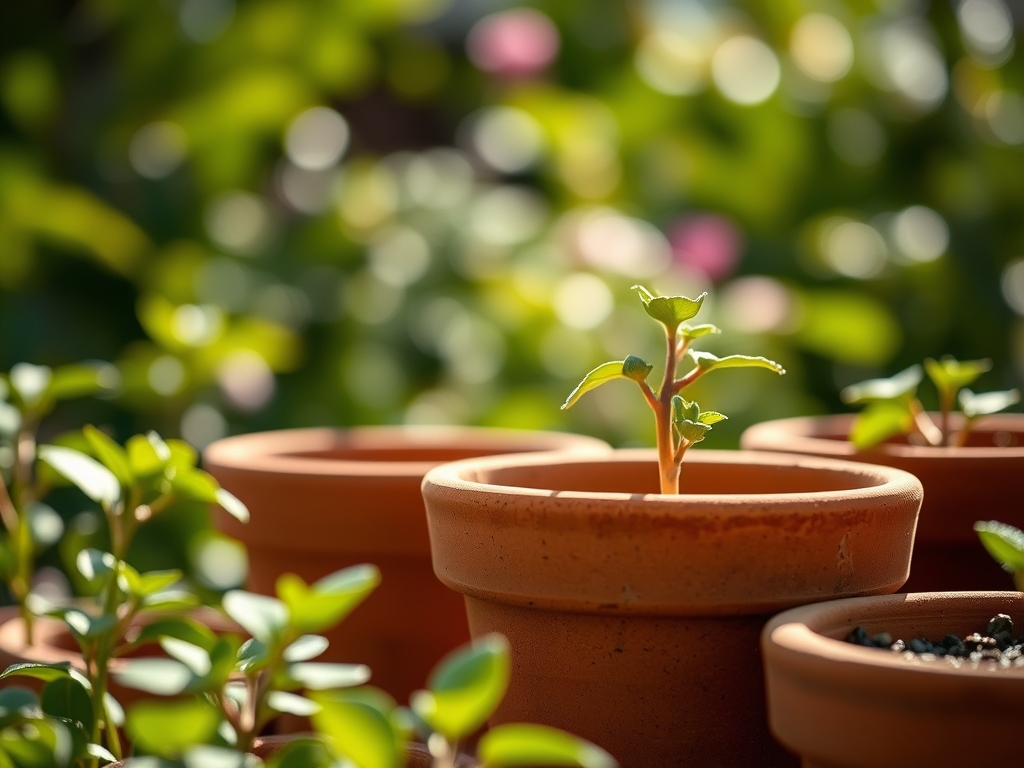
Transplanting
When moving a plant into a larger terra cotta vessel, inspect the root ball for circling roots. Use a hori-hori knife to make vertical scores in the root mass. This encourages the development of lateral roots and prevents the plant from becoming root-bound.
Pro-Tip: Applying a mycorrhizal inoculant during transplanting facilitates a symbiotic relationship between fungi and roots. This increases the surface area for nutrient uptake, specifically phosphorus, which is often immobile in the soil profile.
Establishing
The first 14 to 21 days post-transplant are critical for establishment. During this phase, the plant focuses energy on root expansion rather than leaf production. Avoid heavy nitrogen fertilization during this window to prevent leggy growth.
Pro-Tip: Suppressing the growth of lateral buds through auxin suppression in the apical meristem allows the plant to direct its energy downward. This results in a more robust root system that can better withstand the faster drying cycles of terra cotta.
The Clinic:
Physiological disorders in terra cotta often stem from the rapid evaporation rates inherent to the material.
- Symptom: Interveinal chlorosis (yellowing between leaf veins).
Solution: This is often a sign of Magnesium deficiency. Apply Epsom salts (magnesium sulfate) at a rate of one tablespoon per gallon of water to restore chlorophyll production.
2. Symptom: Blossom end rot in fruiting plants.
Solution: This indicates a Calcium transport issue, often caused by inconsistent watering. Maintain a steady moisture level to ensure calcium moves through the xylem to the developing fruit.
3. Symptom: Leaf scorch or marginal necrosis.
Solution: This occurs when transpiration exceeds water uptake. Move the terra cotta pot to a location with afternoon shade or increase the watering frequency to twice daily during heat waves.
4. Symptom: White crust on the outside of the pot.
Solution: This is "efflorescence," a buildup of soluble salts. Flush the soil with distilled water until it runs clear from the drainage hole to lower the soil salinity.
Maintenance:
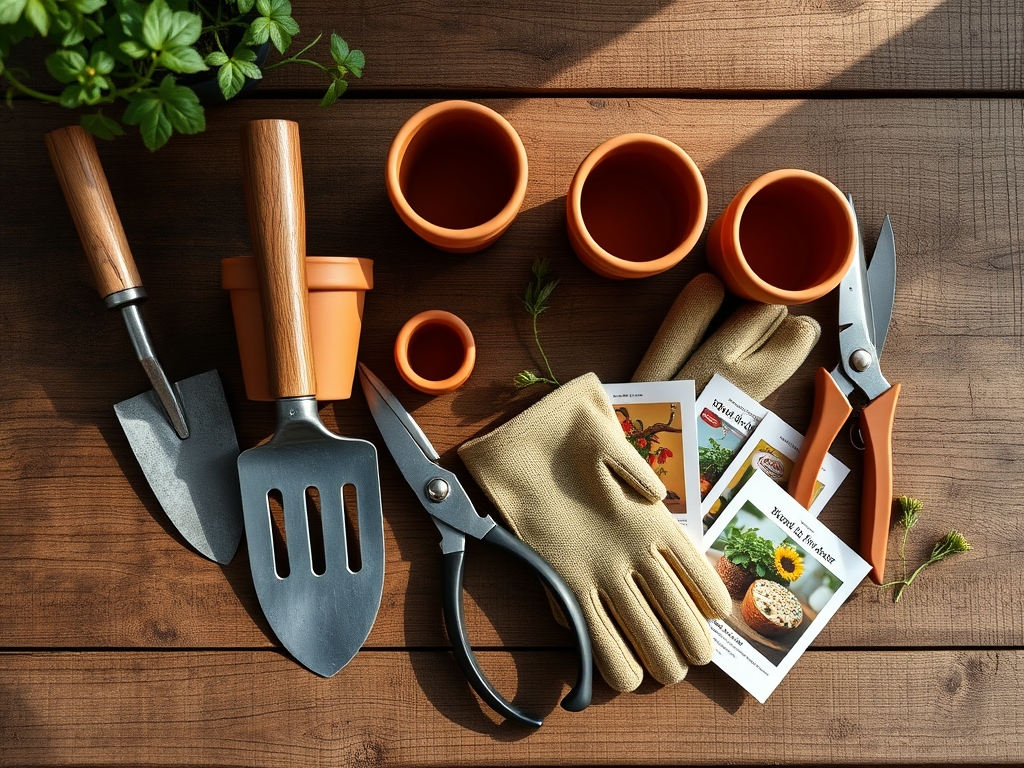
Effective maintenance requires precision tools and a data-driven approach. Use a soil moisture meter to check the hydration levels at a depth of four inches. Do not rely on surface feel, as terra cotta evaporates from the outside in. Most established plants in these pots require approximately 1.5 inches of water per week delivered directly at the drip line.
Pruning is essential for maintaining airflow and preventing fungal pathogens. Use bypass pruners to make clean cuts at a 45 degree angle just above a node. This encourages rapid callousing and prevents the entry of pathogens. Clean your tools with a 10 percent bleach solution between plants to prevent cross-contamination. If you notice signs of senescence (aging) in older leaves, remove them promptly to redirect nutrients to newer, more photosynthetically active growth.
The Yield:
For those using terra cotta for herbs or flowers, harvest timing is paramount. Collect botanical material in the early morning after the dew has evaporated but before the sun reaches its zenith. This is when the concentration of essential oils and sugars is at its peak.
Use sharp snips to avoid crushing the vascular tissue. For flowers, a "sear" method or immediate submersion in 110 degree Fahrenheit water can help maintain turgor and extend vase life. For herbs, keep the stems in a cool, dark environment to slow down the metabolic rate and preserve the integrity of the cellular structure.
FAQ:
Why do my terra cotta pots turn white?
This is efflorescence, caused by mineral salts and lime leaching through the porous clay. It indicates high mineral content in your water or fertilizer. It does not harm the plant but suggests a need to flush the substrate with pure water.
How often should I water plants in terra cotta?
Check moisture levels daily. Because terra cotta is porous, it loses moisture faster than plastic. Aim for 1.5 inches of water weekly, but increase frequency when ambient temperatures exceed 85 degrees Fahrenheit to prevent permanent wilting point.
Can I leave terra cotta pots outside in winter?
Standard terra cotta will likely crack in freezing temperatures due to the expansion of absorbed water. Unless the pot is rated as "frost-proof" or "high-fired," move it to a garage or basement once temperatures drop below 32 degrees Fahrenheit.
How do I clean old terra cotta pots?
Scrub the pots with a stiff brush and a solution of one part vinegar to four parts water. This dissolves mineral deposits and kills lingering pathogens. Rinse thoroughly and allow the pot to air dry completely before adding new substrate.