6 Simple Steps to Install a Rain Barrel
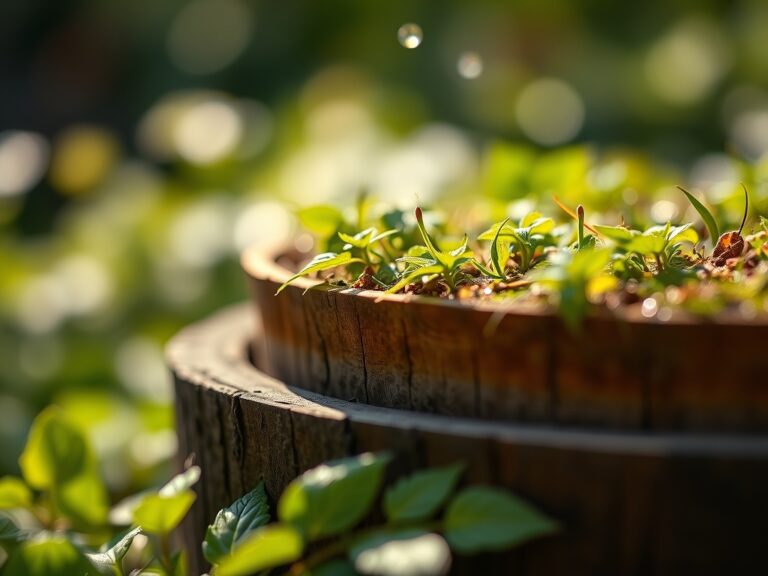
Turgor pressure within a plant cell determines whether a leaf stands rigid or wilts into a state of permanent senescence. When the sky darkens and the scent of geosmin rises from the parched earth, the savvy gardener prepares to capture every drop of soft, slightly acidic rainwater. Mastering the steps to install a rain barrel ensures a consistent supply of water with a pH typically between 5.5 and 6.5, which is ideal for nutrient solubility in the rhizosphere.
Materials:

To optimize the utility of harvested water, the surrounding soil must be prepared to receive it. Aim for a **friable loam** texture, characterized by a balanced mix of sand, silt, and clay that facilitates a high Cation Exchange Capacity (CEC). Before installation, test your soil to ensure it maintains a baseline NPK ratio of **10-10-10** for general maintenance or **5-10-10** for root development. Rainwater lacks the chlorine and fluoride found in municipal sources, making it a superior vehicle for delivering water-soluble phosphorus to the root zone. You will need a **55-gallon food-grade polyethylene barrel**, a downspout diverter kit, four concrete cinder blocks for elevation, and a drill with a **hole saw bit**.
Timing:
Installation should occur before the first spring thaw in Hardiness Zones 3 through 6, or during the dormant winter months in Zones 7 through 10. Monitoring the biological clock of your garden is essential; you must have the system operational before plants transition from the vegetative stage to the reproductive stage. This transition, triggered by the photoperiod, increases the demand for consistent hydration to maintain metabolic processes. Ensure the barrel is empty and disconnected before the first hard frost to prevent ice expansion from fracturing the plastic walls.
Phases:

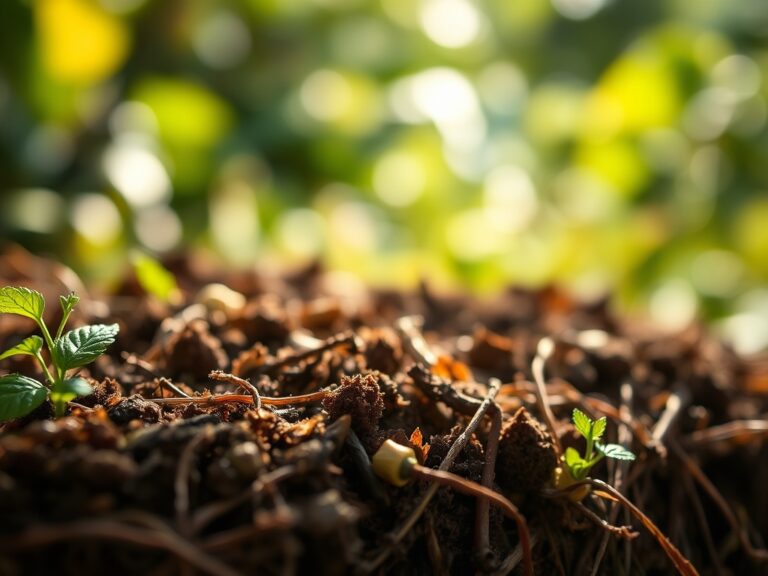
Sowing the Foundation
Level a 4-by-4-foot area directly beneath your chosen downspout. Excavate 4 inches of topsoil and replace it with compacted pea gravel to prevent erosion and settling. Place the cinder blocks on the gravel to elevate the barrel. This elevation uses gravity to increase the flow rate, ensuring sufficient pressure to move water through a standard garden hose.
Pro-Tip: Elevating the barrel increases the potential energy of the stored water. This is vital because low water pressure fails to adequately penetrate the soil profile, leading to shallow root systems that are susceptible to drought stress.
Transplanting the Diverter
Measure the height of your rain barrel against the downspout. Mark the downspout approximately 3 inches above the top of the barrel. Use a hacksaw to remove a section of the metal or vinyl spout. Insert the diverter kit, which redirects water into the barrel until it reaches capacity, at which point the excess flows back down the original drainage path.
Pro-Tip: Use a diverter with an integrated leaf screen. This prevents organic debris from entering the barrel and decomposing, which would otherwise lower the dissolved oxygen levels and promote the growth of anaerobic bacteria that can harm delicate root hairs.
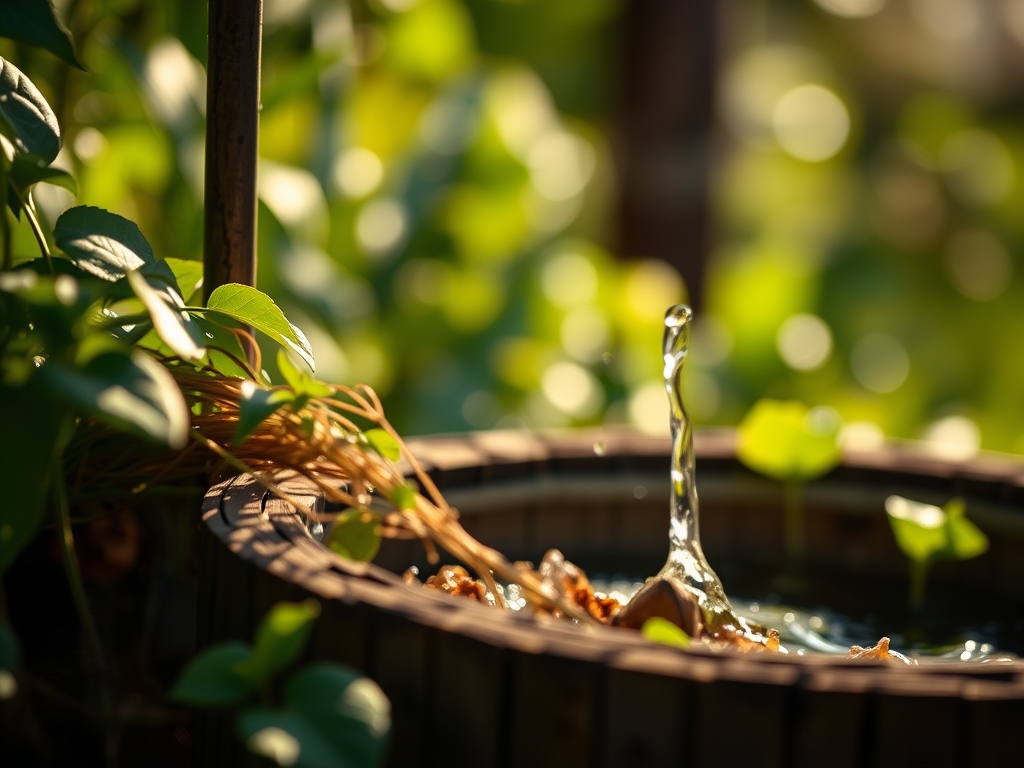
Establishing the Seal
Drill a hole 2 inches from the bottom of the barrel to install the brass spigot. Apply Teflon tape to the threads to ensure a watertight seal. Attach an overflow valve at the top of the barrel, directed away from your home's foundation. Connect the intake hose from the downspout diverter to the barrel inlet.
Pro-Tip: Ensure all seals are airtight to maintain a closed system. This prevents the evaporation of water and maintains the concentration of beneficial minerals. A closed system also suppresses the emergence of aquatic insect larvae by eliminating access to the water surface.
The Clinic:
Physiological disorders often stem from poor water quality or inconsistent delivery.
- Symptom: Interveinal chlorosis in new growth.
- Solution: Check soil pH. If the pH is above 7.2, iron becomes insoluble. Rainwater, being naturally acidic, helps lower the pH to a range where iron ions are available for uptake.
- Symptom: Blossom end rot in Solanaceae species.
- Solution: This is a calcium deficiency often caused by erratic watering. Use the rain barrel to provide a steady 1.5 inches of water per week to ensure a constant transpiration stream that carries calcium to the fruit.
- Symptom: Marginal leaf burn.
- Solution: This often indicates salt accumulation from synthetic fertilizers. Flush the soil with 10 gallons of harvested rainwater per square yard to leach excess salts away from the rhizosphere.
Fix-It: For Nitrogen chlorosis (yellowing of older leaves), mix a high-nitrogen liquid fertilizer (NPK 20-0-0) into your rain barrel at a rate of 1 tablespoon per gallon for a rapid foliar and root response.
Maintenance:
Consistency is the hallmark of a professional horticulturist. Use a soil moisture meter daily to ensure the substrate remains between 40% and 60% field capacity. Apply water at the drip line using a soaker hose connected to the barrel; avoid overhead watering to minimize the risk of fungal pathogens. Periodically use a hori-hori knife to check for soil compaction around the barrel's base. If the barrel develops algae, add 1/4 cup of unscented liquid bleach to a full 55-gallon barrel; the chlorine will dissipate within 24 hours, leaving the water safe for irrigation. Inspect your bypass pruners and ensure they are sterilized before pruning any plants hydrated by the system to prevent cross-contamination.
The Yield:
When harvesting crops or flowers grown with rainwater, timing is critical. Harvest during the early morning hours when turgor pressure is at its peak. This ensures the plant tissues are fully hydrated, extending the shelf life of the produce. For leafy greens, use sharp shears to make a clean cut, then immediately submerge the base in a bucket of cool rainwater to maintain the hydraulic connection within the xylem. This technique preserves "day-one" freshness by preventing the rapid onset of vascular collapse.
FAQ:
How much water can I collect from my roof?
A general rule is that 1 inch of rain on a 1,000-square-foot roof yields approximately 600 gallons of water. Calculate your roof area and average rainfall to determine how many barrels your landscape requires for total hydration.
Is rain barrel water safe for edible plants?
Yes, provided the roof is not made of treated wood or old asphalt shingles containing asbestos. Use a diverter with a filter and apply water directly to the soil via a soaker hose rather than spraying the edible foliage.
How do I prevent mosquitoes in my rain barrel?
Ensure the barrel is completely sealed with a fine mesh screen over any openings. You can also add a "mosquito dunk" containing Bacillus thuringiensis israelensis, a biological agent that targets larvae without harming the plants or beneficial soil microbes.
Why is my rain barrel not filling up?
Check for obstructions in the gutters or the downspout diverter. Ensure the barrel is level; if it tilts away from the intake, the water may not flow properly. Verify the diverter is installed at the correct height relative to the barrel.