5 Easy Ways How to Use the Bottom Watering Method
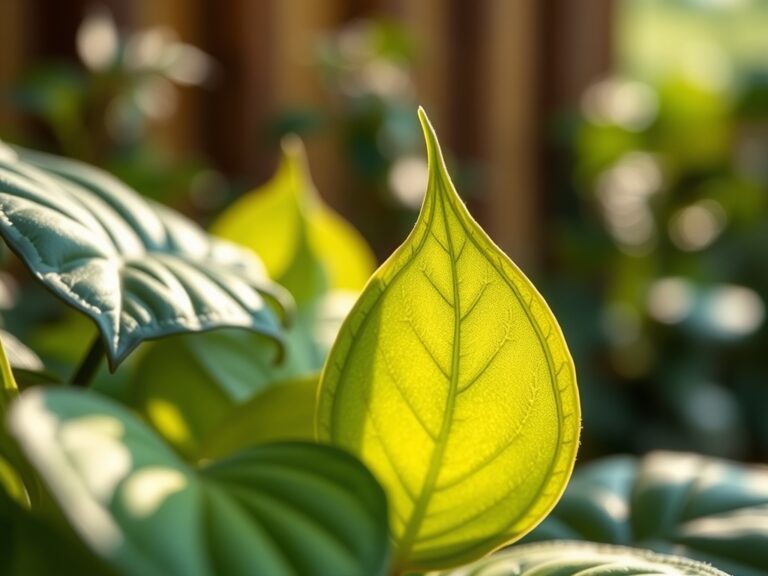
The scent of damp peat and the sight of high turgor pressure in a leaf signify a plant in peak physiological health. When you learn how to use the bottom watering method, you bypass the common pitfalls of overhead irrigation, such as foliar fungal pathogens and uneven saturation. This technique relies on capillary action to draw moisture upward through the rhizosphere; ensuring the entire root ball reaches field capacity without compacting the soil surface.
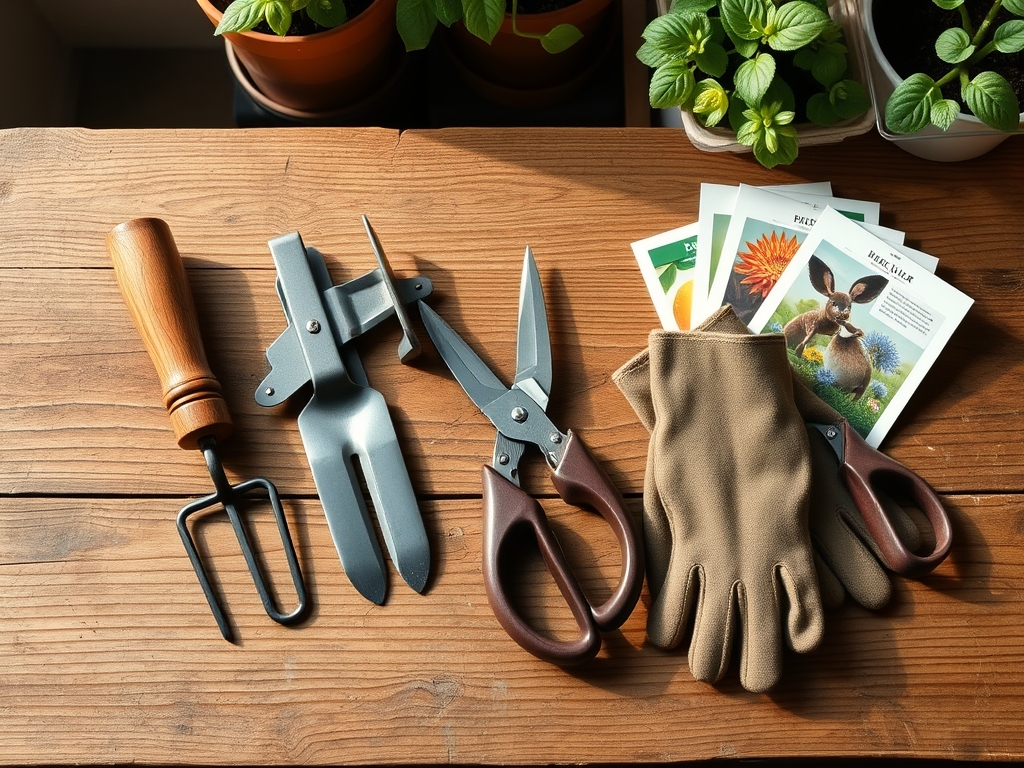
Materials:
To execute this method effectively, you must start with a **friable loam** substrate. This soil texture provides the necessary macropores and micropores for hydraulic lift. The ideal potting medium should maintain a **pH between 5.8 and 6.5** to optimize nutrient availability. For general vegetative growth, incorporate a slow release fertilizer with an **NPK ratio of 10-10-10**. If you are targeting flowering species, shift to a **5-10-10 ratio** to prioritize phosphorus for root and bud development.
The container must have unobstructed drainage holes. Use a shallow reservoir or tray that can hold at least two inches of water. The Soil Cation Exchange Capacity (CEC) is critical here; a higher organic matter content increases the soil's ability to hold onto positively charged ions like potassium and magnesium as the water moves upward.
Timing:
In Hardiness Zones 3 through 10, the timing of irrigation aligns with the plant's biological clock. During the vegetative stage, plants require consistent moisture to maintain cell expansion. As a plant transitions to the reproductive stage, its water demands often peak. You should initiate bottom watering when a soil moisture meter reads in the "dry" zone, typically at a 25 percent moisture threshold.
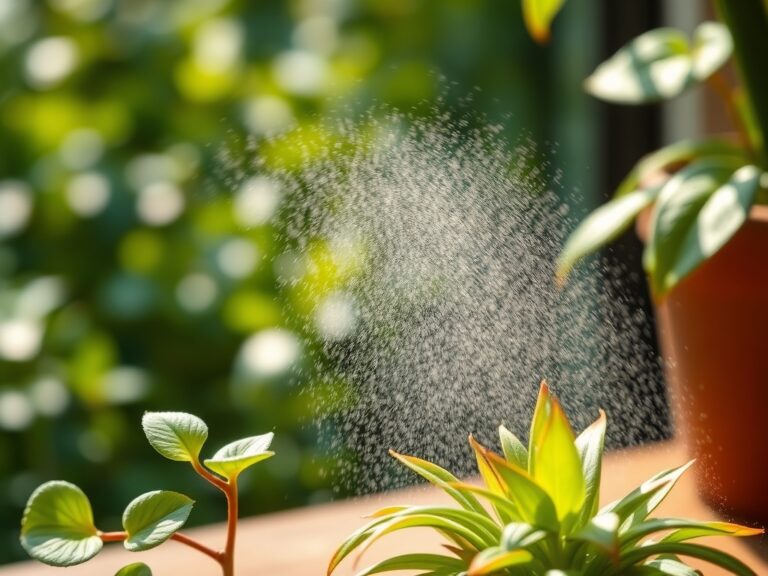
Avoid watering during the heat of the day to prevent rapid evaporation from the reservoir. The best window is early morning, allowing the plant to achieve full turgor before the onset of peak transpiration. For outdoor containers, monitor frost-date windows; stop supplemental bottom watering when ambient temperatures drop below 45 degrees Fahrenheit to prevent root chill and metabolic slowdown.
Phases:

Sowing and Germination
Place your seed trays in a shallow bath of filtered water. The moisture will migrate upward to the seedbed via capillary action, keeping the delicate seeds in place. Maintain a consistent temperature of 70 degrees Fahrenheit for most temperate species.
Pro-Tip: This method prevents the displacement of small seeds and protects the emerging radicle. The biological why involves hydrotropism; roots naturally grow toward higher moisture gradients, encouraging deeper initial root penetration.
Transplanting
When moving a seedling to a larger vessel, the bottom watering method reduces transplant shock. Submerge the base of the new pot in a nutrient solution containing a low-dose seaweed extract to stimulate root hormones.
Pro-Tip: Bottom watering at this stage encourages mycorrhizal symbiosis. By keeping the upper inch of soil relatively dry while the bottom remains moist, you force the roots to expand downward, increasing the surface area for fungal colonization.
Establishing the Plant
Once the plant is established, use the "soak and drain" cycle. Fill the tray with 1.5 inches of water and allow the pot to sit for 20 to 30 minutes. Once the top of the soil feels cool and damp, remove the excess water immediately.
Pro-Tip: This cycle prevents auxin suppression. Constant saturation leads to anaerobic conditions, which halts the production of auxins in the root tips; the hormones responsible for apical dominance and structural growth.
The Clinic:
Physiological disorders often stem from improper moisture levels or salt accumulation.
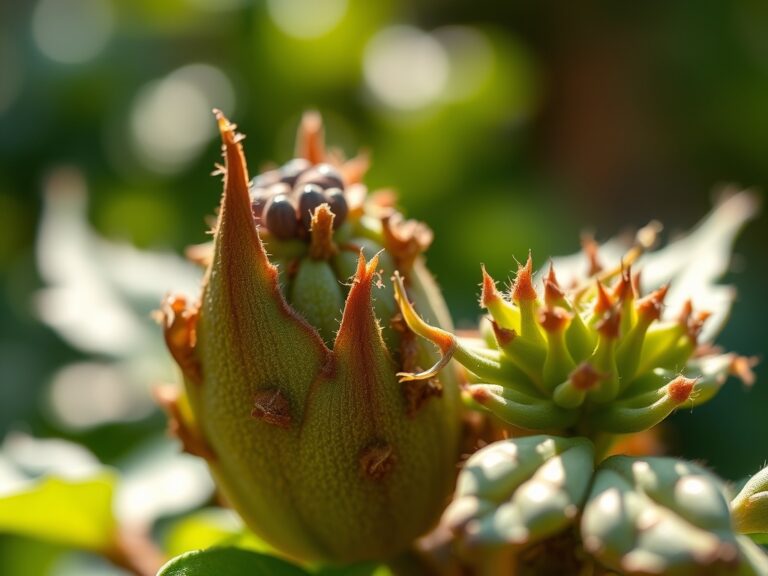
Symptom: Edema.
Small bumps or blisters appear on the undersides of leaves. This is caused by the plant taking up water faster than it can transpire it.
Solution: Increase airflow and reduce the frequency of the bottom watering cycle.
Symptom: Tip Burn.
The edges of new growth turn brown and crispy. This often indicates a calcium deficiency or high salinity in the substrate.
Solution: Flush the soil from the top once every four weeks with distilled water to leach out accumulated mineral salts that bottom watering does not remove.
Symptom: Nitrogen Chlorosis.
Older leaves turn pale yellow while veins remain slightly green.
Fix-It: Add a water-soluble fertilizer with a high Nitrogen (N) value to your bottom watering reservoir. Ensure the water temperature is at least 65 degrees Fahrenheit to facilitate rapid ion uptake.
Maintenance:
Precision is the hallmark of a professional horticulturist. Use a soil moisture meter daily to check the core of the root ball. For most container plants, aim for the equivalent of 1.5 inches of water per week.
Keep your tools sterile. Use bypass pruners to remove any necrotic tissue or yellowing leaves (senescence) to prevent the spread of pathogens. If the soil surface becomes compacted or develops a crust of mineral salts, use a hori-hori knife to gently aerate the top half-inch of the substrate. This ensures that oxygen can still reach the root zone even when the bottom is saturated.
The Yield:
When harvesting herbs or flowers, timing is dictated by the plant's hydration levels. Harvest in the early morning when turgor pressure is at its maximum. Use a sharp blade to make a clean 45-degree cut, which preserves the vascular bundles.
For post-harvest longevity, immediately place the stems in water kept at 40 degrees Fahrenheit. This rapid cooling slows down the metabolic rate and delays senescence. If you have used the bottom watering method correctly, the plant's internal water reserves will be at their peak, ensuring "day-one" freshness for a longer duration.
FAQ:
How long should I leave plants in the water?
Leave pots in the reservoir for 20 to 30 minutes. Once the topsoil feels moist to the touch, remove them. Prolonged submersion leads to root hypoxia and pathogens like Pythium.
Can I use bottom watering for all soil types?
This method works best with porous, peat-based or coco-coir mixes. Heavy clay soils have poor capillary action and may become waterlogged, while pure sand drains too quickly to pull moisture upward effectively.
How do I prevent salt buildup?
Perform a "top-down" flush with clear water every four to six weeks. This leaches out the accumulated fertilizer salts that migrate to the soil surface during the capillary evaporation process.
Is bottom watering better for pest control?
Yes, it keeps the soil surface dry. This discourages fungus gnats (Bradysia species), which require a moist top layer of substrate to lay eggs and complete their larval life cycle.