9 Strong Steps to Build Deer Fences
The snap of branch underfoot in early morning. The sight of freshly browsed hostas reduced to nubs. These sensory alarms confirm deer damage. Constructing an effective barrier requires following nine precise steps to build deer fences that account for animal behavior, vertical leap capability, and material tensile strength. The difference between a garden ravaged by white-tailed deer and one that produces full yields rests on proper fence architecture and installation methodology.
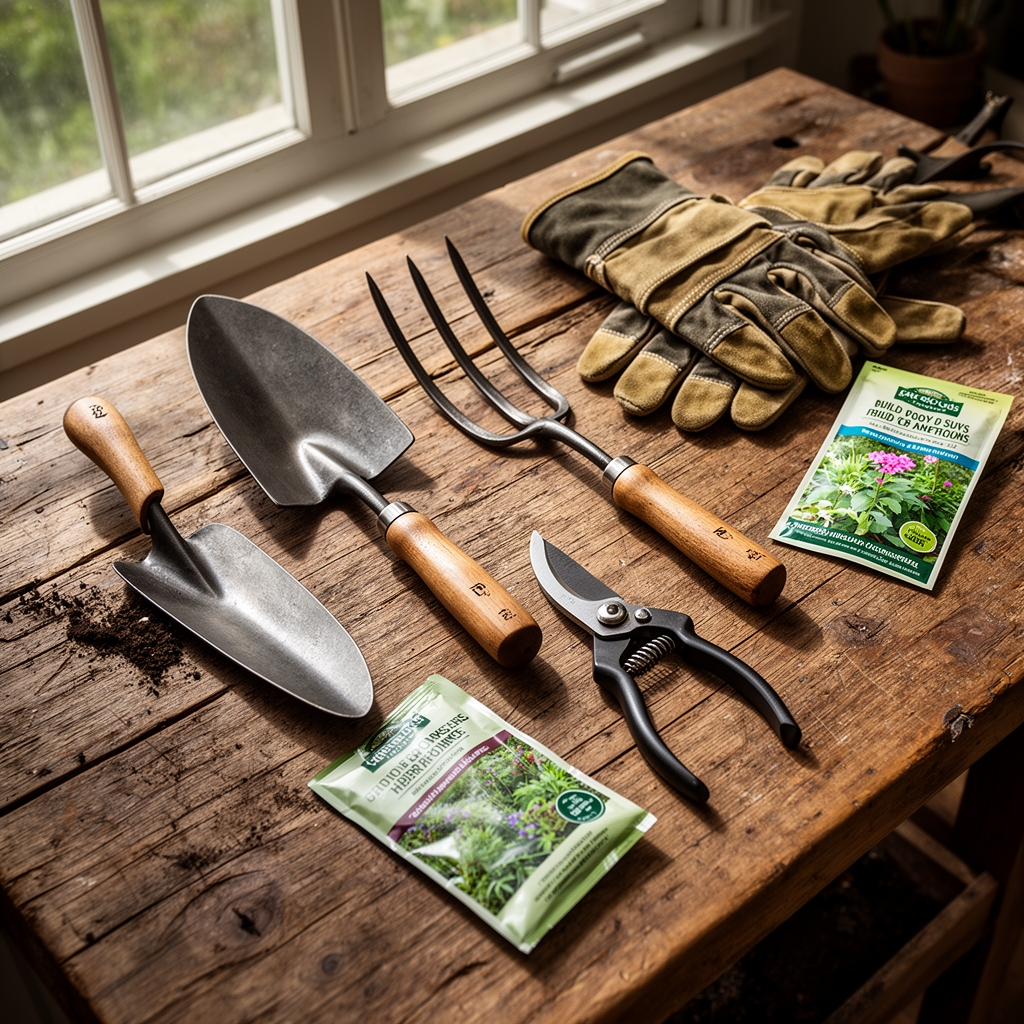
Materials
Successful deer exclusion demands specific components selected for durability and height requirements. The primary vertical posts should be rot-resistant black locust or pressure-treated 4×4 lumber with a minimum 0.40 pounds-per-cubic-foot retention rating. Corner bracing requires 2×4 dimensional lumber cut at 45-degree angles to resist shear forces from fence tension.
For the barrier membrane itself, polypropylene mesh with 2-inch x 4-inch openings provides adequate exclusion while maintaining 400-pound tensile strength per linear foot. Galvanized steel wire at 12.5-gauge serves high-pressure zones where raccoons or groundhogs may compromise lighter materials. Hardware includes 3-inch galvanized deck screws, fence staples at 1.5-inch length, and adjustable tensioning devices rated to 250 pounds.
Soil amendments for post stability include crushed limestone gravel (pH 7.8) for drainage collars around each post base. Where soil compaction exceeds 300 psi, incorporate coarse sand at a 2:1 ratio with native earth. This increases cation exchange capacity and prevents frost heave during freeze-thaw cycles.
Timing
Installation windows correlate directly with USDA Hardiness Zones and soil workability. In Zones 3-5, construct fences between late April and mid-October when ground frost penetration remains above 36 inches. Zones 6-7 permit year-round installation except during saturated soil conditions that prevent proper post-hole excavation.
For regions experiencing summer monsoon patterns (Zones 8-9), schedule installation during April-May or September-October to avoid lightning strike risk to metal components. Soil moisture content should register between 15-25 percent at installation depth. Below 15 percent, excavation becomes difficult and compaction around posts proves inadequate. Above 25 percent, post movement during curing compromises structural integrity.
Reference your county's last spring frost date. Begin fence construction three weeks after this date to ensure ground thaw reaches the required 42-inch post depth for 8-foot fence heights.
Phases

Sowing (Site Preparation)
Clear vegetation in a 6-foot corridor along the fence line. Remove woody material exceeding 1-inch diameter to prevent future fence lifting. Mark corner positions using wooden stakes and fluorescent flagging. Run mason's line between stakes, checking for level using a builder's transit or laser level accurate to 1/8 inch per 100 feet.
Excavate post holes to 42 inches using a gas-powered auger with 10-inch bit diameter. This depth prevents frost heave in Zone 5 and colder. Space line posts every 10 feet. Corner and gate posts require 12-inch diameter holes with 48-inch depth for lateral load resistance.
Pro-Tip: Inoculate post-hole bottoms with mycorrhizal fungi powder (Rhizophagus irregularis) at 2 tablespoons per hole. This establishes beneficial associations with nearby plant roots, creating a biological anchor system that reduces erosion around posts.
Transplanting (Post Installation)
Set corner posts first, plumbing vertical using a 48-inch level on two adjacent faces. Pour 6 inches of crushed gravel into each hole base. Position post, then backfill with native soil in 6-inch lifts. Tamp each lift with a manual compactor applying 200 pounds of force per square inch.
Install H-braces at corners using 2×4 lumber cut to span between corner post and first line post. Secure with two 3-inch deck screws at each joint. Wrap 12.5-gauge wire diagonally across brace, twisting tight with a fence-stretching bar until wire produces an audible tone when plucked.
Pro-Tip: Apply auxin distribution paste (indole-3-butyric acid at 0.1 percent concentration) to any post cuts. This promotes callus formation and reduces decay organism entry points.
Establishing (Mesh Attachment)
Unroll polypropylene mesh along the fence line starting at a corner post. The material should reach 8 feet above ground level, with 6 inches buried below grade to prevent tunneling access. Attach mesh using fence staples every 6 inches vertically and 12 inches horizontally.
Maintain 50 pounds of tension across each 10-foot section using a come-along ratchet system. Over-tensioning exceeding 80 pounds causes mesh deformation and premature failure. At gate locations, install double posts with 4-foot openings for equipment access.
Pro-Tip: Orient mesh selvage edge downward. Factory edges resist fraying better than field cuts, increasing fence lifespan from 12 to 18 years.
Troubleshooting
Symptom: Post lean exceeding 3 degrees from vertical within first year.
Solution: Excavate to 24 inches on lean side. Install pressure-treated 2×6 deadman perpendicular to post, extending 36 inches into undisturbed soil. Re-compact backfill.
Symptom: Mesh sagging between posts, creating 18-inch ground clearance.
Solution: Install mid-span support posts every 5 feet in affected sections. Re-tension mesh to 60 pounds using fence stretchers.
Symptom: Deer jumping 8-foot fence in specific locations.
Solution: These entry points typically occur where exterior ground elevation exceeds interior by 24 inches or more. Add angled outriggers at 45 degrees, extending mesh 3 feet beyond fence top.
Symptom: Mesh degradation with UV-induced brittleness within 5 years.
Solution: Replace with UV-stabilized polypropylene containing 2 percent carbon black pigment and benzotriazole UV absorbers rated for 1,200 kly (kilolangley) exposure.
Maintenance
Inspect fence integrity monthly during growing season. Walk the perimeter checking for ground-level gaps exceeding 4 inches. White-tailed deer fawns can compress their bodies to pass through 6-inch openings.
Trim vegetation within 2 feet of fence base quarterly. Dense growth provides cover that encourages probing behavior. Apply non-selective glyphosate herbicide at 2 percent solution to persistent woody species attempting fence colonization.
Re-tension mesh every three years. Material creep causes 8-12 percent tension loss. Aim for consistent 55 pounds across all sections, measured with a spring scale tensioner.
Replace staples showing rust perforation or 30 percent reduction in cross-sectional area. This typically occurs after 8-10 years in humid climates (Zone 6 and warmer).
FAQ
How tall should deer fencing measure for complete exclusion?
Eight feet prevents 95 percent of white-tailed deer breaches. Mule deer in Western states require 10-foot heights due to superior jumping ability reaching 9 feet from standing position.
Can electrified strands replace full mesh?
A seven-strand electric fence with alternating hot wires at 12, 24, 36, 48, 60, 72, and 84 inches provides equivalent protection at 40 percent material cost. Requires 6,000-volt minimum energizer output and monthly vegetation management.
What mesh opening size prevents fawn entry?
Two inches by four inches blocks access for fawns over 8 weeks old. Smaller fawns rarely browse independently. One-inch openings exclude rabbits and groundhogs simultaneously.
Do angled fence tops improve effectiveness?
Yes. A 45-degree outward angle extending 30 inches increases psychological barrier effect. Deer rarely attempt jumps over visual obstacles exceeding their comfort threshold.
How deep must posts extend in sandy soil?
Increase standard 42-inch depth by 25 percent in soils with less than 15 percent clay content. This compensates for reduced friction coefficient and prevents post rotation under lateral loads.