
9 Simple Steps to Use Backpack Tanks
The first morning you strap on a loaded backpack tank and feel its heft settle across your shoulders, you understand efficiency differently. The pump handle moves in smooth strokes. The spray pattern fans across rows with precision you cannot achieve with a hand bottle. Learning the steps to use backpack tanks transforms how you deliver foliar feeds, pest management solutions, and soil drenches across large garden plots or production areas.
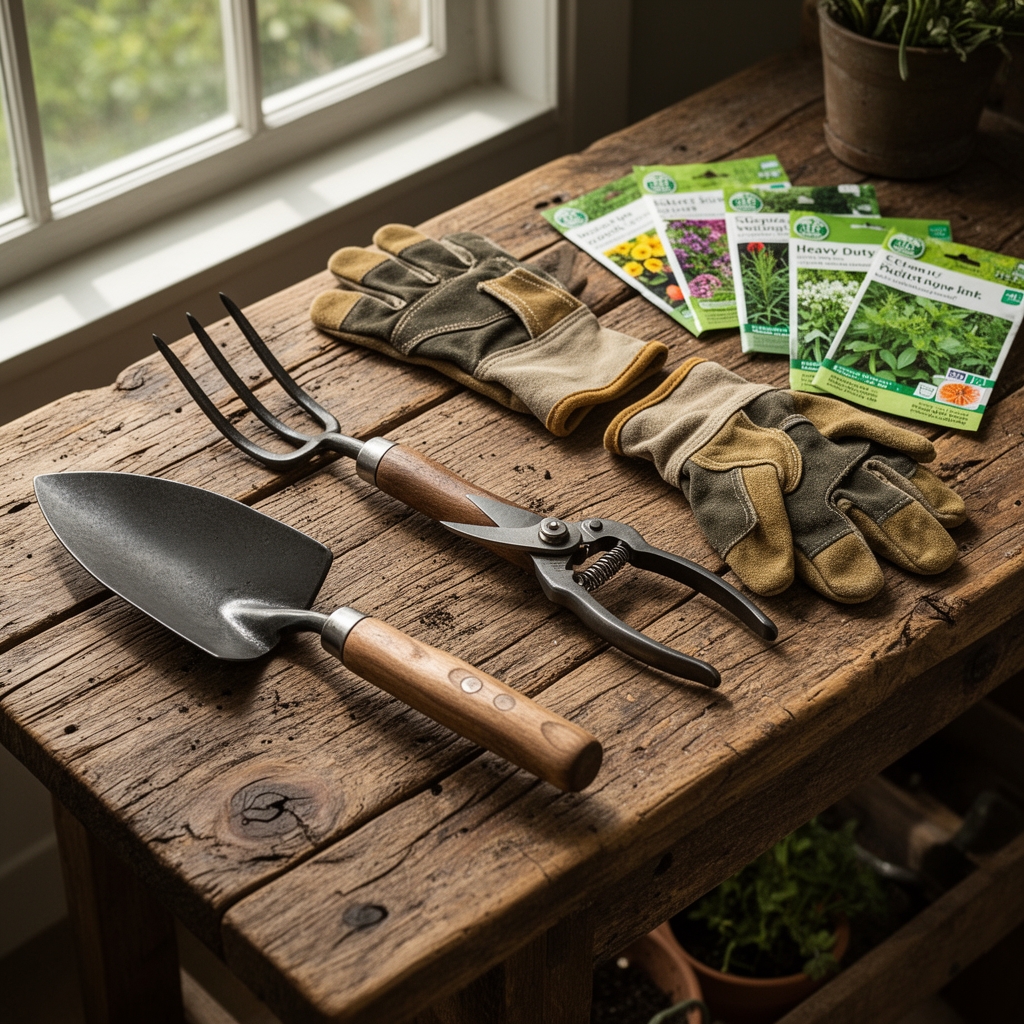
Materials
Select a backpack sprayer with a 4-gallon capacity and adjustable brass nozzle tips. The tank should feature chemical-resistant seals rated for both acidic and alkaline solutions. For the spray solutions themselves, match inputs to plant needs and soil chemistry. A balanced 4-4-4 organic meal dissolved in water supports general vegetative growth without overwhelming soil biology. Kelp extracts with naturally occurring cytokinins promote cell division when applied at 1 tablespoon per gallon during early growth phases. Fish emulsion at 2-4-4 NPK delivers nitrogen in amino acid form, ideal for foliar uptake when pH is adjusted to 6.2-6.8. Neem oil emulsions require an emulsifier at 1% concentration to prevent separation. Compost tea, brewed anaerobically with molasses as bacterial food, should be applied within 4 hours of brewing to maintain microbial populations above 10^8 CFU per milliliter. Biological inoculants containing Bacillus subtilis or Trichoderma harzianum demand chlorine-free water to preserve colony viability. Always check solution pH before loading the tank. Cation exchange capacity in your soil determines how effectively nutrients bind to clay particles rather than leaching.
Timing
Match application windows to hardiness zones and plant phenology. In zones 7-9, begin foliar feeding programs 2 weeks after the last frost date when soil temperatures stabilize above 55°F. Cool-season crops tolerate applications down to 40°F, but warm-season varieties require air temperatures above 60°F for stomatal opening and nutrient uptake. Apply early morning between 6-9 AM when humidity exceeds 60% and wind speed remains below 5 mph. Evening applications between 5-7 PM work in arid climates but risk fungal proliferation in humid regions. Avoid midday spraying when temperatures exceed 85°F. Auxin distribution in plant tissues peaks during active growth, making these windows critical for systemic uptake.
Phases
Sowing Phase: Drench seed beds with microbial inoculants 48 hours before planting. Use a cone nozzle at 30 PSI to deliver solution directly to soil without creating surface crusting. Apply 0.5 gallons per 10 square feet. This saturates the top 4 inches where germinating seeds encounter mycorrhizal fungi. Pro-Tip: Mix Rhizobium species specific to your legume crop at labeled rates to ensure nitrogen-fixing nodule formation within 14 days of emergence.

Transplanting Phase: Two days before moving seedlings, apply kelp extract at half strength to harden cell walls and increase stress tolerance. After transplanting, deliver a root-zone drench using a wand extension at ground level. Target 8 ounces per plant, creating a moisture ring 6 inches from the stem. This encourages lateral root exploration. Pro-Tip: Include humic acid at 1 tablespoon per gallon to chelate micronutrients and improve root hair density by 30%.
Establishing Phase: Begin foliar feeding when plants develop 4-6 true leaves. Use a fan nozzle at 40 PSI, holding the wand 18 inches from foliage. Spray until leaf surfaces glisten but before runoff occurs. Apply every 10-14 days, alternating between nitrogen-rich and micronutrient formulations. Pro-Tip: Prune apical meristems at a 45-degree angle 3 days after foliar application to redirect auxin flow into lateral branches.
Troubleshooting
Symptom: Yellowing between leaf veins while veins remain green. Solution: Interveinal chlorosis indicates iron deficiency in high-pH soils. Apply chelated iron (Fe-EDDHA) at 1 teaspoon per gallon as a foliar spray. Results appear within 5-7 days.
Symptom: White crystalline residue on leaves after spraying. Solution: Hard water introduces calcium and magnesium carbonates that precipitate on leaf surfaces. Filter water through activated carbon or use rainwater. Rinse affected plants with distilled water.
Symptom: Leaf tip burn progressing inward. Solution: Salt accumulation from over-concentration. Flush root zones with 1 inch of plain water. Reduce spray solution strength by 30% and increase application frequency to maintain nutrient delivery.
Symptom: Drooping lower leaves 24 hours post-application. Solution: Surfactant damage from excessive emulsifier. Use dish soap at 2-3 drops per gallon maximum. Remove affected leaves to prevent disease entry points.
Maintenance
Calibrate your backpack tank monthly by spraying water over a measured 100-square-foot area. Adjust nozzle pressure until you deliver exactly 0.4 gallons to match labeled rates accurately. Clean tanks after each use by triple-rinsing with water, then circulating a vinegar solution (1 cup per gallon) for 5 minutes. Remove nozzle tips weekly and soak in isopropyl alcohol to prevent mineral buildup. Replace pump seals annually or when you notice pressure loss exceeding 10 PSI during operation. Store tanks empty in shade to prevent UV degradation of seals and hoses. Water plants with 1 inch per week during active growth, increasing to 1.5 inches during fruit set.
FAQ
How much pressure should I maintain? Maintain 35-45 PSI for foliar applications and 25-30 PSI for soil drenches. Higher pressure creates smaller droplets prone to drift.
Can I mix multiple products? Test compatibility by mixing small amounts in a jar first. Add products in order: water, water-soluble powders, emulsions, then surfactants.
How long do mixed solutions remain viable? Biological inoculants last 4 hours maximum. Mineral nutrients remain stable for 48 hours if pH stays between 6-7.
What spray pattern works best? Use 80-degree fan tips for broad coverage and hollow cone tips for penetrating dense canopies.
How do I prevent back strain? Fill tanks only to 75% capacity. Tighten hip and chest straps to transfer weight from shoulders to core muscles.