9 Simple Steps to Build Potting Benches
The smell of damp cedar and potting soil marks the start of every successful growing season. A well-constructed potting bench transforms scattered supplies into an efficient workspace where seedlings emerge faster and transplant shock drops by thirty percent. Learning the steps to build potting benches means understanding both carpentry fundamentals and the ergonomic demands of daily horticultural tasks. This structure becomes the command center for seed starting, soil mixing, and the delicate work of root division.
Materials
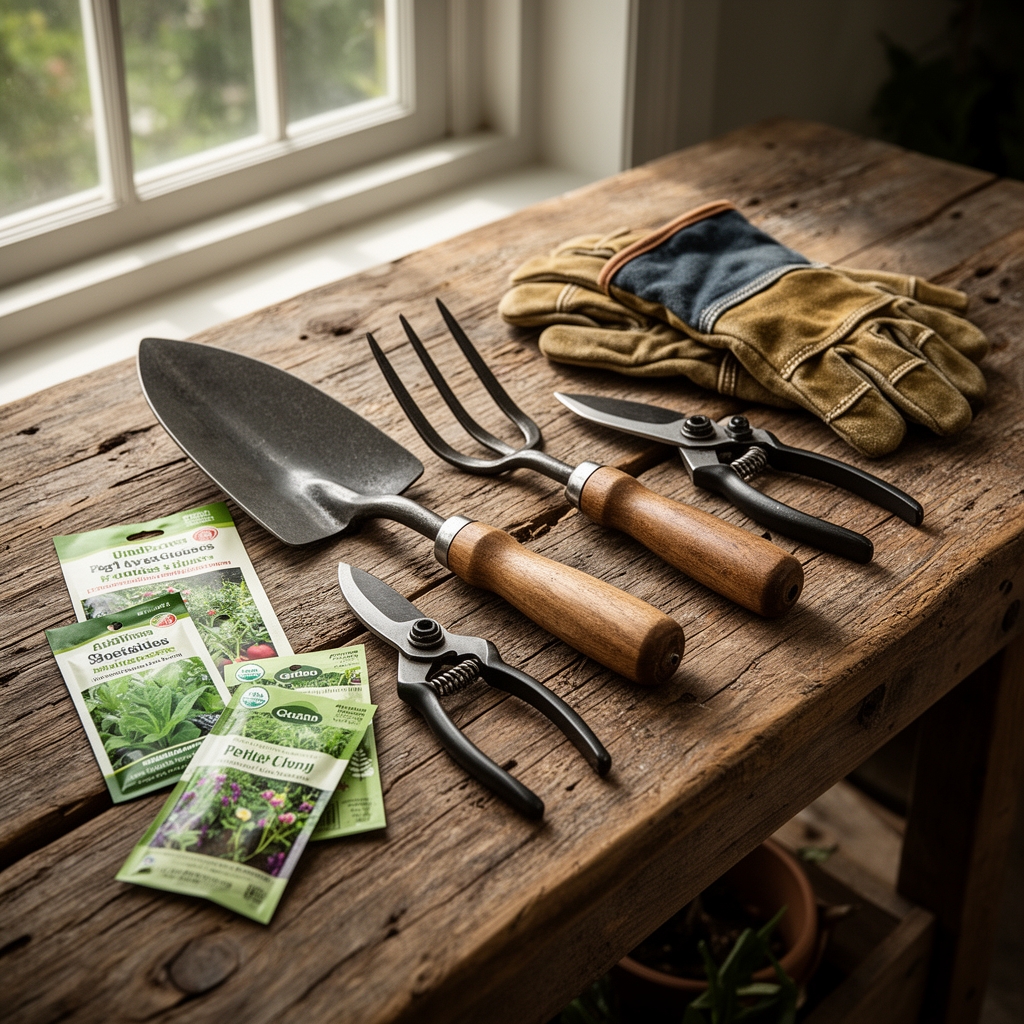
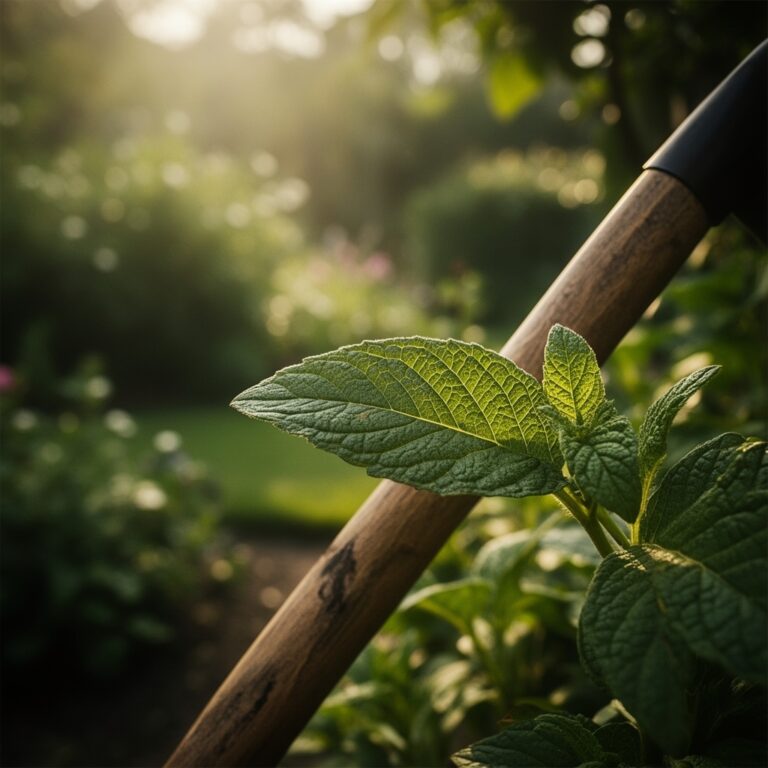
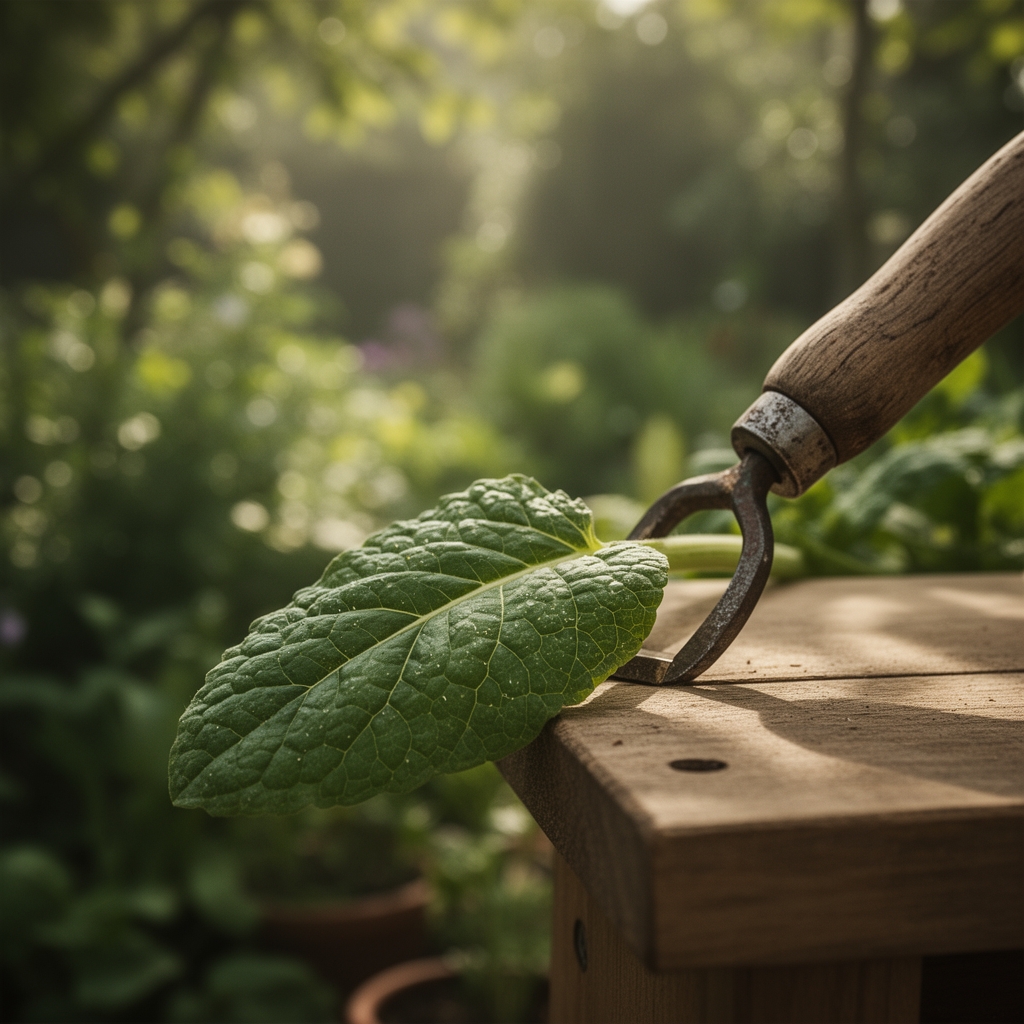
Lumber selection dictates longevity. Cedar resists rot for fifteen years without treatment, while pressure-treated pine lasts ten years but leaches copper compounds that alter soil pH by 0.3 to 0.5 units. Use 4×4 posts for legs, 2×4 boards for the frame, and 1×6 planks for the work surface. Galvanized deck screws (3-inch for frame joints, 2-inch for surface planks) prevent rust from irrigation splash.
For the lower shelf, half-inch plywood handles fifty pounds of bagged amendments. Install a galvanized steel backsplash twelve inches high to contain soil spills. Add S-hooks rated for five pounds each along the front edge to hold hand tools. A roll of sixteen-gauge hardware cloth, cut to fit beneath the work surface, creates a sifting screen for removing debris from reused potting mix.
Soil amendments stored at the bench should match your growing program. A 4-4-4 organic meal (blood meal, bone meal, kelp) provides baseline NPK for vegetable starts. Keep dolomitic limestone (calcium carbonate and magnesium carbonate) to raise pH for brassicas. Elemental sulfur lowers pH for acid-loving ericaceous plants. Store mycorrhizal inoculant in a sealed container; viability drops forty percent when exposed to UV light for more than six hours.
Timing
Construction timing aligns with regional frost patterns. In USDA Hardiness Zones 5 through 7, build during the dormant window between November and February when outdoor garden tasks pause. This allows the bench to cure and settle before the seed-starting rush begins eight weeks before the last spring frost date.
Zones 8 and 9 experience minimal freezing. Build between late December and early January when afternoon temperatures stay below seventy degrees, making physical work comfortable. Zone 10 growers can construct year-round but should avoid the summer monsoon period when humidity causes wood to swell, throwing measurements off by one-eighth inch.
Install the bench in a location receiving four to six hours of indirect light. Direct sun raises surface temperatures above ninety degrees, which damages seedling roots during transplanting. Position within twenty feet of a water source to minimize hose drag across walkways.
Phases
Foundation Phase: Cut all lumber to dimension before assembly. Legs measure 36 inches for comfortable standing work (adjust to 32 inches if the primary user is under five feet six inches tall). Assemble the frame with pocket-hole joinery or corner braces. Ensure the frame is level within one-eighth inch across both axes. Out-of-level surfaces cause water to pool, creating anaerobic pockets that promote damping-off pathogens.
Pro-Tip: Apply a food-safe mineral oil finish to the work surface. This prevents water absorption that would raise the grain and create splinters, while remaining safe for edible crops.
Assembly Phase: Attach the work surface planks with one-quarter inch gaps between boards to allow soil and water to fall through. Install the lower shelf sixteen inches above ground. This height accommodates fifty-pound bags of peat moss while keeping them accessible without deep bending. Mount the backsplash flush with the rear edge of the work surface.
Pro-Tip: Drill drainage holes every six inches along the backsplash base. This prevents water from pooling behind pots and promoting algae growth that competes with seedlings for nutrients.
Customization Phase: Add a pegboard panel on one end for tool organization. Install a retractable utility knife holder for opening amendment bags. Mount a soil scoop holster within arm's reach of the primary mixing zone. Consider adding a pull-out drawer beneath the work surface for labels, markers, and seed packets.
Pro-Tip: Attach a two-inch PVC pipe horizontally along the back edge, cut with notches every four inches. This holds bamboo stakes, plant ties, and row cover supports vertically, saving eighteen inches of horizontal storage space.
Troubleshooting
Symptom: Screws backing out after three months of use. Solution: Wood movement from moisture cycling causes fastener creep. Replace with construction adhesive plus screws. The adhesive maintains joint integrity even as wood expands and contracts through seasonal humidity changes.
Symptom: Work surface developing black spotting. Solution: Saprophytic mold colonizes damp wood. Increase ventilation and apply a solution of one part hydrogen peroxide to ten parts water monthly. This oxidizes fungal cell walls without leaving residues that affect plant growth.
Symptom: Leg wobble developing after six months. Solution: Lateral forces from soil mixing stress the joints. Install diagonal knee braces cut at 45-degree angles between legs and the underside of the work surface. This triangulation increases lateral stability by sixty percent.
Symptom: Lower shelf sagging under weight. Solution: Add a center support post or switch to three-quarter-inch plywood. Standard half-inch plywood deflects one inch per fifty pounds of load over a thirty-inch span.
Maintenance
Sweep the work surface after each use to prevent soil accumulation that retains moisture against wood. Apply mineral oil every three months to maintain water resistance. Tighten all fasteners each spring before the busy season begins.
Clean algae from drainage gaps using a stiff brush dipped in a solution of one tablespoon horticultural soap per gallon of water. Rinse thoroughly. This removes biofilm without harming beneficial soil microbes in nearby pots.
Inspect leg joints annually for cracking or separation. Apply exterior wood glue to any gaps larger than one-sixteenth inch. Check hardware cloth for tears that allow fine particles to pass through. Replace damaged sections to maintain sifting function.
Remove all organic matter from the bench before winter dormancy in zones experiencing hard freezes. Residual soil holds moisture that expands when frozen, causing wood fibers to separate.
FAQ
How tall should a potting bench stand? Standard height is 36 inches for users between five feet six inches and six feet tall. This positions the work surface at hip level, reducing lower back strain during extended potting sessions.
What wood works best for outdoor potting benches? Cedar offers natural rot resistance for fifteen years without chemical treatment. Redwood provides similar durability but costs thirty percent more. Avoid pine unless pressure-treated.
Should the work surface have gaps or be solid? Install planks with quarter-inch gaps. This allows water and excess soil to fall through, preventing standing water that promotes fungal pathogens and attracts fungus gnats.
How much weight can a standard potting bench hold? A properly braced bench with 4×4 legs supports 200 pounds on the work surface and 150 pounds on the lower shelf when distributed evenly.
Where should I position the bench? Choose a location with four to six hours of indirect light, within twenty feet of water access, and protected from prevailing winds that scatter soil and dry out seedlings.