9 Easy Steps to Build a Sandbox
Damp earth yields to the pressure of a sharp spade; the scent of disturbed soil microbes signals the beginning of a structural landscape modification. When you execute the steps to build a sandbox, you are not merely creating a play area; you are managing a localized drainage basin and establishing a sterile micro-environment within a living ecosystem. Success depends on understanding the soil profile and ensuring that the structural wood does not interfere with the rhizosphere of surrounding vegetation. Proper site selection requires a level grade to prevent runoff from introducing silt or organic pathogens into the play medium. This project demands precision in measurement and an understanding of how timber interacts with local hydrology.
Materials:
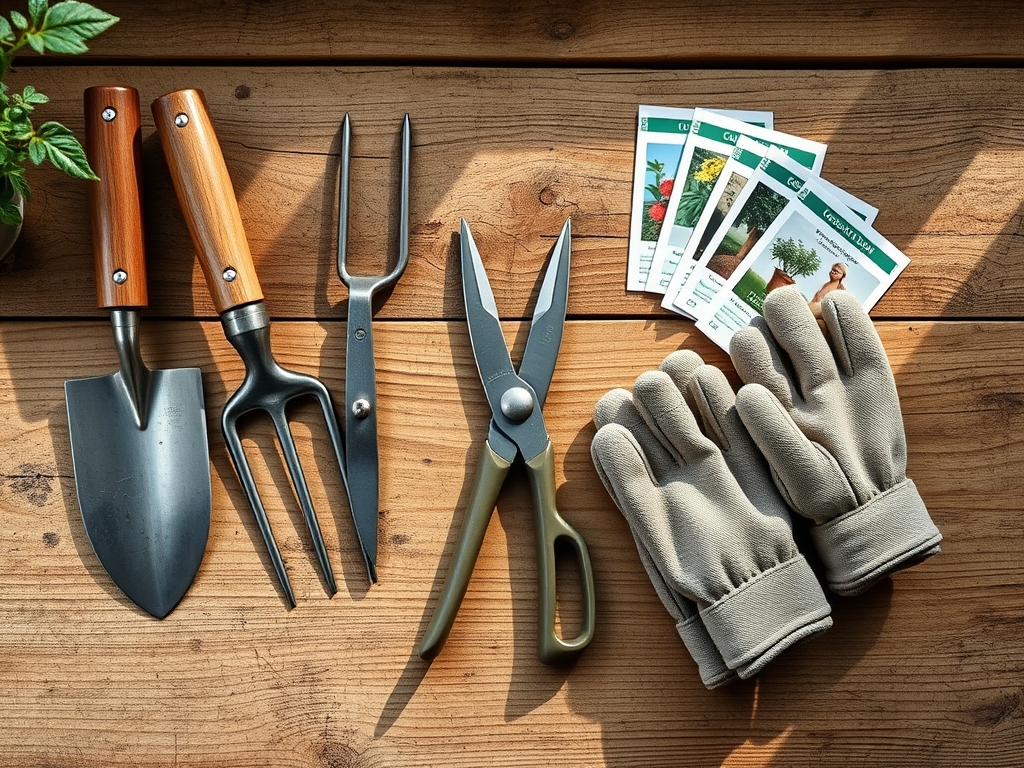
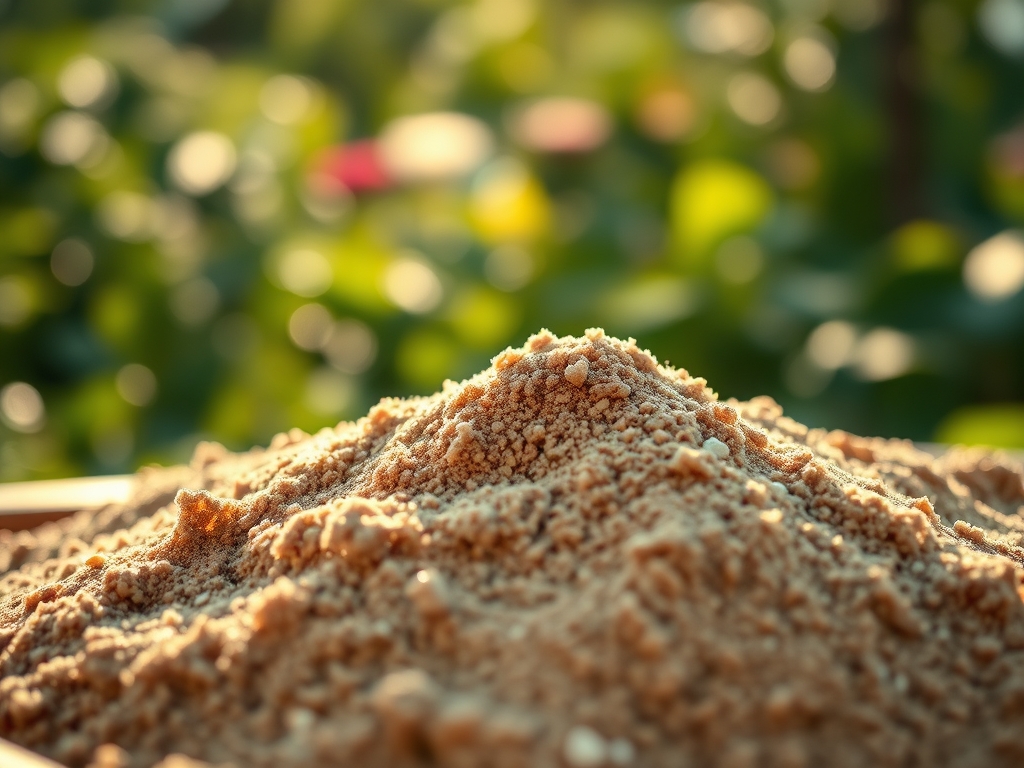
The construction phase requires materials that withstand constant moisture contact. Select **ground-contact rated pressure-treated lumber** or naturally rot-resistant species like Western Red Cedar. For the substrate, avoid standard topsoil which has a high Cation Exchange Capacity (CEC) and holds onto organic matter. Instead, use **washed silica sand** with a neutral **pH of 6.5 to 7.0**. The texture must be sub-angular to allow for compaction without becoming a solid mass.
To protect surrounding ornamental plants, ensure the sandbox perimeter does not leak high-pH runoff. If you are planting around the border, maintain a 10-10-10 NPK ratio in the surrounding friable loam to offset any nitrogen immobilization caused by wood mulch or timber leaching. The goal is to maintain high turgor pressure in nearby foliage while keeping the sandbox interior inert and well-drained.
Timing:
Construction should occur during the dormant season or early spring, specifically between Hardiness Zones 4 and 9 when the ground is workable but before the primary vegetative surge. In most regions, this window opens two weeks after the last predicted frost date. Monitoring the biological clock of your garden is essential; you want to complete heavy excavation before the "bud break" phase of nearby perennials. Performing these steps to build a sandbox during a period of low transpiration reduces the risk of root shock to adjacent trees if you must sever minor lateral roots during the leveling process.
Phases:

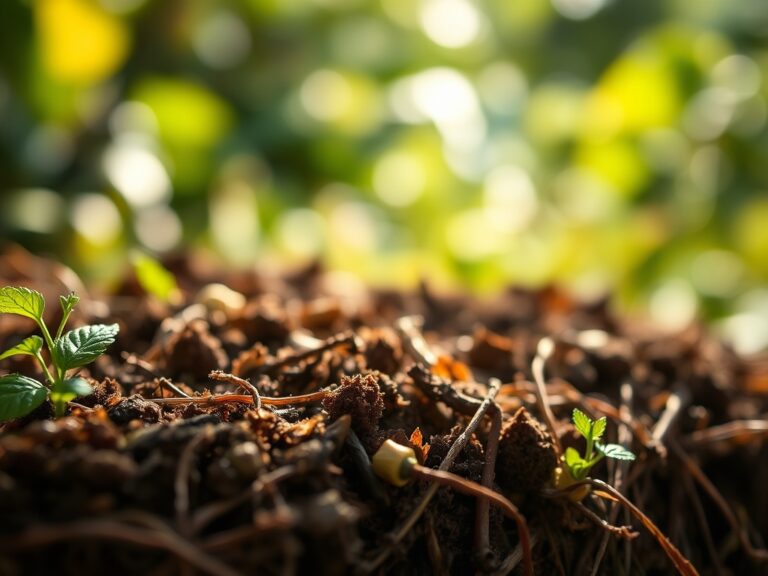
Sowing the Foundation
Clear a 5-foot by 5-foot square. Excavate to a depth of 6 inches, ensuring the floor of the pit has a 1 percent slope for drainage. Line the base with heavy-duty landscape fabric. This barrier prevents the upward migration of worms and the mixing of subsoil with the sand.
Pro-Tip: Using a permeable geotextile fabric encourages aerobic conditions. This prevents the buildup of anaerobic bacteria which can lead to sour-smelling substrate through the process of denitrification.
Transplanting the Structure
Assemble the timber frame using 3-inch stainless steel deck screws. Pre-drilling is mandatory to prevent splitting the wood grain. Once the frame is squared, anchor it into the corners using 12-inch rebar stakes. This prevents the frame from shifting during freeze-thaw cycles that cause soil heaving.
Pro-Tip: Secure the frame firmly to prevent mechanical stress on surrounding turf. Grasses rely on apical dominance; if the frame shifts and crushes the crown, the plant cannot regenerate new blades from the base.
Establishing the Medium
Fill the frame with washed play sand, leaving 2 inches of clearance from the top edge to prevent spillover. Distribute the sand evenly to ensure uniform weight distribution across the geotextile membrane.
Pro-Tip: Avoid using fine-grain desert sand. Sub-angular grains provide better structural integrity for play due to increased friction between particles; this mimics the way root hairs grip soil particles to increase surface area for nutrient uptake.
The Clinic:
Physiological issues in the surrounding landscape often arise after structural changes. Watch for these symptoms:
Symptom: Leaf Chlorosis (Yellowing) in nearby shrubs.
Solution: This often indicates Nitrogen deficiency caused by "carbon nitrogen tie-up" if wood chips were used as a border. Apply a high-nitrogen fertilizer (21-0-0) to the drip line.
Symptom: Marginal Leaf Scorch.
Solution: This suggests moisture stress. If the sandbox excavation severed too many feeder roots, the plant cannot maintain enough turgor pressure to reach the leaf margins. Increase irrigation frequency.
Symptom: Fungal Algae on sand surface.
Solution: This indicates poor drainage or excessive shade. Increase UV exposure or incorporate a 10 percent pea gravel base beneath the sand to improve the percolation rate.
Fix-It: For Iron chlorosis (veins remain green while leaves turn yellow), apply chelated iron. This is common if the sandbox lumber leaches alkaline salts that raise the soil pH above 7.5, locking out micronutrients.
Maintenance:
A sandbox requires active management to remain a sterile environment. Use a soil moisture meter to check the ground surrounding the box; ensure the perimeter receives 1.5 inches of water per week at the drip line. If weeds encroach on the frame, use a hori-hori knife to extract the entire taproot, preventing regrowth from rhizomes.
Inspect the timber annually for signs of senescence or rot. Use bypass pruners to trim back any overhanging vegetation that might drop organic debris into the sand. Organic matter decomposition in the sand will increase the CEC, leading to unwanted weed germination within the play area.
The Yield:
While a sandbox does not produce a caloric yield, the "harvest" is the longevity of the structure and the health of the surrounding garden. If you have planted edible herbs like creeping thyme around the border to soften the edges, harvest them in the morning when essential oil concentration is highest. Use sharp shears to avoid tearing the vascular tissue, which ensures day-one freshness and rapid plant recovery.
FAQ:
What is the best sand for a sandbox?
Use washed sub-angular silica sand. It is free of silt and clay, preventing staining and ensuring proper drainage. Ensure it is labeled as "play sand" to guarantee it has been screened for debris and harmful particulates.
How deep should the sand be?
A depth of 8 to 12 inches is optimal. This provides enough volume for play while ensuring the weight does not overly compress the subsoil, which could lead to drainage issues and root asphyxiation for nearby plants.
Do I need a floor for the sandbox?
Yes. Use a geotextile landscape fabric. This allows water to pass through into the subsoil while preventing insects and soil from mixing with the sand. Do not use plastic, as it traps water and causes anaerobic rot.
How do I keep cats out of the sandbox?
Construct a wooden or mesh lid. This is the only effective physical barrier. Keeping the sand dry and covered also prevents the germination of wind-blown seeds and maintains the inert nature of the silica substrate.