9 Best Anchors for Garden Walls
The smell of damp earth after a heavy rain indicates more than just hydration; it signals the activation of the rhizosphere. When soil particles reach maximum water-holding capacity, the turgor pressure within plant cells increases, allowing stems to stand rigid against the pull of gravity. However, vertical gardening and terracing require mechanical support that biology cannot provide alone. Selecting the best anchors for garden walls is a structural necessity for any gardener dealing with slopes or vertical masonry. Without proper anchoring, the lateral pressure of saturated soil will cause wall failure, leading to root exposure and plant senescence. A wall is only as stable as its connection to the geological substrate. You must calculate the weight of the wet soil mass, which can exceed 100 pounds per cubic foot, before selecting your hardware. This guide provides the technical specifications for securing your garden structures to ensure long-term stability and plant health.
Materials:
The success of any garden wall depends on the interaction between the anchor material and the soil chemistry. For masonry walls, stainless steel or hot-dipped galvanized anchors are mandatory to resist corrosion in high-moisture environments. Soil with a **pH below 5.5** is highly acidic and will accelerate the oxidation of inferior metals. Conversely, alkaline soils with a **pH above 7.5** often contain high calcium levels that can react with certain coatings.
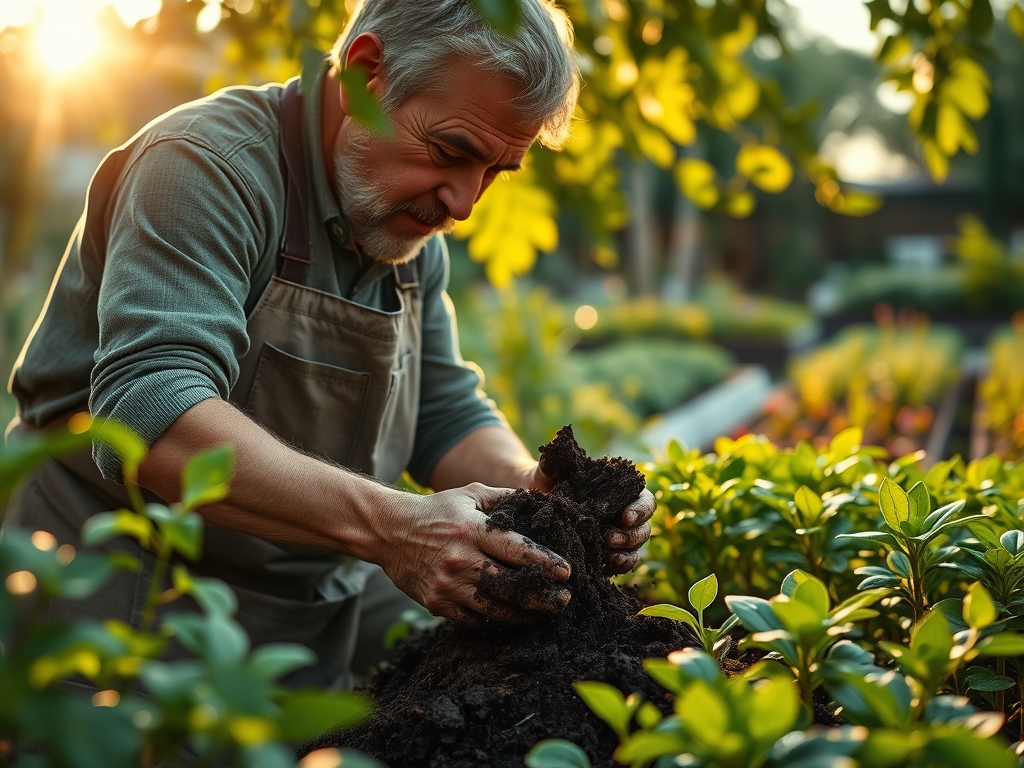
The ideal substrate for backfilling behind an anchored wall is a friable loam. This soil texture consists of approximately 40 percent sand, 40 percent silt, and 20 percent clay. This specific balance ensures a high Cation Exchange Capacity (CEC), allowing the soil to hold onto essential nutrients like Nitrogen, Phosphorus, and Potassium. When preparing the site, aim for an NPK ratio of 10-10-10 in the base layer to encourage deep root penetration, which provides secondary biological anchoring. Avoid heavy clay backfill; its high plasticity index causes it to expand when wet, exerting excessive force on your anchors.
Timing:
Installation must be synchronized with local climate data and the biological clock of your vegetation. In Hardiness Zones 4 through 7, structural work should be completed at least six weeks before the first hard frost. This window allows the soil to settle and any newly planted stabilizing groundcovers to transition from the vegetative stage to a dormant state.
Installing anchors during the spring thaw is risky because the "frost heave" cycle alters soil density. Wait until the soil temperature reaches a consistent 55 degrees Fahrenheit at a depth of six inches. This temperature marks the beginning of active microbial life and ensures that the soil is workable enough to achieve proper torque on mechanical anchors. For gardeners in Zones 8 through 10, the primary timing constraint is the summer heat. High temperatures can cause metal anchors to expand, potentially cracking green concrete or mortar if not properly gapped.
Phases:
Sowing and Ground Prep
Before the first anchor is driven, the site must be cleared of organic debris that could rot and create voids. Excavate a trench 12 inches wider than the wall itself.
Pro-Tip: Ensure the base layer is compacted to 95 percent Proctor density. This prevents settling that leads to phototropism issues, where plants grow crookedly to compensate for a leaning wall.
Transplanting and Anchoring
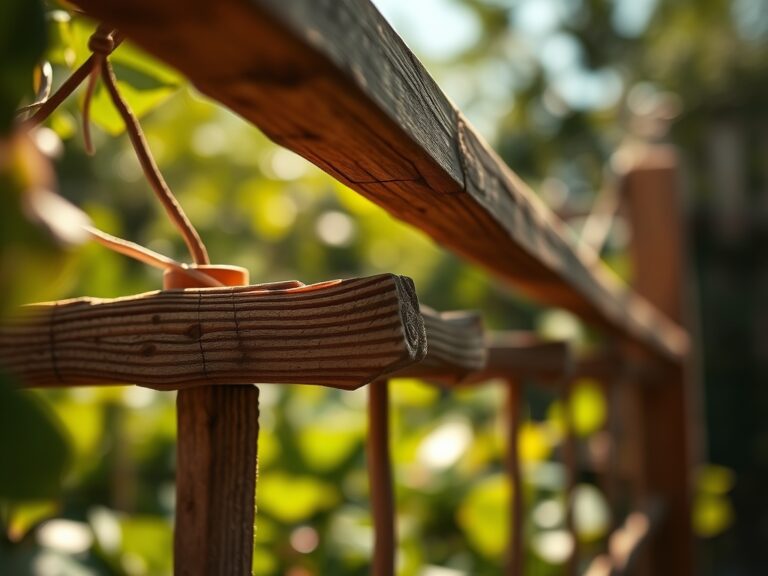
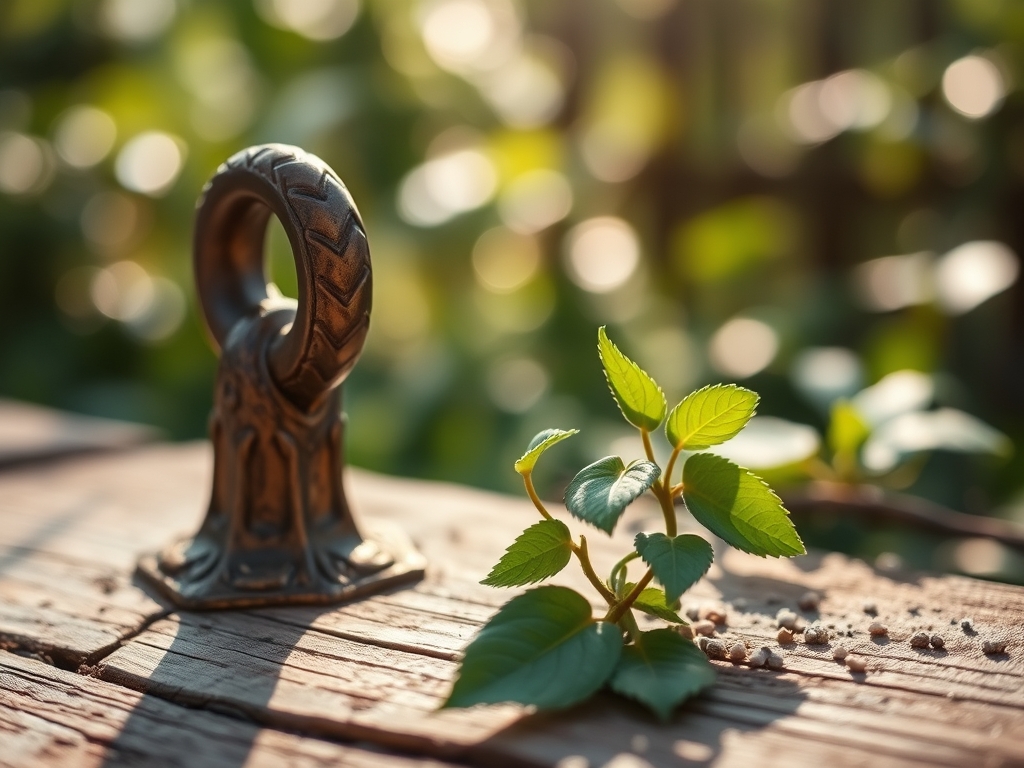
When installing the best anchors for garden walls, such as deadman anchors or helical piers, spacing is critical. Place anchors every 3 to 4 feet horizontally. If using sleeve anchors for a stone facade, drill holes 0.5 inches deeper than the anchor length to account for dust.
Pro-Tip: Inoculate the backfill with mycorrhizal fungi. This symbiotic relationship extends the root surface area, creating a biological mesh that works in tandem with your mechanical anchors to prevent soil erosion.
Establishing the Structure
Once the anchors are set and the wall is built, backfill in 6-inch lifts. Water each lift to ensure even settling.
Pro-Tip: Avoid over-fertilizing with high-nitrogen salts during this phase. High salt concentrations can draw water out of the roots via osmosis, leading to auxin suppression and stunted lateral growth.
The Clinic:
Monitoring the health of the plants near your wall provides early warning signs of structural or chemical issues.
Symptom: Interveinal chlorosis (yellowing leaves with green veins) in new growth.
Solution: This is often a sign of Iron deficiency, common in high pH soils near concrete walls where lime leaches into the rhizosphere. Apply chelated iron or lower the pH with elemental sulfur.
Symptom: Leaf margins turning brown and crispy (necrosis).
Solution: This indicates Potassium deficiency or salt burn. Check the drainage behind the wall. If water is pooling, the anchors may be obstructing the weep holes, preventing the flushing of excess salts.
Symptom: Stunted growth and dark purple tint on older leaves.
Solution: This is Phosphorus chlorosis. Phosphorus is immobile in the soil. If the wall construction disturbed the root zone significantly, the plant cannot reach this nutrient. Use a soil moisture meter to ensure the root ball is not drying out due to the reflective heat of the wall.
Fix-It: For general Nitrogen chlorosis (overall pale green/yellow leaves), apply a water-soluble 20-20-20 fertilizer at a rate of 1 pound of Nitrogen per 1,000 square feet.
Maintenance:
A garden wall is a dynamic system. Inspect your anchors annually for signs of "creep" or movement. Use a soil moisture meter to maintain a consistent hydration level; drastic wet-dry cycles cause soil to shrink and swell, putting stress on the anchors. Most ornamental plants near walls require 1.5 inches of water per week at the drip line, delivered via drip irrigation to avoid saturating the wall face.
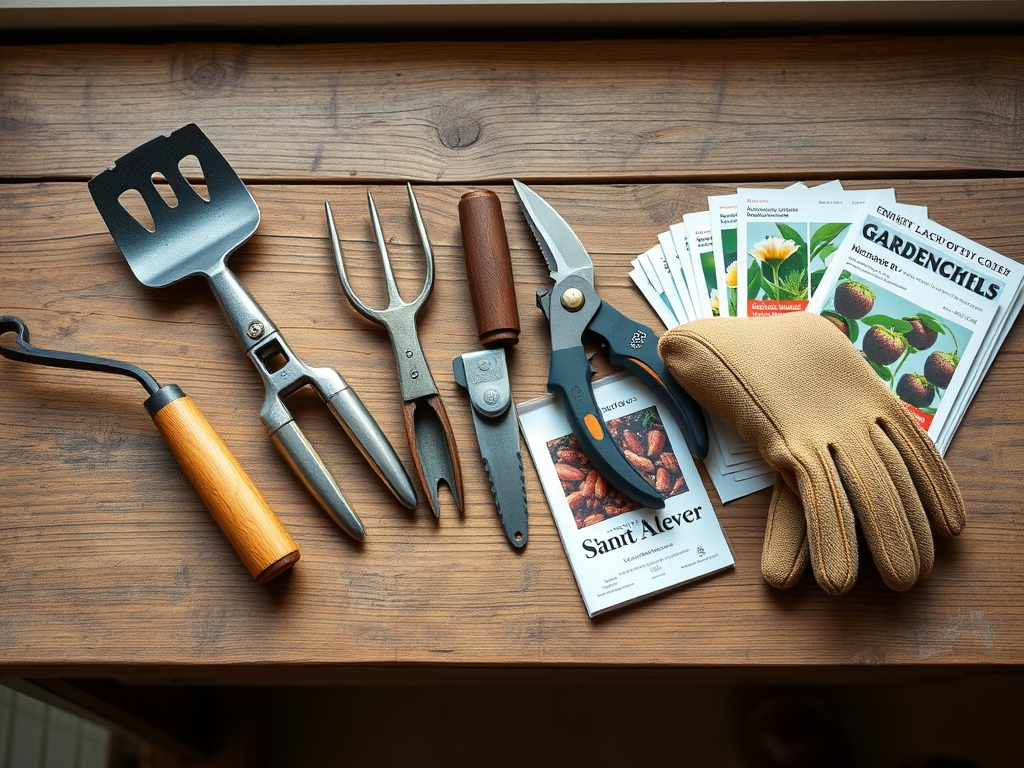
Use a hori-hori knife to remove deep-rooted weeds that may penetrate the drainage fabric behind the wall. When pruning nearby shrubs, use bypass pruners to make clean cuts, preventing the entry of pathogens. If you notice the wall leaning more than 1/4 inch per foot of height, the anchors have likely failed or the soil has reached its liquid limit.
The Yield:
If your wall supports an edible garden, such as trailing rosemary or strawberries, harvest timing is dictated by sugar content and turgor. Harvest herbs in the early morning when essential oil concentration is highest. For strawberries, wait until the fruit is 90 percent red to ensure maximum Brix levels (sugar content).
Post-harvest handling is vital for "day-one" freshness. Immediately submerge harvested greens in 40-degree Fahrenheit water to remove field heat and maintain cell turgor. This process, known as hydro-cooling, slows down the respiration rate and delays senescence.
FAQ:
What are the best anchors for heavy timber walls?
Use 0.5-inch diameter galvanized steel spikes or timber screws at least 10 inches long. These provide the necessary shear strength to resist the lateral pressure of wet soil and prevent the timbers from warping over time.
How deep should garden wall anchors be buried?
Anchors should extend into the "stable zone" of the soil, typically 2 to 3 feet behind the wall. This ensures they are seated past the failure plane where the soil is most likely to slide or collapse.
Can I use plastic anchors for garden walls?
No. Plastic anchors lack the tensile strength required for structural soil retention. They degrade under UV exposure and fluctuate with temperature changes, leading to eventual wall failure and potential root system damage.
Why is drainage important for wall anchors?
Hydrostatic pressure is the leading cause of anchor failure. Without perforated drain pipes and gravel backfill, water weight increases the load on anchors by fourfold, eventually exceeding the yield strength of the metal or the soil's grip.