8 Tidy Ways How to Landscape Around a Shed
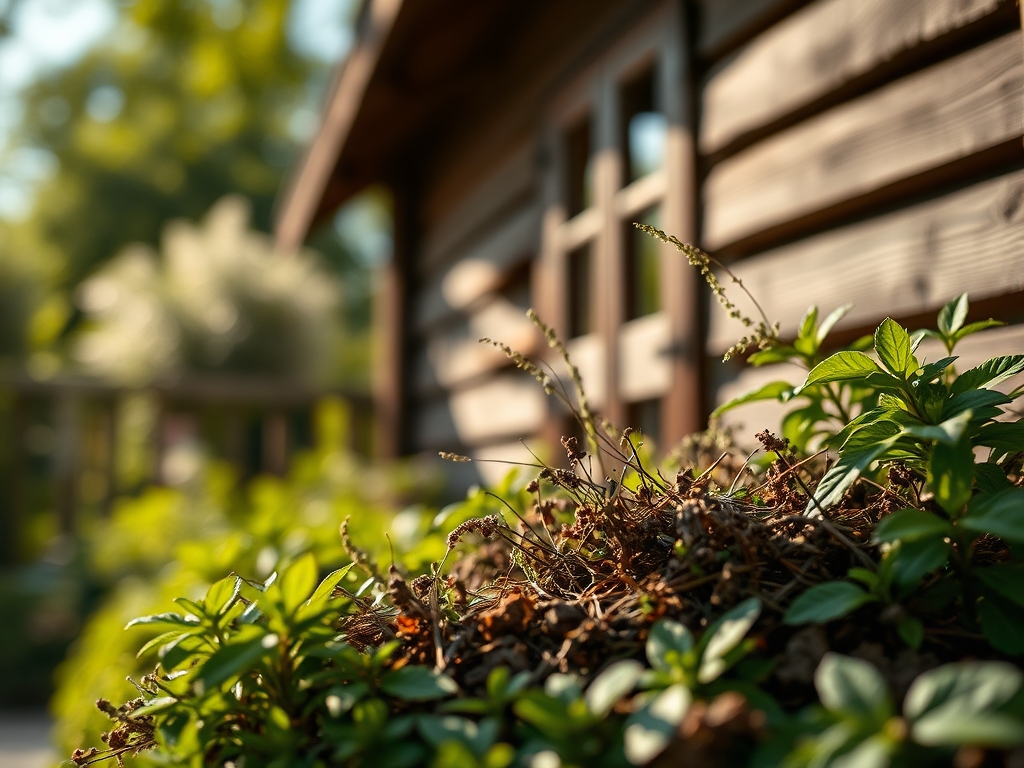
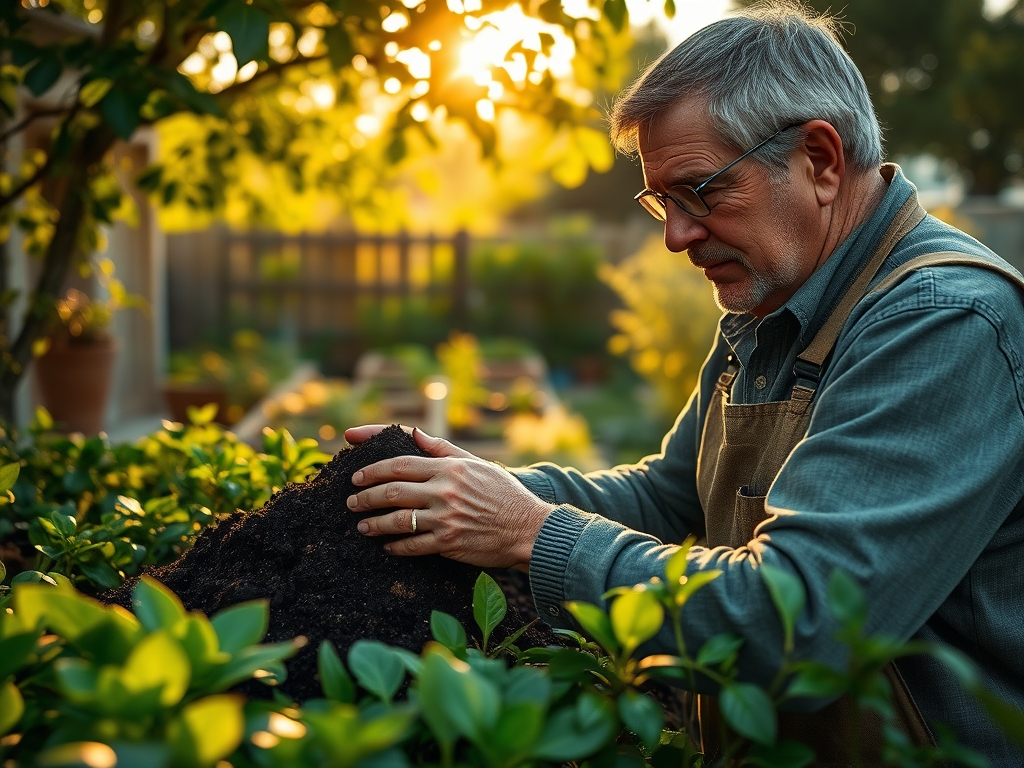
Crushing a handful of friable loam reveals the metallic scent of geosmin and the gritty reality of soil structure. Successful execution of how to landscape around a shed requires more than aesthetic intent; it demands an understanding of hydrology and the rhizosphere. A shed often creates a rain shadow and a localized microclimate that alters soil moisture and light availability. To integrate this structure into the environment, you must manage the transition between the rigid foundation and the surrounding organic life. Proper landscaping prevents erosion, manages runoff, and stabilizes the soil temperature around the footings. This guide focuses on the technical precision required to establish a durable, high-performing perimeter that respects the biological needs of your plant material while protecting the integrity of the outbuilding.
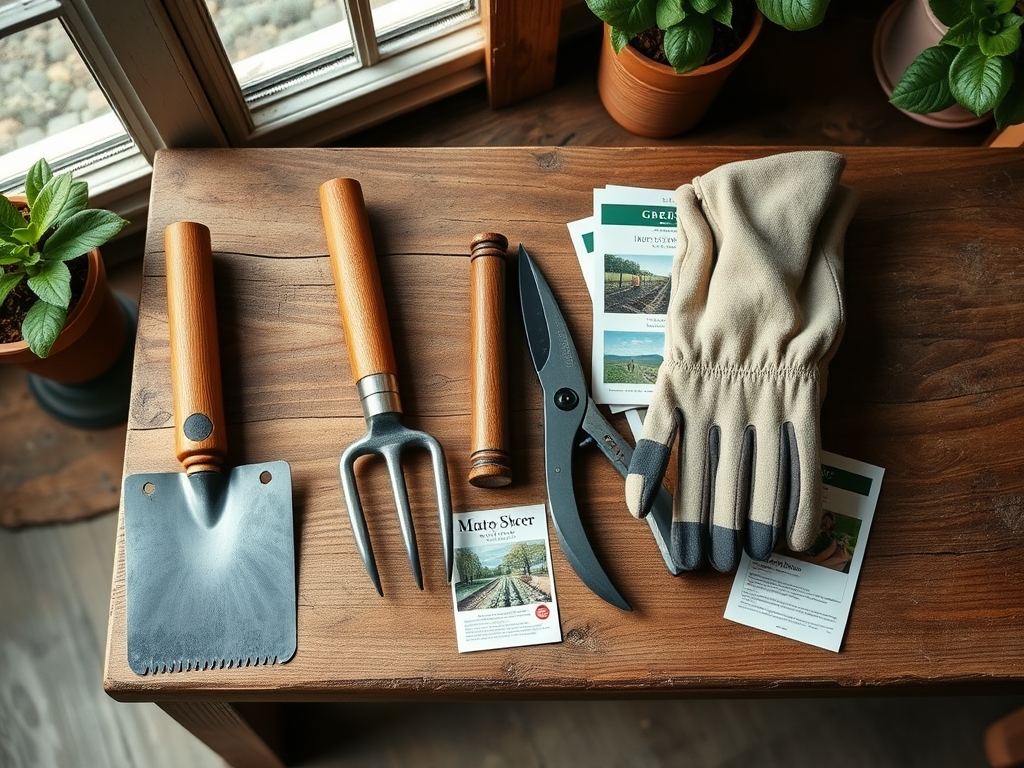
Materials:
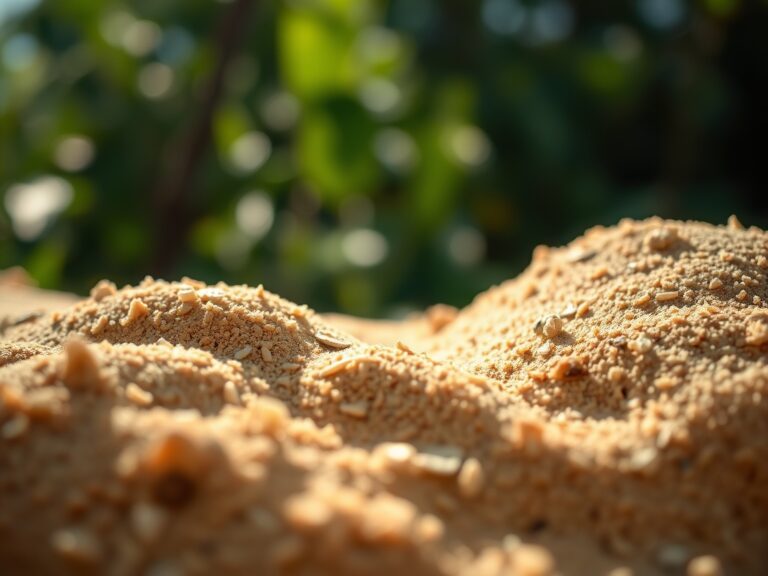
The foundation of the landscape is the substrate. For the perimeter of a shed, aim for a **friable loam** with a **Cation Exchange Capacity (CEC) between 15 and 25**. This ensures the soil can retain and exchange essential nutrients like potassium and magnesium.
- Soil pH: Maintain a range of 6.2 to 6.8 for general ornamental and herbaceous plants. Use elemental sulfur to lower pH or calcitic lime to raise it.
- Nitrogen-Phosphorus-Potassium (NPK):
- Establishment Phase: Use a 5-10-5 ratio to prioritize root development over foliar growth.
- Maintenance Phase: Transition to a 10-10-10 balanced fertilizer applied at a rate of 1 pound of nitrogen per 1,000 square feet.
- Hardscape Base: Use 3/4-inch crushed angular stone for drainage layers. This prevents hydrostatic pressure from building against the shed siding.
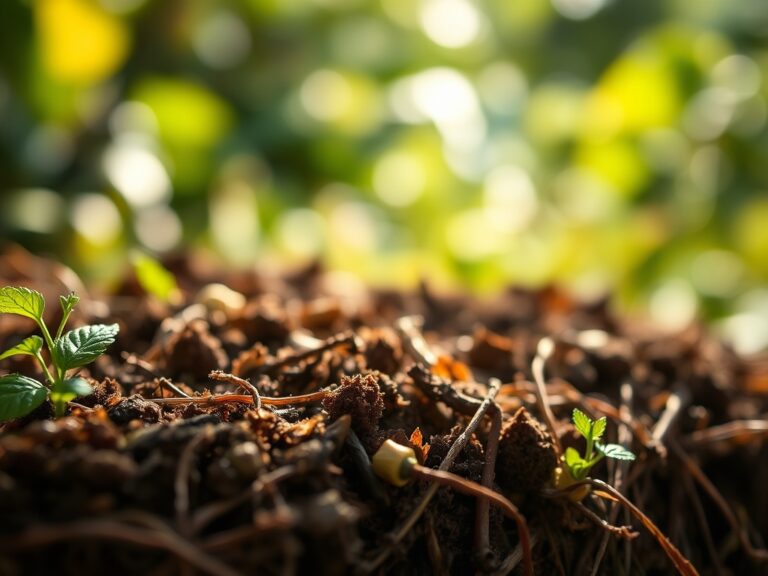
- Mulch: Double-shredded hardwood mulch provides a stable carbon source that suppresses weed germination without significantly altering the soil nitrogen levels during decomposition.
Timing:
Timing is dictated by the USDA Hardiness Zones and the local frost-free window. In Zones 5 through 7, the primary planting window opens when soil temperatures consistently reach 55 degrees Fahrenheit. This temperature threshold triggers the metabolic processes necessary for root initiation.
The "Biological Clock" of your landscape involves the transition from the vegetative stage (leaf and stem production) to the reproductive stage (flowering). Planting should occur at least six weeks before the first hard frost to allow for sufficient root establishment. During the autumn senescence, plants move carbohydrates from the leaves to the root system for winter storage. Interrupting this process with late-season nitrogen applications can stimulate tender new growth that will succumb to frost necrosis.
Phases:
Sowing and Site Prep
Begin by grading the soil away from the shed at a 2 percent slope. This ensures that water moves away from the foundation at a rate of one inch of drop for every four feet of distance. Remove all turf and weeds, ensuring the soil is clear of aggressive rhizomes.
Pro-Tip: Utilize a soil moisture meter to calibrate the initial saturation. Biological Why: Maintaining consistent moisture during the first 14 days prevents the desiccation of fine root hairs; these microscopic structures are responsible for the bulk of water uptake via osmosis.
Transplanting
When placing container-grown plants, dig a hole twice as wide as the root ball but no deeper. Ensure the root flare is at or slightly above the soil grade to prevent stem rot.
Pro-Tip: Score the sides of the root ball if the plant is pot-bound. Biological Why: This disrupts circumnutation, the tendency of roots to grow in a circular pattern. Breaking this cycle encourages lateral root extension into the native soil, increasing the plant's structural stability.
Establishing
Apply a 2-inch layer of organic mulch, keeping it 3 inches away from the base of the plants and the shed siding. Water deeply to settle the soil and eliminate air pockets that can cause root desiccation.
Pro-Tip: Inoculate the soil with mycorrhizal fungi during planting. Biological Why: This creates a mycorrhizal symbiosis where the fungi extend the reach of the root system, significantly increasing the surface area for phosphorus and water absorption.
The Clinic:
Physiological disorders often arise from the unique environment created by the shed's shadow and roof runoff.
- Symptom: Interveinal Chlorosis. The leaves turn yellow while the veins remain green.
- Solution: This indicates an Iron or Magnesium deficiency, often caused by a pH above 7.0 which locks these micronutrients. Apply chelated iron or adjust the pH to 6.5.
- Symptom: Powdery Mildew. A white, flour-like fungal growth on the leaf surface.
- Symptom: Etiolation. Stems become long, weak, and pale.
- Solution: The plant is experiencing light starvation due to the shed's shadow. This is a phototropic response. Relocate the plant to a zone with at least 6 hours of solar radiation or switch to shade-tolerant species like Hosta or Heuchera.
- Fix-It: Nitrogen Deficiency. If older leaves show uniform yellowing (chlorosis), the plant lacks nitrogen. Apply a blood meal supplement or a high-nitrogen liquid feed to restore turgor pressure and chlorophyll production.
Maintenance:
Precision maintenance ensures the longevity of the landscape. Deliver 1.5 inches of water per week at the drip line of the plants. Use a soil moisture meter to verify that the moisture has penetrated 6 inches deep.
Use a hori-hori knife for precision weeding and to check for soil compaction. If the soil becomes compacted, the bulk density increases, reducing the oxygen available in the pore spaces for root respiration. Annually inspect the area where the landscape meets the shed. Ensure no soil or mulch is in contact with wooden siding to prevent capillary action from drawing moisture into the structure. Prune any branches that touch the shed using bypass pruners to prevent mechanical damage to the paint and to discourage pest pathways.
The Yield:
If your shed landscape includes woody ornamentals or cut flowers like Hydrangea paniculata or Echinacea, timing the harvest is critical for "day-one" freshness. Harvest flowers in the early morning when turgor pressure is at its peak. Use a sharp, sterilized blade to make a clean cut at a 45-degree angle.
Immediately plunge the stems into 100-degree Fahrenheit water to remove air bubbles from the xylem. This process, known as conditioning, ensures the vascular system remains open for water transport. For woody stems, a vertical slit at the base of the stem can increase the surface area for hydration.
FAQ:
How do I prevent weeds around the shed foundation?
Install a geotextile weed barrier topped with 3 inches of inorganic mulch, such as river rock. This creates a sterile zone that prevents seed germination and provides a high-drainage perimeter to protect the shed's structural footings.
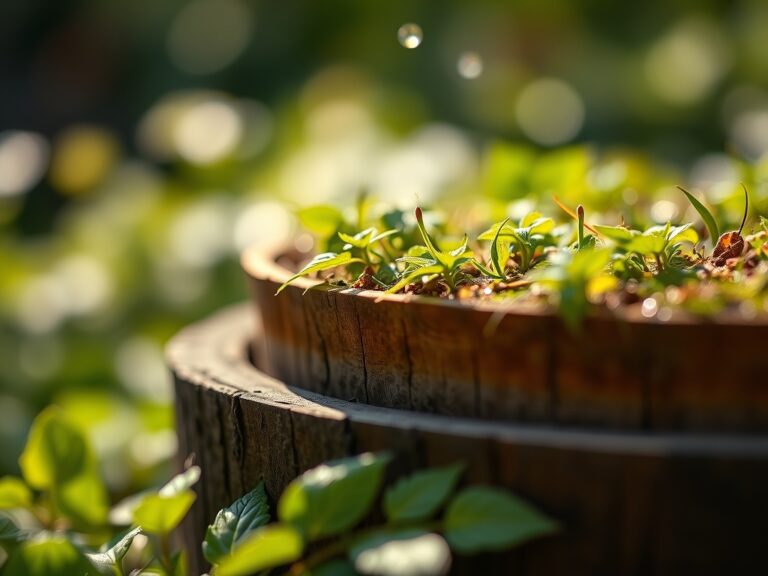
What plants grow best in the shade of a shed?
Select species with high chlorophyll density such as Hosta, Ferns, or Astilbe. These plants are biologically adapted to low-photon environments and maintain high turgor pressure in the cooler, moister soil found on the north side of structures.
How far should I plant from the shed walls?
Maintain a minimum distance of 12 to 24 inches between the shed and the mature spread of the plant. This gap ensures essential air circulation to prevent fungal pathogens and allows for structural maintenance and inspections of the foundation.
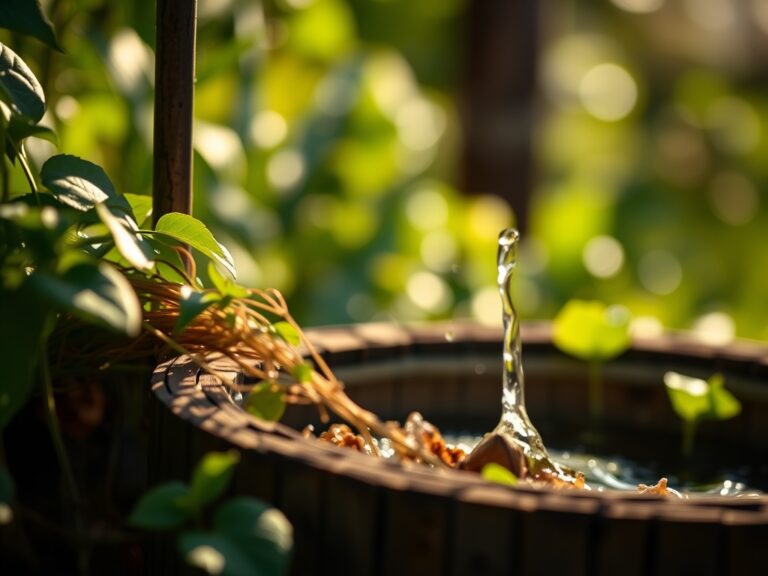
How do I handle roof runoff from the shed?
Install a gravel splash pad or a small French drain using 4-inch perforated pipe and 1-inch clean stone. This manages the kinetic energy of falling water, preventing soil erosion and the displacement of the rhizosphere around your plants.
When is the best time to fertilize shed-side plants?
Apply fertilizer in early spring just as the first vegetative buds break dormancy. This aligns with the plant's highest demand for nutrients to support rapid cell division and expansion during the initial growth surge of the season.