7 Quick Steps to Install a Trellis Panel
The scent of damp, mineral-rich earth signals the beginning of the growing season as turgor pressure builds within the vascular tissues of emerging seedlings. To support this rapid vertical growth and maximize photosynthetic efficiency, a structural framework is required. Mastering the steps to install a trellis panel ensures that climbing species can transition from the soil surface to the vertical plane without compromising stem integrity or airflow. A properly anchored panel prevents the mechanical stress of wind from damaging the delicate apical meristems of your cultivars.
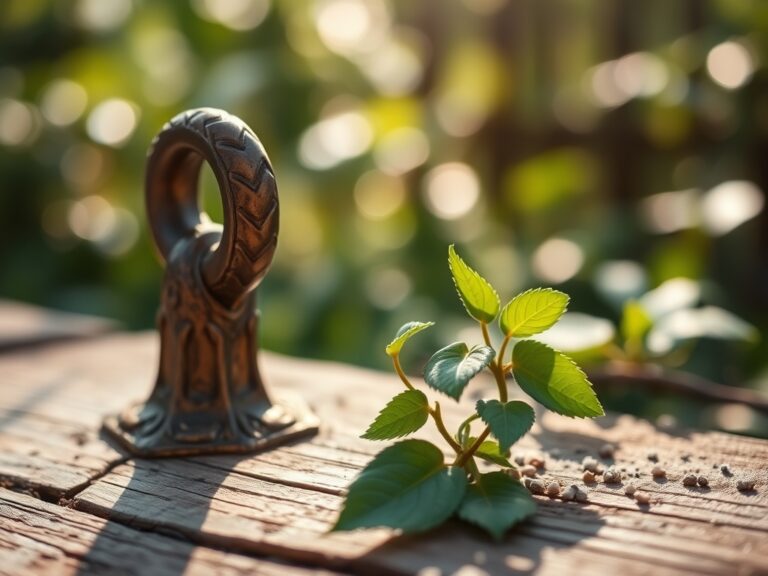
Materials:

Successful installation begins with the substrate. The ideal soil for heavy climbers is a friable loam with a Cation Exchange Capacity (CEC) between 15 and 25 milliequivalents per 100 grams. This ensures the soil can hold essential cations like calcium and magnesium against the leaching effects of irrigation. Before setting posts, test the soil pH; most woody perennials and annual vines thrive in a range of 6.2 to 6.8.
Nutrient management is critical for the structural development of the plant. Incorporate a slow-release fertilizer with an NPK ratio of 5-10-10 into the planting hole. The higher phosphorus (P) and potassium (K) levels promote robust root systems and lignification of the stems, rather than excessive, weak vegetative growth. Ensure you have 4×4 pressure-treated timber posts, galvanized U-staples, a 2-foot level, and a post-hole digger capable of reaching below the frost line.
Timing:
The biological clock of your garden dictates the installation window. In Hardiness Zones 5 through 7, the ideal time to execute the steps to install a trellis panel is late winter or early spring, specifically 4 to 6 weeks before the last predicted frost. This allows the structure to be set before the plants enter the vegetative stage, preventing root disturbance during the active growth phase.
Monitor the transition from vegetative to reproductive stages. If you install the trellis too late, you risk damaging the plant's rhizosphere during the crucial period of auxin production, which regulates apical dominance. Installing the panel while the ground is still firm but workable prevents soil compaction around the future root zones of your climbers.
Phases:
Sowing and Site Preparation
Excavate post holes to a depth of 24 to 36 inches, depending on your local frost line. The width of the hole should be three times the diameter of the post to allow for a concrete collar. Backfill the bottom 4 inches with crushed gravel to facilitate drainage and prevent anaerobic conditions at the base of the timber.
Pro-Tip: Proper drainage at the base prevents fungal pathogens from colonizing the wood. This protects the mycorrhizal symbiosis in the surrounding soil, ensuring that beneficial fungi continue to transport phosphorus to the plant's root hairs.
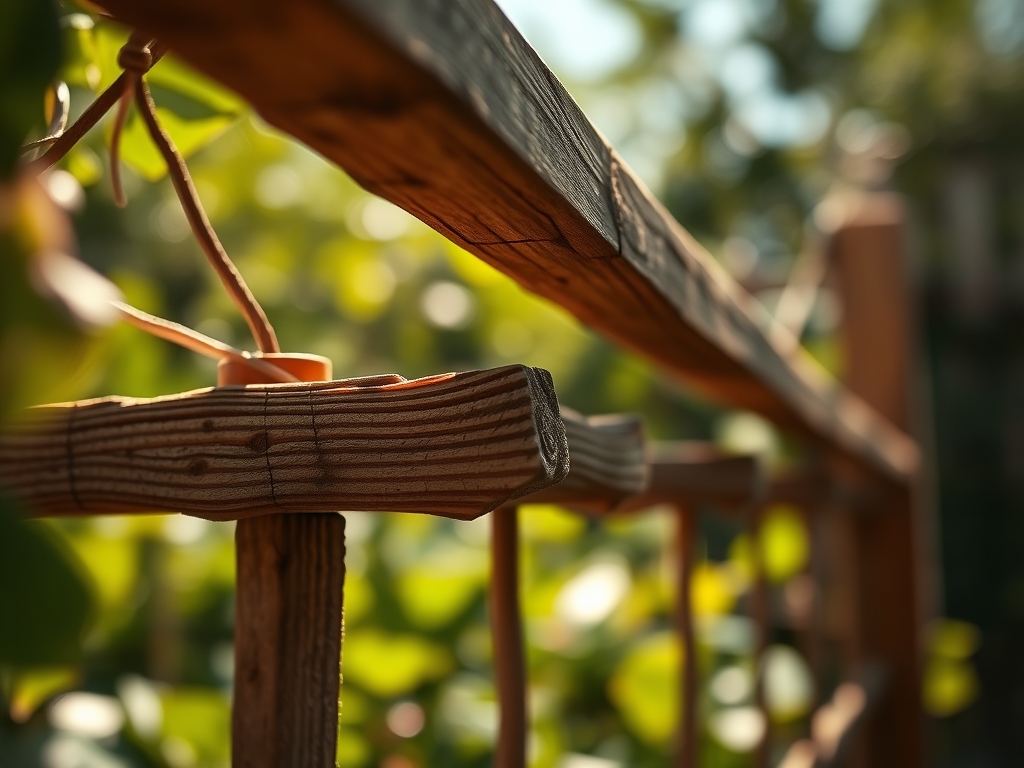
Transplanting and Anchoring
Secure the trellis panel to the posts using galvanized screws to prevent rust. Ensure the panel is elevated 2 to 3 inches above the soil line. This gap prevents the wood from absorbing moisture through capillary action and allows for easier maintenance of the mulch layer. When placing your plants, position them 6 to 8 inches away from the base of the trellis.
Pro-Tip: Maintaining a gap between the soil and the panel reduces the risk of soil-borne pathogens reaching the lower foliage. This also prevents "damping off" in young seedlings by increasing airflow at the soil-stem interface.
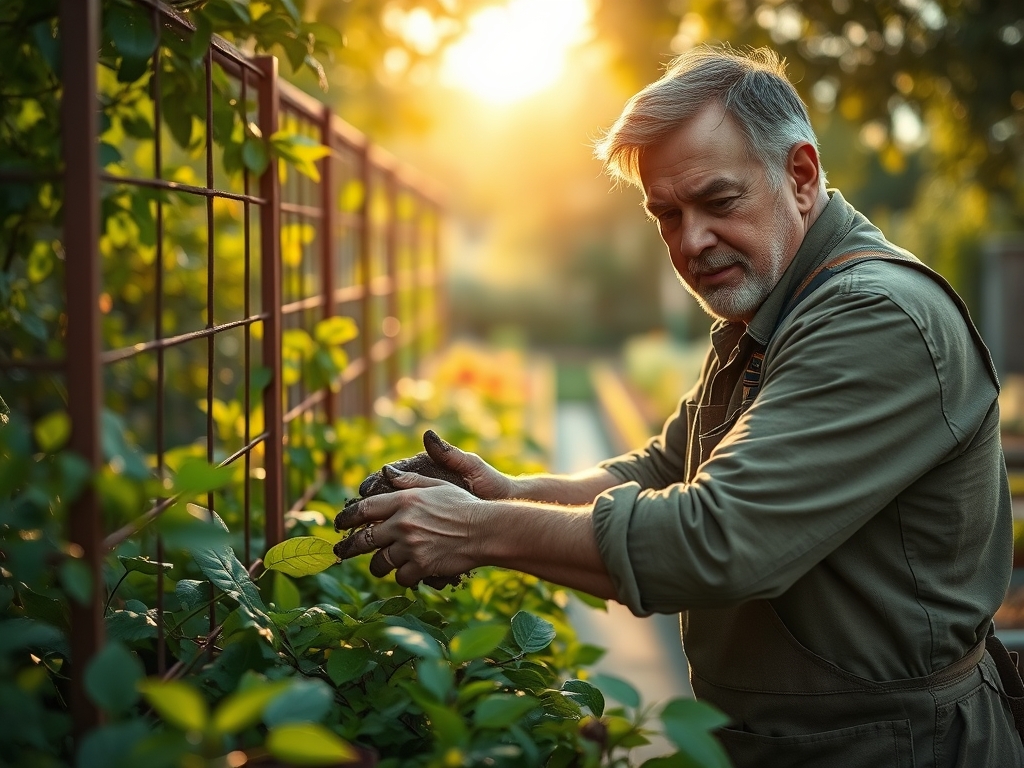
Establishing and Training
As the plants grow, manually guide the primary shoots toward the trellis. Use soft garden twine or specialized clips to secure the stems. Do not tie the stems tightly; leave room for the secondary thickening of the xylem and phloem as the plant matures.
Pro-Tip: Training stems at a 45-degree angle can suppress apical dominance. This process, known as auxin suppression, encourages the development of lateral buds, resulting in a fuller canopy and increased flowering or fruit production.
The Clinic:
Physiological disorders often manifest when the plant's environment is out of equilibrium. Use this diagnostic guide to address common issues:
- Nitrogen Chlorosis: Lower leaves turn pale yellow while veins remain green.
Solution: Apply a water-soluble 10-0-0 fertilizer to provide an immediate nitrogen boost. - Anthracnose: Small, water-soaked spots on leaves that eventually turn brown.
Solution: Improve airflow by thinning the canopy and avoid overhead irrigation. - Blossom End Rot: Dark, sunken spots on the bottom of fruit.
Solution: This indicates a calcium deficiency often caused by inconsistent moisture. Maintain steady hydration to facilitate calcium transport. - Iron Deficiency: New growth appears yellow or white, but veins stay dark green.
Solution: This usually occurs in high pH soils. Lower the pH using elemental sulfur to increase iron bioavailability.
Maintenance:
Precision is the hallmark of a master gardener. Use a soil moisture meter to ensure the root zone receives exactly 1.5 inches of water per week at the drip line. Avoid wetting the foliage to prevent the spread of spores. During the dormant season, use bypass pruners to remove dead or diseased wood, making cuts at a 45-degree angle just above a lateral bud.
Keep a hori-hori knife sharpened for removing deep-rooted weeds that compete for nutrients in the rhizosphere. Every three years, inspect the structural integrity of the trellis. Check for "heaving" caused by freeze-thaw cycles and adjust the levelness of the panel to ensure even weight distribution as the plant's biomass increases.
The Yield:
For edible or flowering climbers, timing the harvest is a matter of cellular maturity. Harvest flowers when the first two petals begin to unfurl to ensure maximum vase life. For fruiting crops, pick during the cool of the morning when turgor pressure is at its peak. This "day-one" freshness is maintained by immediately placing the harvest in a shaded, cool environment to slow the rate of respiration and senescence.
FAQ:
How deep should trellis posts be buried?
Posts should be buried at least 24 inches deep or one-third of the total post height. In colder climates, ensure the base of the post sits below the local frost line to prevent soil heaving from displacing the structure.
What is the best material for a trellis panel?
Cedar and redwood are naturally rot-resistant and provide longevity. For heavy loads, use powder-coated steel. Avoid untreated pine, as it will succumb to fungal decay within two seasons when in contact with moist soil.
Can I install a trellis against a house wall?
Yes, but maintain a 4 to 6-inch gap between the trellis and the wall. This allows for essential airflow, preventing moisture buildup that causes mold on the wall and powdery mildew on the plant's foliage.
When should I first tie plants to the trellis?
Begin training once the plant reaches 6 to 12 inches in height. Use loose ties to allow for stem expansion. Early intervention ensures the plant follows the desired growth habit and prevents the main leader from trailing on the ground.