7 Best Sand for Garden Play Areas
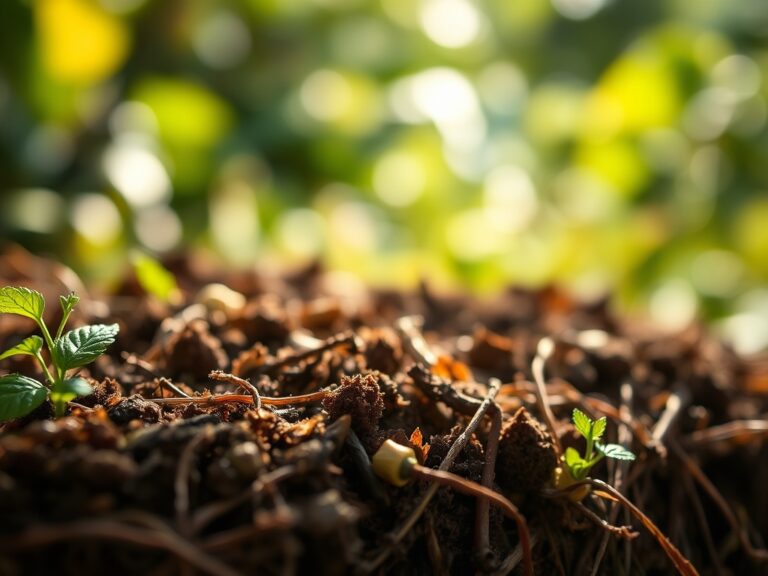
The smell of damp earth and the firm turgor of a healthy leaf define a successful landscape; however, the integration of recreational zones requires a shift from strictly organic substrates to mineral-heavy aggregates. Selecting the best sand for garden play areas is a decision rooted in particle size distribution and drainage physics. Standard masonry sand contains sharp edges that compact under pressure. You need a sub-rounded or rounded grain that maintains structural integrity without sacrificing the safety of the recreational surface. Proper selection ensures the surrounding rhizosphere remains unaffected by runoff or pH shifts caused by mineral leaching.
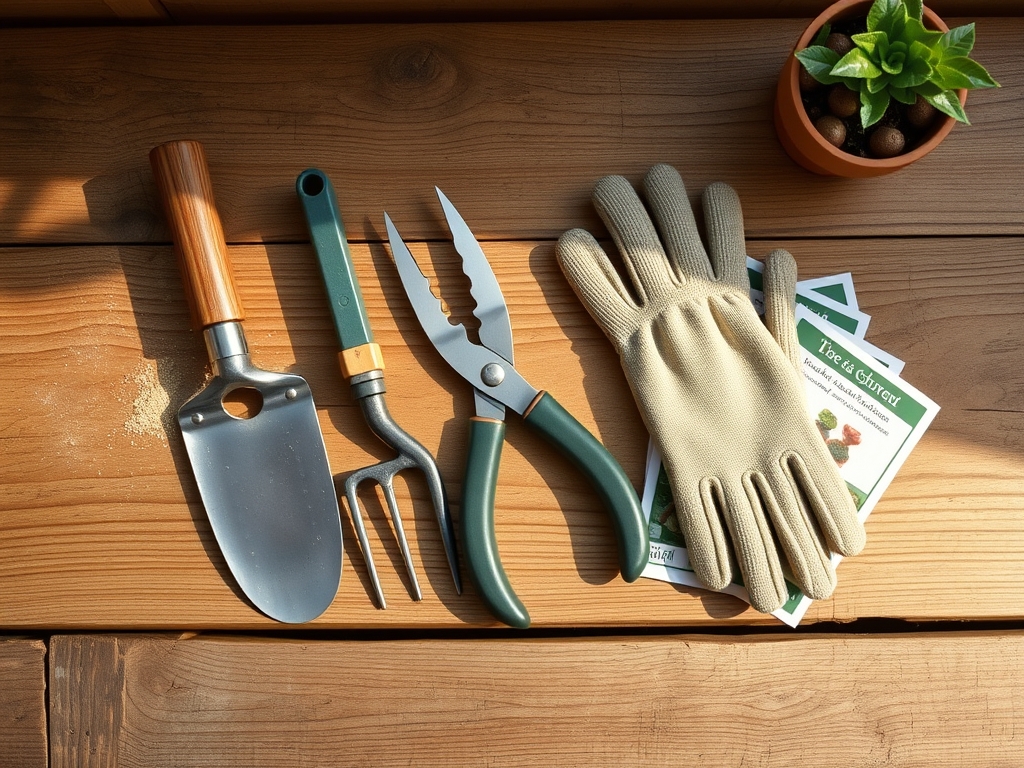
Materials:
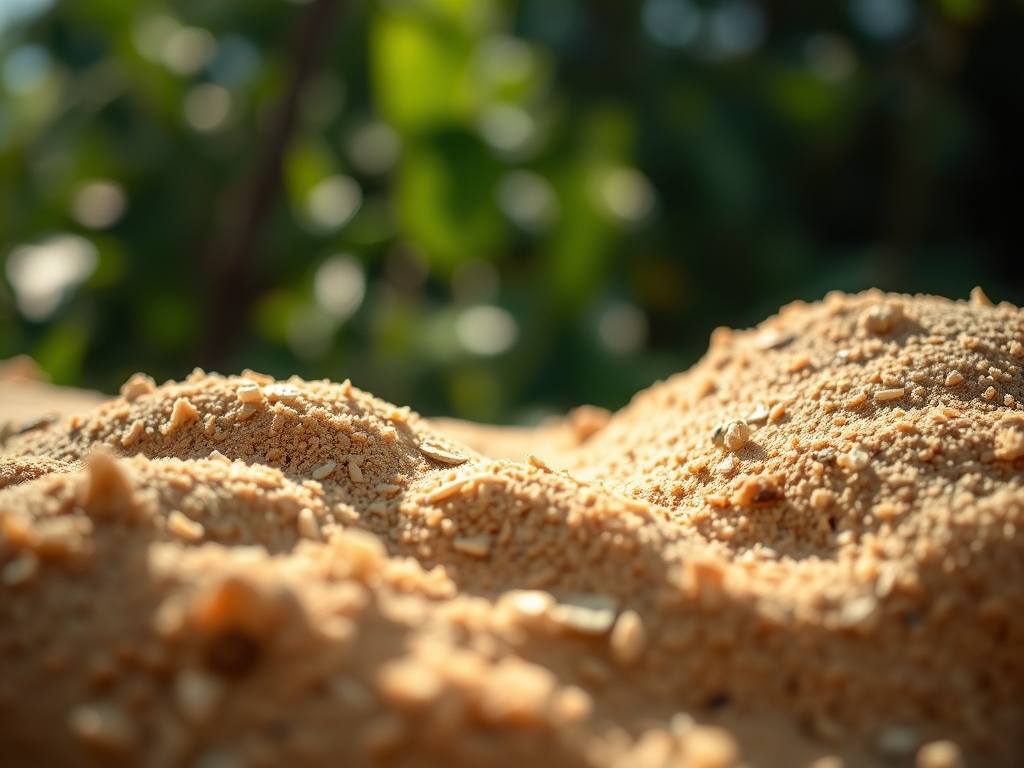
The best sand for garden play areas must be chemically inert to avoid altering the soil pH, which should ideally sit between 6.0 and 7.0 for adjacent plantings. Standard play sand is washed and screened to remove silt and clay, resulting in a 0.05mm to 2.0mm particle range. When integrating this into a garden, ensure the underlying soil has a high Cation Exchange Capacity (CEC) of at least 15 to 25 meq/100g. This allows the soil to retain essential nutrients like Nitrogen, Phosphorus, and Potassium despite the high drainage rate of the sand.
- Washed River Sand: Neutral pH; ideal for drainage.
- White Silica Sand: High purity; zero NPK contribution.
- Double-Washed Play Sand: Lowest dust content; sub-rounded grains.
- Coarse Horticultural Sand: High aeration; 0:0:0 NPK.
- Silver Sand: Fine texture; often used for top-dressing nearby turf.
- Sub-Rounded Feldspar: Durable; resists crushing.
- Kiln-Dried Sand: Sterile; prevents immediate weed seed germination.
The physical texture must mimic a friable loam at the interface of the sand and soil. Avoid limestone-based sands, as they raise pH levels to 8.5 or higher, inducing iron chlorosis in neighboring acid-loving plants.
Timing:
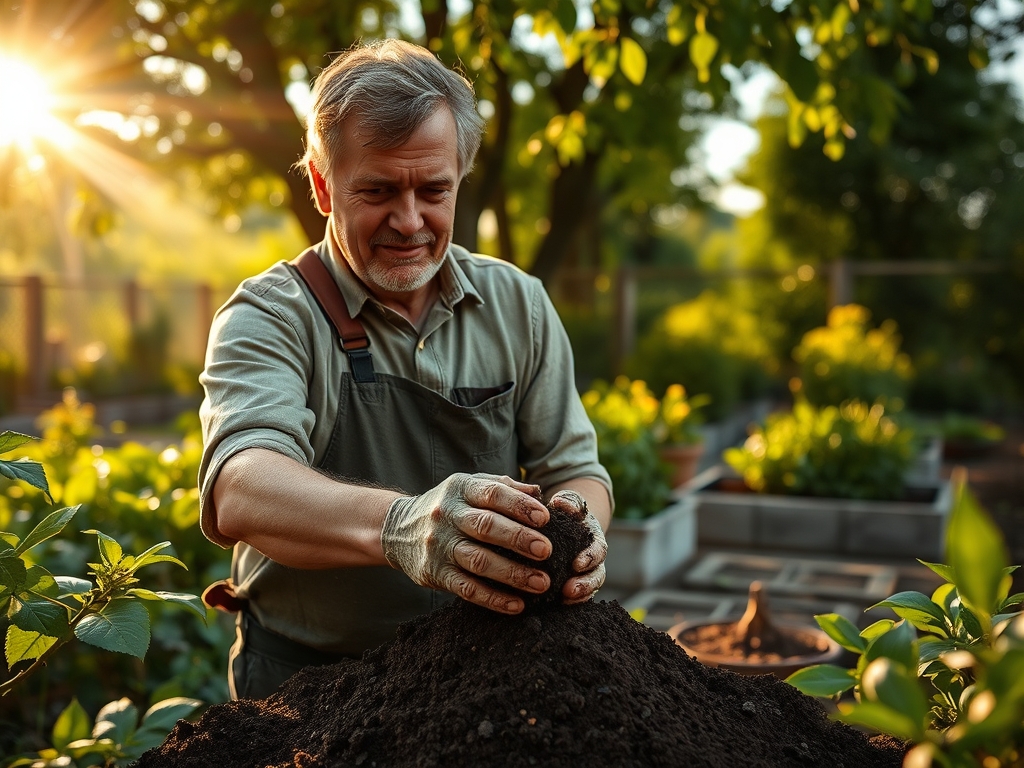
Installation should occur when the soil is at field capacity but not saturated. In Hardiness Zones 4 through 8, the ideal window is late spring after the final frost date when the ground temperature reaches a consistent 55 degrees Fahrenheit. This timing aligns with the Biological Clock of surrounding vegetation. As plants transition from the vegetative stage to the reproductive stage, their root systems are most active. Installing heavy materials during the peak of the photoperiod (summer solstice) can cause heat stress and mechanical root damage. Aim for a period of low evapotranspiration to ensure the surrounding landscape does not desiccate during the construction phase.
Phases:
Sowing and Site Prep
Excavate the area to a depth of 12 inches. Line the base with a non-woven geotextile fabric with a flow rate of at least 100 gallons per minute per square foot. This prevents the sand from migrating into the subsoil while allowing vertical drainage.
Pro-Tip: Use the fabric to maintain a distinct barrier between the sand and the rhizosphere. This prevents mycorrhizal symbiosis from being disrupted by the lack of organic matter in the play sand, ensuring the fungi remain focused on the nutrient-rich garden soil.
Transplanting and Edging
When bordering the play area with shrubs, use a hori-hori knife to ensure the root balls are set 1 inch above the sand line. This prevents sand from accumulating around the crown, which can lead to stem rot.
Pro-Tip: Maintain a 3-inch mulch buffer between the sand and the plants. This manages auxin suppression by preventing mechanical stress on the stems, allowing the plant to focus energy on lateral root expansion rather than repair.
Establishing
Saturate the sand layer once installed to encourage settling. Use a soil moisture meter to verify that the moisture is penetrating the subsoil and not just sitting at the fabric interface.
Pro-Tip: Monitor for phototropism in surrounding plants. If the sand is highly reflective (white silica), it can increase the light intensity on the underside of leaves, potentially causing stomatal closure and reduced gas exchange.
The Clinic:
Symptom: Nitrogen Chlorosis
Description: Yellowing of older leaves in plants bordering the sand area.
Solution: This is often caused by leaching. The high permeability of the best sand for garden play areas can wash nitrates away from the root zone.
Fix-It: Apply a slow-release 10-10-10 fertilizer at a rate of 1 pound of Nitrogen per 1,000 square feet.
Symptom: Marginal Leaf Burn
Description: Brown, crispy edges on leaves.
Solution: High salt index in unwashed sands or heat reflection from the sand surface.
Fix-It: Flush the area with 2 inches of water to leach salts and increase irrigation frequency to maintain turgor pressure.
Symptom: Stunted Growth
Description: Plants near the play area fail to reach mature height.
Solution: Soil compaction at the sand-soil interface reducing oxygen availability.
Fix-It: Use a garden fork to aerate the soil around the perimeter, improving the gas exchange within the pore spaces.
Maintenance:
Precision is the requirement for long-term stability. Use a soil moisture meter twice weekly to check the hydration levels at a 6-inch depth. The play area perimeter requires 1.5 inches of water per week, delivered at the drip line via drip irrigation to avoid sand displacement. Inspect the containment borders using a hori-hori knife to remove any encroaching rhizomes from invasive grasses. Prune overhanging branches with bypass pruners to maintain a minimum 8-foot vertical clearance, preventing organic debris from decomposing in the sand and creating a medium for weed growth. Rake the sand weekly to a depth of 4 inches to disrupt the life cycle of any surface-dwelling organisms and maintain the required impact attenuation.
The Yield:
While a play area does not produce a caloric yield, the "harvest" is the preservation of the surrounding landscape's health. When pruning ornamental borders around the sand, cut at a 45-degree angle just above the node to stimulate lateral branching. For cut flowers grown near the play area, harvest in the early morning when turgor pressure is at its peak. Immediately plunge stems into 100-degree Fahrenheit water to remove air bubbles from the xylem, ensuring "day-one" freshness and maximum vase life.
FAQ:
What is the best sand for garden play areas?
The best sand is double-washed, sub-rounded silica sand. It is screened to remove dust and contaminants, ensuring a neutral pH that will not interfere with the cation exchange capacity of your garden soil.
How deep should play sand be for safety?
For residential garden use, maintain a minimum depth of 9 to 12 inches. This depth provides sufficient impact attenuation for play equipment while allowing for adequate vertical drainage into the subsoil layers.
Will play sand kill my surrounding plants?
Not if it is chemically inert. Avoid "coastal" sands which contain high sodium levels. Use a geotextile barrier to prevent sand from mixing with the friable loam of your garden beds to maintain proper nutrient density.
How do I stop weeds from growing in the sand?
Install a heavy-duty weed barrier before pouring the sand. Regularly rake the surface to disrupt the photoperiod of emerging seedlings and remove organic debris that provides a germination medium for wind-blown seeds.