6 Easy Steps to Use Drip Kits
Drip irrigation transforms water management from guesswork into precision agriculture. The steps to use drip kits involve laying polyethylene tubing along plant rows, connecting emitters at measured intervals, and calibrating pressure regulators to deliver moisture directly to root zones. Commercial growers and home gardeners alike measure efficiency gains of 30-50% compared to overhead sprinklers. Soil structure remains intact, foliage stays dry, and fungal pathogens lose their humid microclimates. These systems work across container gardens, raised beds, and field-scale operations.
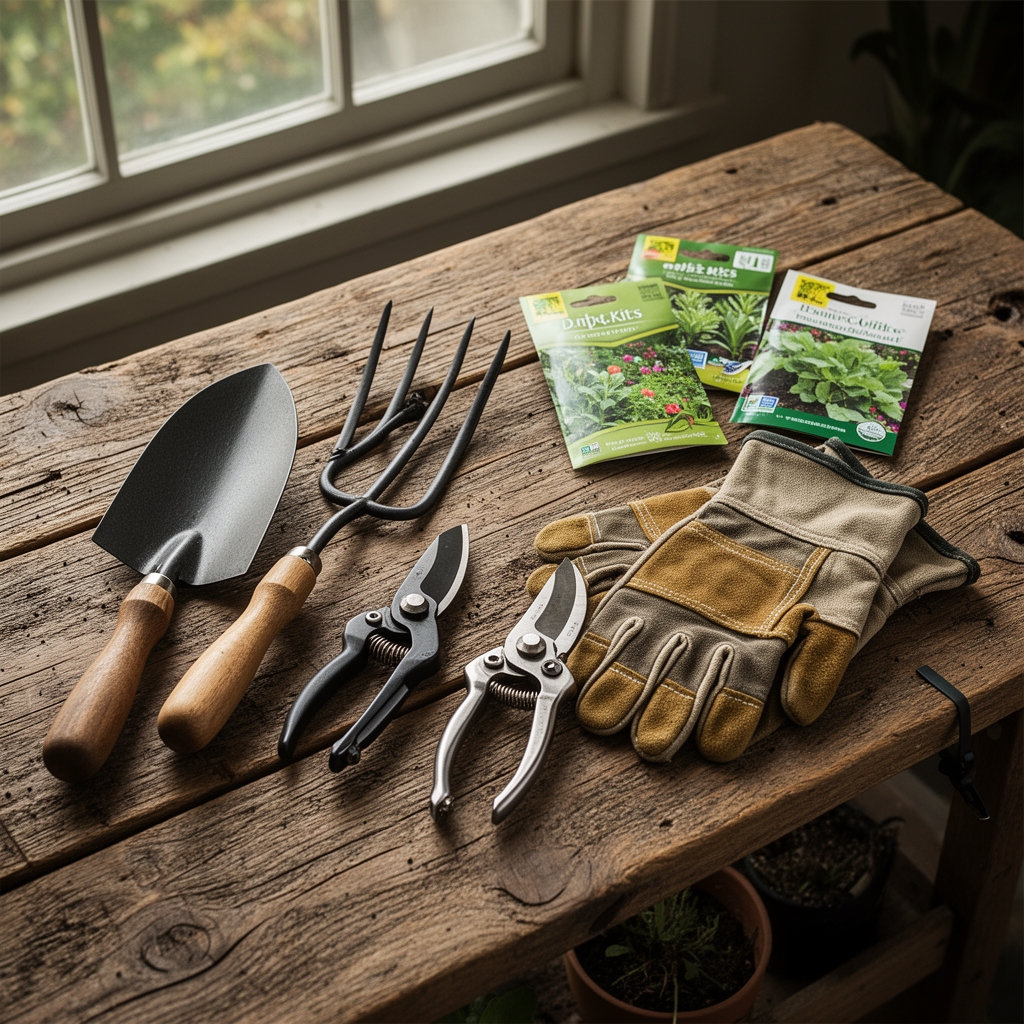
Materials
Mainline tubing: 1/2-inch or 3/4-inch polyethylene with UV inhibitors. Choose diameter based on total run length and emitter count.
Emitters: Pressure-compensating drippers rated at 0.5, 1.0, or 2.0 gallons per hour. Inline models integrate into tubing; button emitters insert via punch tools.
Pressure regulator: 10-25 PSI models prevent emitter blowouts and ensure uniform delivery across elevation changes.
Backflow preventer: Required by municipal codes to protect potable water supplies from soil contaminants.
Filter: 150-mesh screen for well water; 200-mesh for surface water with organic particulates.
Fertilizer injector (optional): Venturi siphons or electric dosers introduce soluble nutrients. Match NPK ratios to crop stage (e.g., 5-10-10 during fruiting, 10-5-5 for leafy greens). Maintain solution pH between 5.8-6.5 to optimize cation exchange capacity.
Organic amendments: Pre-season incorporation of 4-4-4 feather meal or 3-2-2 composted manure builds soil microbial populations. Layer 2 inches across beds before installing tubing.
Timing
Zone 3-5 gardeners install drip systems two weeks before last spring frost when soil reaches 50°F. The ground must be workable but still retain winter moisture. Zones 6-8 benefit from autumn installation, allowing winter rains to settle tubing into permanent positions. Zones 9-11 operate year-round but schedule installation during dry months to avoid mud displacement.
Spring installation coincides with transplanting warm-season crops like tomatoes, peppers, and squash. Soil temperatures of 60-65°F trigger robust root growth that quickly exploits the moisture gradient created by emitters. Cool-season crops (lettuce, brassicas, peas) accept installation at 45°F soil temperature.
Phases

Phase One: Layout and Connection
Unroll mainline tubing along the longest dimension of your planting area. Connect it to the water source via the backflow preventer, filter, and pressure regulator in that sequence. Flush the mainline for 60 seconds to clear manufacturing debris. Cap the far end with a figure-eight closure or threaded plug.
Pro-Tip: Run mainline tubing perpendicular to slope to minimize pressure variation. Every 1-foot elevation drop increases pressure by 0.43 PSI.
Phase Two: Emitter Placement
Space emitters according to soil texture. Sandy soils (low cation exchange capacity) require 12-inch spacing to create overlapping wetting patterns. Clay loam tolerates 18-24 inch spacing as lateral water movement exceeds vertical percolation. Use a punch tool to insert barbed emitters, twisting 90 degrees to lock them in place.
Position emitters 2-4 inches from plant stems. Root systems grow toward consistent moisture zones. Auxin distribution in root tips drives directional growth toward the highest water potential.
Pro-Tip: Inoculate transplant holes with mycorrhizal fungi (Glomus intraradices) at 1 teaspoon per plant. Fungal hyphae extend effective root area by 10-100x, exploiting moisture between emitter points.
Phase Three: Pressure Testing and Scheduling
Open the valve fully. Inspect every emitter for uniform discharge. Pressure-compensating models should deliver rated flow plus or minus 5%. Replace any emitters producing streams rather than steady drips.
Calculate run time using this formula: (Container volume in gallons × 0.5) / (Emitter GPH × Number of emitters) = Hours per irrigation. A 5-gallon container with two 1-GPH emitters needs 1.25 hours to replace half its moisture capacity.
Pro-Tip: Install a battery-powered timer with rain delay functions. Program two 30-minute cycles daily during establishment, then shift to single deep watering (60-90 minutes) every 2-3 days as roots mature.
Troubleshooting
Symptom: Emitters produce weak or no flow after several weeks.
Solution: Mineral scale or algae clog the labyrinth channels. Disconnect end caps and flush lines with a 5% vinegar solution (1 cup per 2 gallons water). Run for 10 minutes, then flush with clean water. Install an inline chlorine dispenser at 1 PPM for ongoing prevention.
Symptom: Plants show wilting despite scheduled irrigation.
Solution: Root zones may fall between emitter wetting patterns. Conduct a "dig test" 6 inches deep midway between emitters. Soil should feel moist like a wrung-out sponge. Add intermediate emitters if dry pockets exceed 4 inches in diameter.
Symptom: Algae growth on tubing surface and emitters.
Solution: UV exposure degrades inhibitors in low-grade tubing. Bury lines 1-2 inches deep or apply 2-3 inches of mulch. Algae requires light for photosynthesis. Subsurface placement also moderates soil temperature fluctuations.
Symptom: Pressure loss across long mainline runs (over 100 feet).
Solution: Friction reduces pressure by approximately 1 PSI per 100 feet in 1/2-inch tubing. Upgrade to 3/4-inch mainline or split the system into parallel zones, each under 75 feet.
Maintenance
Flush lines monthly during active growing season. Open end caps and run water until discharge appears clear (typically 2-3 minutes). This prevents sediment accumulation in the final 10 feet where velocity drops.
Apply 1 inch of water per week for established vegetables, measured by placing a tuna can under an emitter and timing to 1-inch depth. Adjust for rainfall using a manual rain gauge. Sandy soils may require 1.5 inches; heavy clay needs 0.75 inches as moisture retention increases.
Winterize systems in Zones 3-7 by draining all lines before first hard freeze. Disconnect from the source, remove end caps, and blow compressed air through mainlines at 20 PSI maximum. Store timers and filters indoors.
Replace emitters every 3-5 years as plastic degrades and delivery rates drift outside specifications. Mark installation dates on a garden map to track performance zones.
FAQ
How many emitters does each plant need?
Small transplants (lettuce, herbs) require one 0.5-GPH emitter. Medium plants (peppers, eggplants) use two 1-GPH emitters. Large feeders (tomatoes, squash, melons) need three to four 1-GPH emitters arranged in a 6-inch radius around the stem.
Can I use drip kits with raised beds?
Yes. Elevated beds often drain faster than ground-level plots. Install emitters every 12 inches in a grid pattern and increase run frequency to twice daily during peak summer. Monitor soil moisture at 4-inch depth to avoid over-draining.
Do drip systems work with fertilizer schedules?
Absolutely. Fertigation through drip lines delivers nutrients directly to active root zones. Dilute water-soluble formulas to 25% of package rates and apply with every irrigation. This prevents salt accumulation and matches nutrient availability to plant uptake rhythms.
What causes uneven growth across a drip-irrigated bed?
Pressure variation from elevation changes or long lateral runs creates delivery differences. Check emitter output with a measuring cup and timer. Outputs should not vary more than 10%. Install pressure-compensating emitters or add a mid-line pressure regulator to correct imbalances.
How do I adapt drip systems for containers?
Use 1/4-inch distribution tubing branching from the 1/2-inch mainline. Install one emitter per container, positioned opposite the drainage hole to encourage even root distribution. Elevate containers on pot feet to prevent puddling and ensure saucer drainage.