5 Quick Ways How to Install Bird Netting
Bird netting stretched across ripening blueberry bushes or cherry trees means the difference between harvest and total loss to starlings and robins. The choice to learn how to install bird netting correctly protects months of cultivated growth from avian raids that can strip a fruit crop in a single afternoon. Proper installation requires understanding tension points, mesh aperture sizes, and structural support that prevents sagging or gaps.
Materials
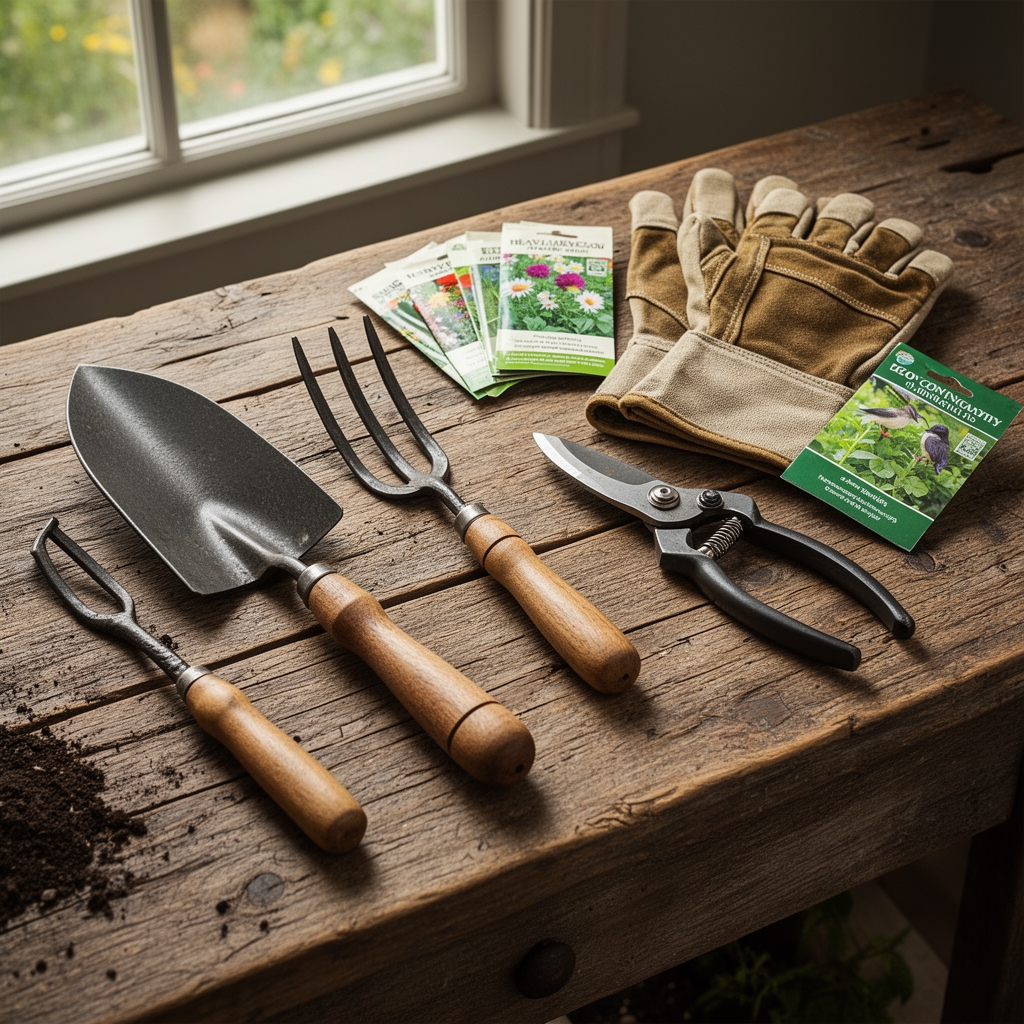
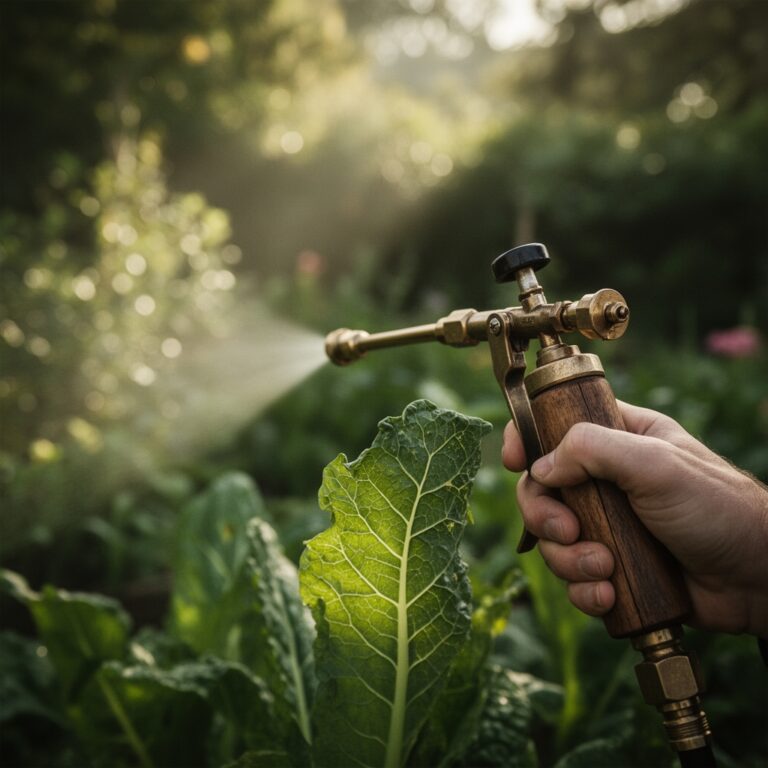
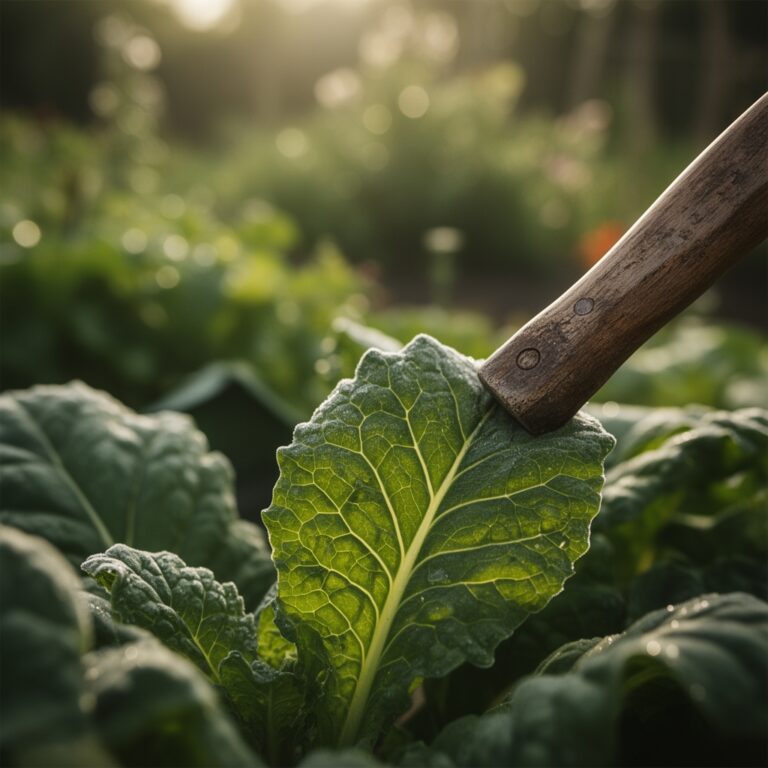
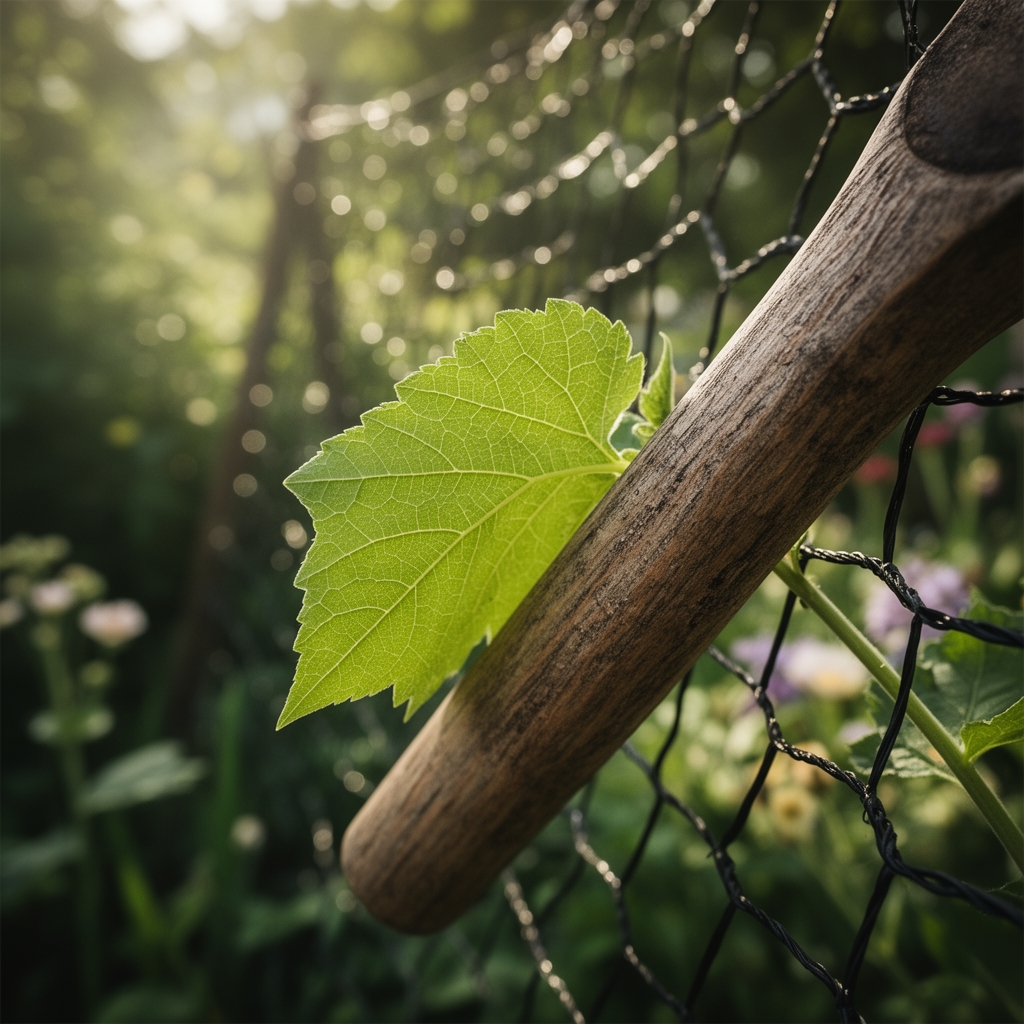
Select polyethylene or polypropylene netting with 3/4-inch to 1-inch mesh. Smaller apertures exclude most songbirds without creating entanglement hazards. The netting must be UV-stabilized for multi-season use. Support structures require galvanized steel posts or 1-inch diameter PVC conduit rated for outdoor exposure.
Anchor stakes should be 12-inch galvanized ground staples or 18-inch rebar sections. Attach netting with UV-resistant zip ties, metal hog rings applied with installation pliers, or galvanized wire clips. Avoid twine or rope that degrades under UV exposure within one growing season.
For installations over acid-loving fruit crops such as blueberries requiring pH 4.5 to 5.5, ensure post bases do not leach lime. Aluminum posts offer corrosion resistance in acidic soils with high cation exchange capacity. For stone fruit trees in neutral pH soil, standard galvanized steel provides adequate longevity.
Apply 4-4-4 organic fertilizer blend two weeks before installation to avoid disturbing root zones near post placements. Bone meal additions increase phosphorus availability for fruiting, but delay nitrogen-rich amendments like blood meal until after netting installation to prevent excessive vegetative growth that complicates draping.
Timing
Install bird netting in USDA Hardiness Zones 3 through 10 when fruit begins color break. For cherries, this occurs 10 to 14 days before harvest maturity. Blueberries require coverage when first berries show blue tinge, typically 18 to 21 days before peak harvest.
In Zone 5, install netting for early June-bearing strawberries by late May, after last frost date but before fruit swells. Zone 8 gardeners protecting winter citrus should install by mid-November before migrant thrush populations arrive.
Avoid installation during active pollination. Bees require unrestricted access during bloom. For apples and pears, wait until petal fall completes and fruitlets reach 10mm diameter. This timing ensures adequate pollinator activity while protecting developing fruit.
Phases
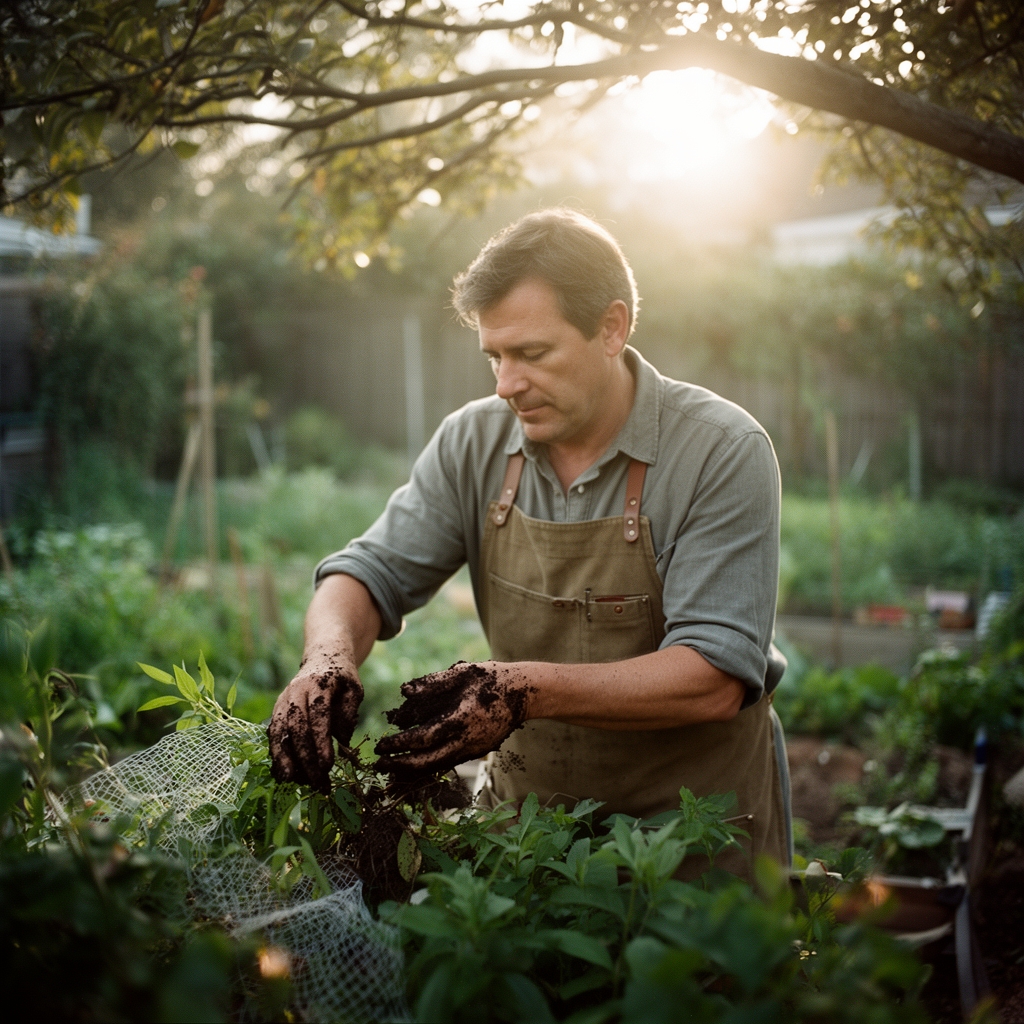
Site Preparation: Clear 2-foot perimeter around crop to be netted. Remove competing vegetation that reduces air circulation and creates habitat for fungal pathogens. Prune tree canopies to rounded profiles rather than irregular shapes. This reduces netting surface area requirements by 15 to 20 percent and prevents branch punctures.
Pro-Tip: Apply Bacillus thuringiensis subspecies kurstaki (Btk) to foliage one week before installation to control lepidopteran larvae that may become trapped under netting and cause secondary damage.
Post Installation: Drive support posts 18 inches deep at 8-foot intervals around crop perimeter. For row crops, install posts on both sides in staggered pattern. Posts should extend 12 inches above mature plant height. Tamp soil firmly with post-hole tamper to achieve 40 pounds extraction resistance.
Connect post tops with horizontal support wire or 3/4-inch PVC crossbars. This prevents inward collapse under netting weight. Tension wires to 15 pounds force using inline tensioners. The support frame must bear netting load without contact with fruiting branches.
Pro-Tip: Inoculate post holes with mycorrhizal fungi granules if installation disturbs feeder roots within the drip line. This maintains auxin distribution and reduces transplant shock in sensitive species.
Netting Deployment: Drape netting over support frame starting from windward side. Allow 6 to 8 inches ground contact on all sides. Secure top center first, then work toward edges in alternating pattern to maintain even tension. Avoid pulling taut. Leave 5 percent slack to prevent wind damage.
Anchor bottom edges with ground staples every 24 inches. Overlap seams by minimum 12 inches and secure with hog rings at 6-inch spacing. Check for gaps larger than 2 inches at ground level where rodents or ground-feeding birds may enter.
Pro-Tip: Mark netting with 2-inch wide reflective tape strips every 6 feet to increase visibility for birds and prevent collision injuries.
Troubleshooting
Symptom: Netting sags onto fruiting branches causing bruising and rot.
Solution: Add intermediate support posts at 6-foot spacing. Install PVC hoops over row crops to maintain 8-inch clearance above foliage.
Symptom: Birds enter through ground gaps after rainfall settles soil.
Solution: Bury bottom edge 4 inches deep in trench and backfill with compacted soil. Re-tension every two weeks.
Symptom: Small birds (wrens, warblers) pass through mesh.
Solution: Replace with 1/2-inch aperture netting. Monitor for entanglement during first 48 hours post-installation.
Symptom: Wind lifts netting corners creating entry points.
Solution: Double anchor stakes at corners. Add sandbags or concrete blocks every 8 feet along windward edge.
Symptom: Fungal growth increases under netting due to reduced air circulation.
Solution: Apply copper fungicide at labeled rates before installation. Increase post spacing to 10 feet to improve airflow.
Maintenance
Water deeply twice weekly with 1.5 inches per application during fruit development. Netting blocks 15 percent of rainfall requiring supplemental irrigation. Apply water at soil level using drip lines or soaker hoses to prevent foliar diseases.
Inspect netting weekly for tears, loose anchors, or trapped birds. Repair holes exceeding 2 inches diameter immediately using patch kits or additional mesh sections secured with hog rings. Remove any trapped wildlife within 4 hours of discovery.
Remove netting within 72 hours of final harvest. Wash with mild detergent solution and air dry completely before storage. Fold rather than bunch to prevent permanent creases. Store in rodent-proof containers away from direct sunlight.
Rotate post locations yearly to prevent soil compaction and root damage. Apply 2-inch compost layer around previous post sites to restore soil structure and organic matter content.
FAQ
When should I remove bird netting after harvest?
Remove netting within 3 days of final harvest to allow beneficial insects and birds to control overwintering pests. Extended coverage disrupts ecological balance.
Can I reuse bird netting for multiple seasons?
UV-stabilized netting lasts 3 to 5 seasons with proper storage. Inspect for brittleness by stretching a 6-inch section. Replace if tears propagate easily.
Does netting harm pollinator populations?
Install only after petal fall when pollination completes. Early installation reduces bee access and fruit set by 30 to 40 percent.
What mesh size prevents smallest birds?
Half-inch mesh excludes birds down to goldfinch size while allowing adequate light transmission for photosynthesis. Quarter-inch mesh reduces photosynthetically active radiation by 25 percent.
How do I prevent netting from touching fruit?
Maintain 8-inch minimum clearance using hoop supports or elevated frames. Direct contact causes pressure bruising and accelerates botrytis infection in stone fruits.