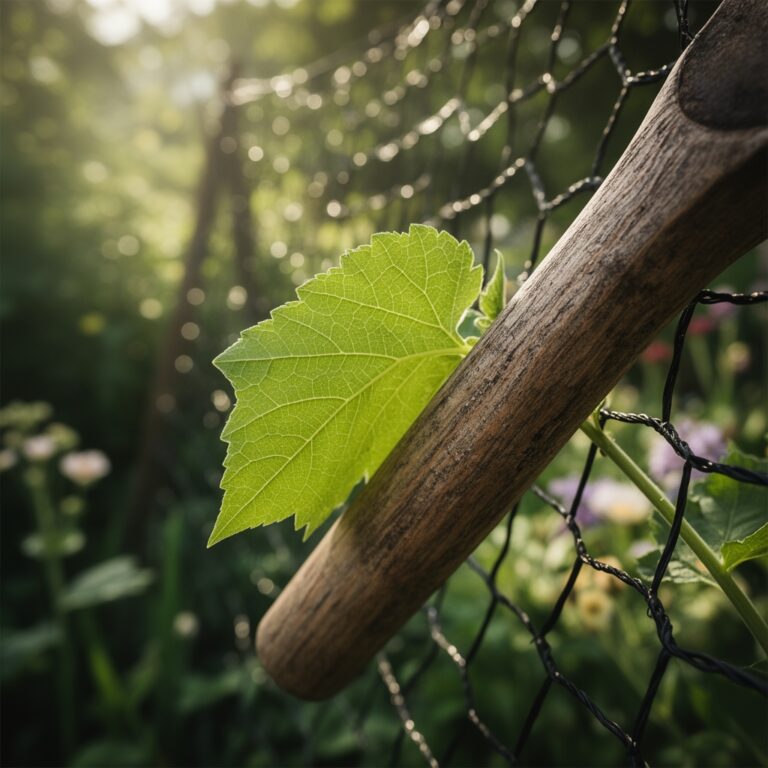
5 Basic Ways How to Use Watering Cans
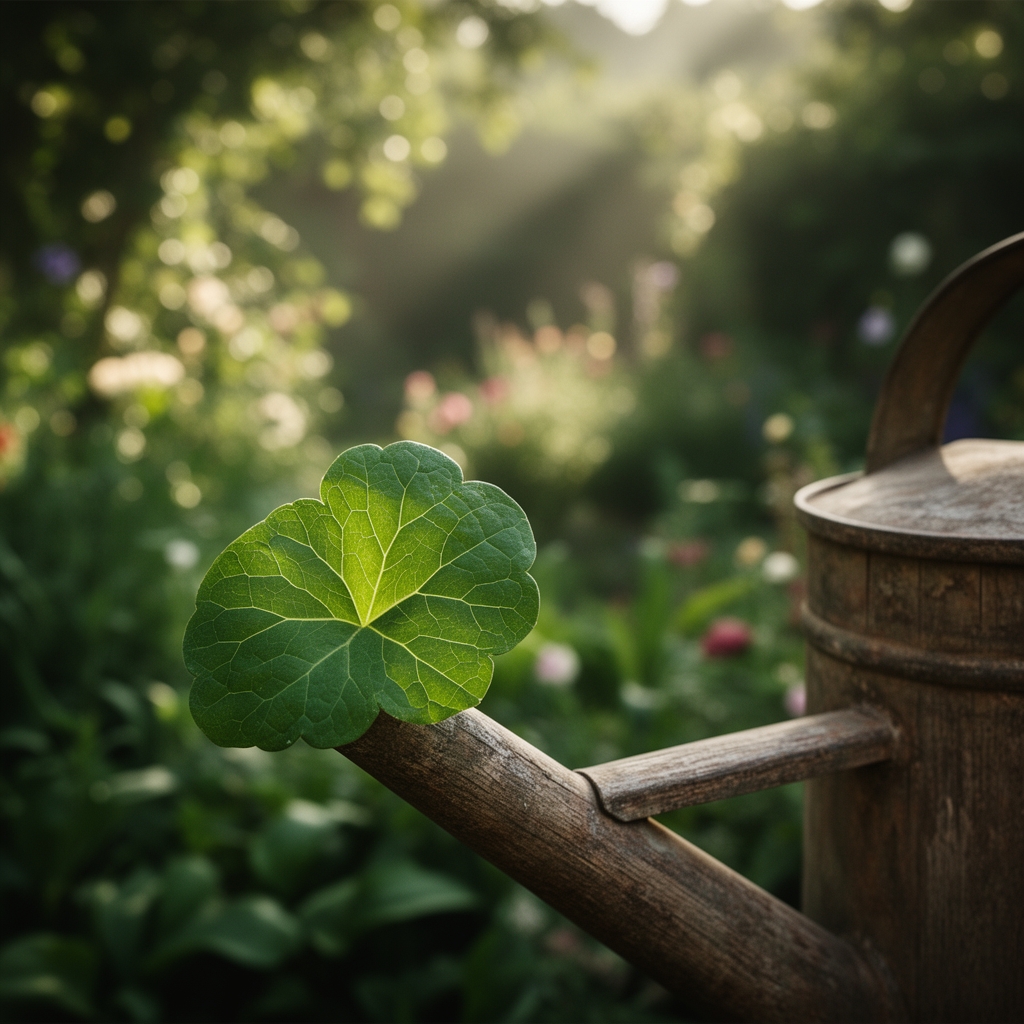
The weight of a full watering can in your hand anchors you to the soil. Water arcs from the spout, refracting morning light into droplets that settle onto seedling leaves without bruising them. Learning how to use watering cans correctly transforms routine irrigation into precision hydration, where every pour adjusts soil moisture zones and root development patterns. The curved spout, the perforated rose, the can's capacity: each element serves a function rooted in physics and plant physiology.
Materials
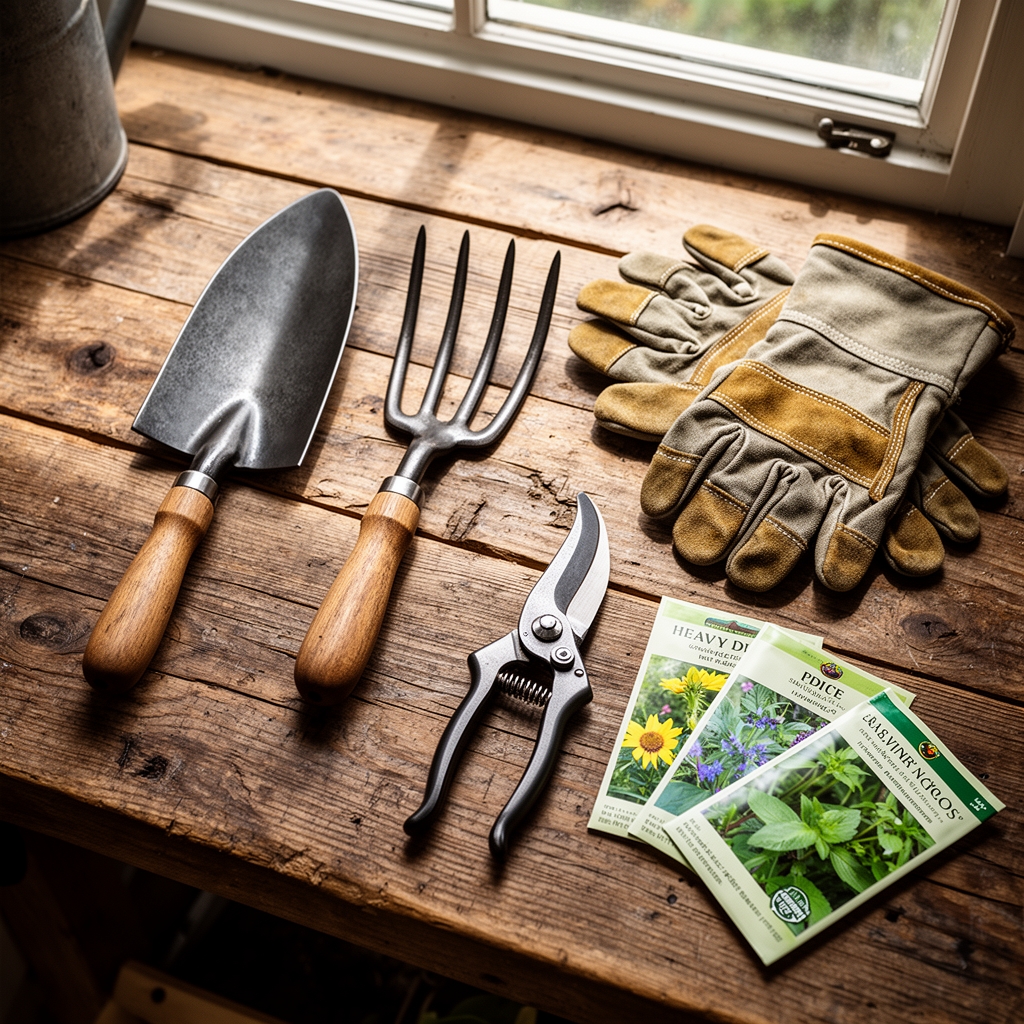
Select a galvanized steel or high-density polyethylene can with a 1.5 to 2.5-gallon capacity. Steel models resist UV degradation and maintain structural integrity under repeated freeze-thaw cycles. Polyethylene cans weigh less when full, reducing wrist strain during extended watering sessions.
Choose a detachable rose (the perforated nozzle) with 0.5 to 1 mm hole diameters for seedlings, and 2 to 3 mm holes for established perennials. The rose breaks stream velocity, preventing soil compaction and mycorrhizal network disruption in the top 2 inches of growing medium.
Pair your watering can with water-soluble fertilizers matched to growth stage. Use a balanced 4-4-4 organic meal (feather meal, bone meal, kelp) during vegetative phases. Switch to a 2-8-4 bloom formula when flower primordia form. Maintain water pH between 6.0 and 7.0; municipal chlorine dissipates after 24 hours of standing in an open can.
Integrate liquid mycorrhizal inoculant at 1 tablespoon per gallon monthly. These Glomus species colonize root hairs, extending phosphorus uptake reach by 10 to 100 times the root zone diameter.
Timing
Schedule watering for early morning between 5 AM and 8 AM, when stomatal apertures widen and transpiration rates climb. Soil temperature at 4-inch depth should exceed 50°F for warm-season crops, 40°F for cool-season brassicas.
In USDA Hardiness Zones 3 through 5, begin outdoor watering 2 weeks after the last frost date. In Zones 8 through 10, maintain year-round watering schedules but reduce frequency by 40% during dormant winter months when root metabolic activity slows.
Adjust watering intervals based on evapotranspiration rates. Clay loam soils (45% sand, 35% silt, 20% clay) require watering every 4 to 5 days. Sandy loam soils (65% sand, 25% silt, 10% clay) need water every 2 to 3 days due to lower cation exchange capacity and faster drainage.
Phases
Sowing Phase
Remove the rose and use the spout to create furrows with a steady stream. Water the furrow bottom before sowing seeds. This technique settles fine particles and eliminates air pockets that cause seed desiccation. Cover seeds with dry soil to prevent surface crusting.
Reattach the rose and apply a fine mist to the soil surface. Deliver 0.25 inches of water daily until germination. The rose disperses water laterally, preventing seed displacement while maintaining the capillary fringe at seed depth.
Pro-Tip: Add 1 teaspoon of kelp extract per gallon during the sowing phase. Cytokinins in kelp stimulate cell division in the radicle, accelerating germination by 18 to 24 hours in controlled trials.
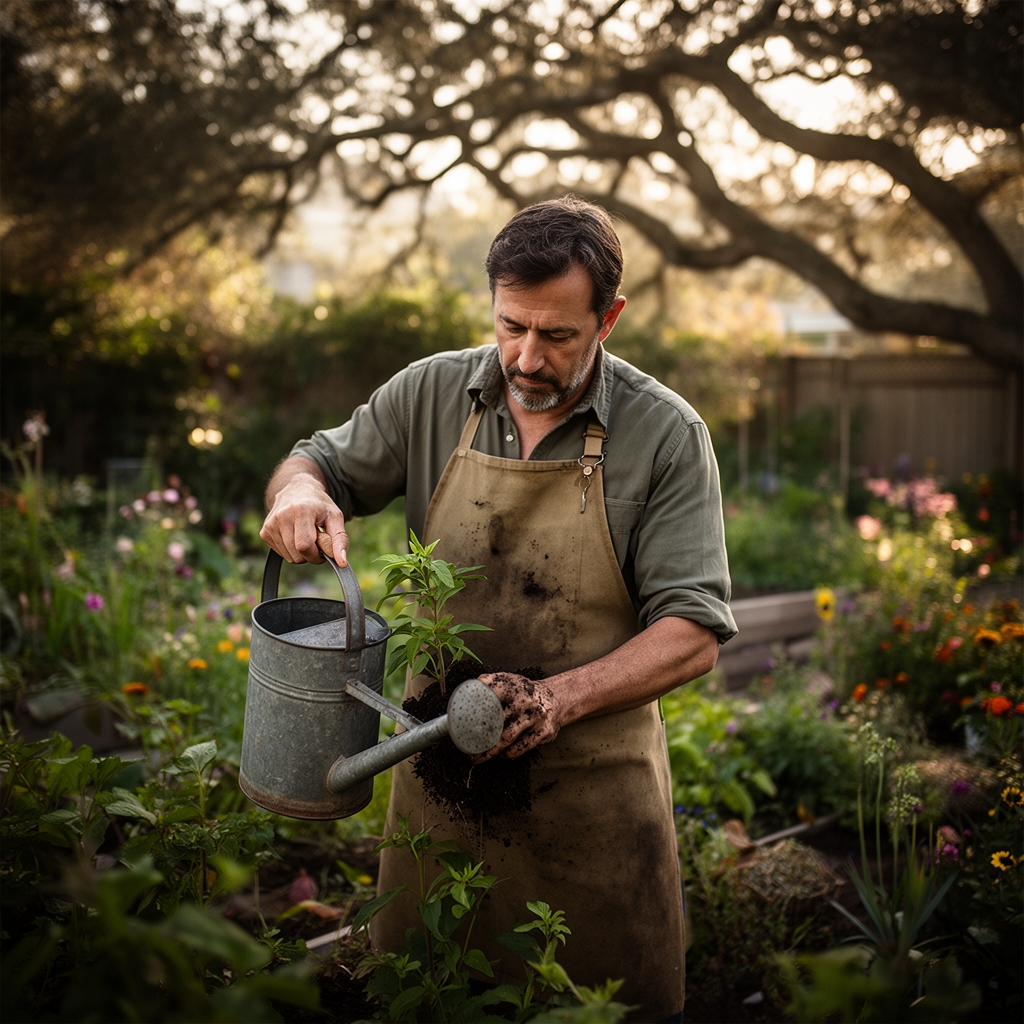
Transplanting Phase
Water the root ball 2 hours before transplanting. This hydrates cell vacuoles, increasing turgor pressure and reducing transplant shock. Dig the new hole, fill it with water from the can, and let it drain completely. This pre-wetting identifies drainage issues before root establishment.
Place the transplant and backfill halfway. Pour 1 quart of water directly into the partial hole to eliminate air pockets around lateral roots. Finish backfilling and create a soil ring 3 inches high around the stem perimeter to form a basin.
Pro-Tip: Apply water with the rose facing upward (convex side down). This orientation produces larger droplets with lower kinetic energy, preventing soil splashback that spreads damping-off pathogens.
Establishing Phase
Water deeply every 5 to 7 days rather than shallowly each day. Deep watering drives taproots downward to access moisture reserves below the top 8 inches. Pour slowly in concentric circles starting 4 inches from the stem and moving outward to the drip line.
Monitor soil moisture at root depth using a moisture meter or the finger test. Sandy soils feel dry when moisture content drops below 8%. Clay soils feel dry below 18% moisture content.
Pro-Tip: Add 2 tablespoons of humic acid per gallon biweekly. Humic substances chelate micronutrients and improve soil aggregation, increasing water infiltration rates by 25 to 35%.
Troubleshooting
Symptom: Leaf margins turn brown and crispy. Older leaves affected first.
Solution: Salt accumulation from over-fertilization or municipal water high in sodium. Flush soil with 2 gallons of distilled water per plant. Reduce fertilizer concentration by 50%.
Symptom: Stems elongate rapidly with pale green coloration. Internodes exceed normal spacing by 40%.
Solution: Excess nitrogen paired with insufficient light. Switch to a 1-3-2 fertilizer ratio. Increase light exposure to 8 hours minimum.
Symptom: Circular yellow spots with dark borders appear on lower leaves.
Solution: Septoria leaf spot or early blight. Water at soil level only. Avoid wetting foliage. Remove affected leaves and apply copper fungicide at 1 tablespoon per gallon.
Symptom: Wilting despite moist soil.
Solution: Root rot from Pythium or Phytophthora. Improve drainage by incorporating perlite at 20% by volume. Water only when top 2 inches of soil dry completely.
Maintenance
Deliver 1 inch of water per week for most vegetable and ornamental species. Measure output by placing a rain gauge or straight-sided container in the watering zone. A 10-inch diameter pot requires approximately 0.5 gallons to achieve 1 inch of penetration.
Clean the rose monthly by soaking in a 10% vinegar solution for 30 minutes. This dissolves calcium carbonate deposits that clog perforations and alter spray patterns.
Inspect the spout-to-body seal quarterly. Replace rubber washers when leaks appear. Store cans inverted during freezing weather to prevent ice expansion damage.
FAQ
How much water does a watering can hold?
Standard cans range from 1 to 2.5 gallons. A 2-gallon can weighs 16.7 pounds when full. Choose capacity based on watering area size and physical comfort.
Should I use the rose or direct spout?
Use the rose for seedlings, containers, and foliar feeding. Use the direct spout for furrow watering, deep root watering of established plants, and filling drip trays.
Can I add fertilizer directly to the watering can?
Yes. Dissolve water-soluble fertilizers completely before application. Strain through cheesecloth to prevent rose clogging. Apply fertilizer solution to moist soil, never to dry roots.
How often should I water container plants?
Check daily. Water when the top 1 to 2 inches feel dry. Terra cotta pots dry 50% faster than plastic due to evaporation through porous walls.
What water temperature is best?
Use water between 65°F and 75°F. Cold water below 55°F shocks roots and slows nutrient uptake. Let municipal water stand 24 hours to reach ambient temperature and dissipate chlorine.