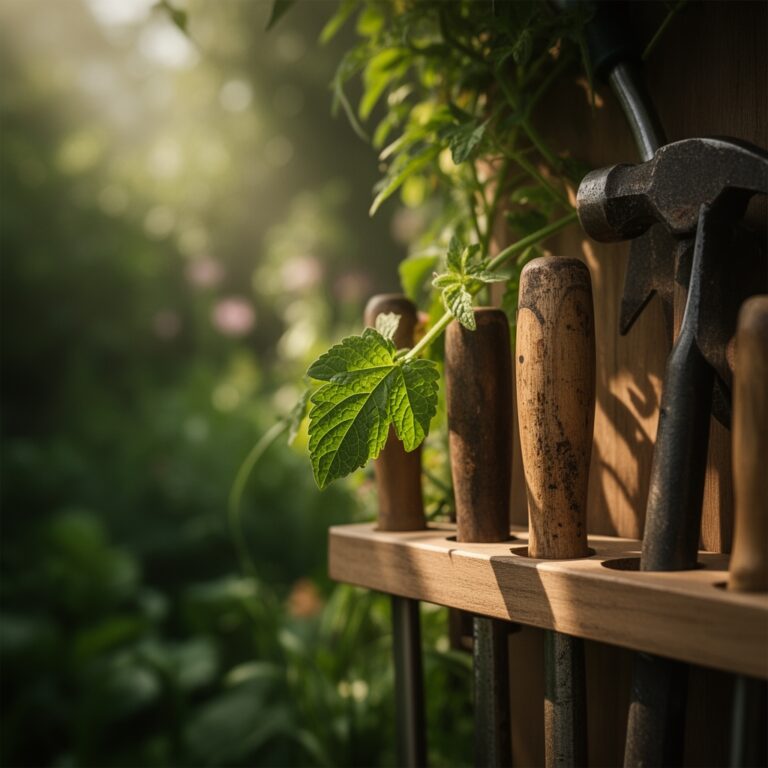
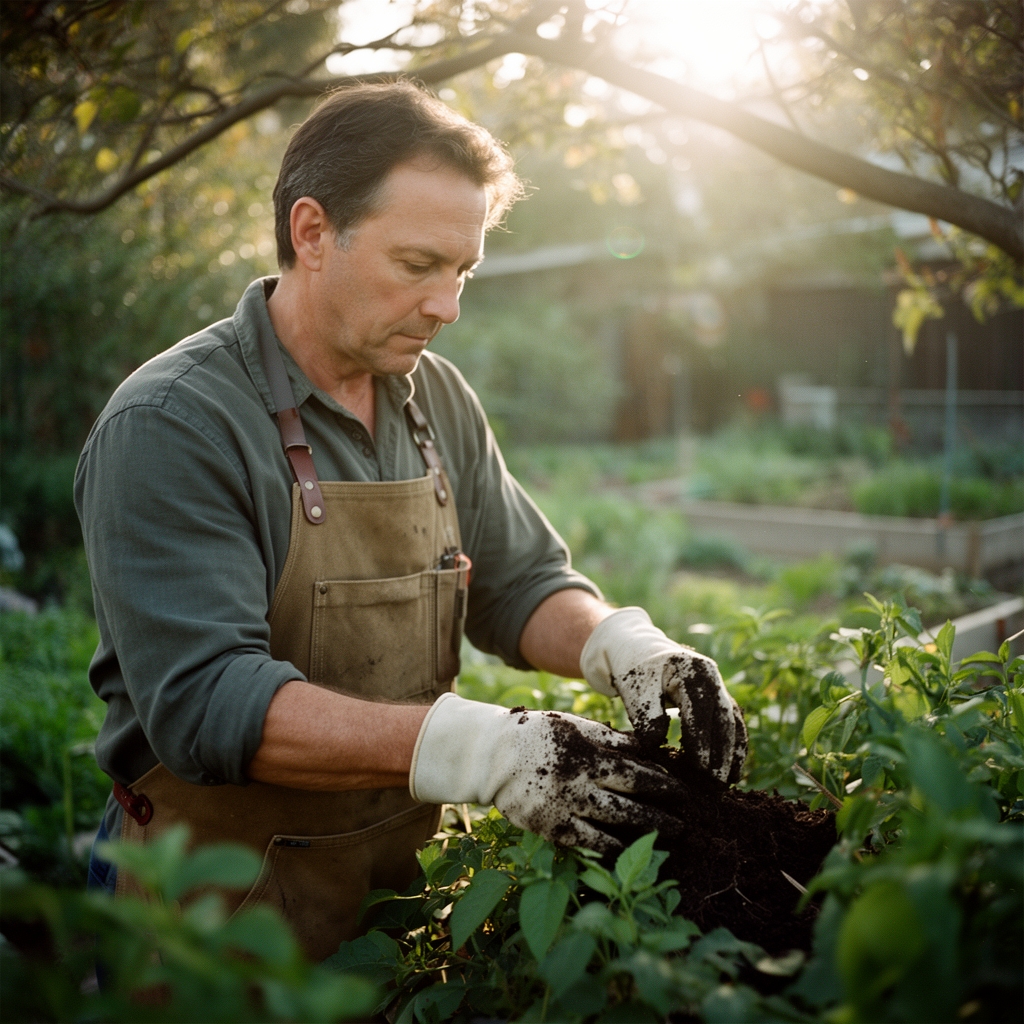
10 Pro Tips How to Clean Leather Gloves
Leather gloves darken with soil, oxidize from nitrogen-rich fertilizers, and crack under sunlight exposure after seasons of root-ball handling and graft-wrapping. Learning how to clean leather gloves properly extends their lifespan by three to five years while preserving the suppleness required for precise seed placement and delicate pruning cuts. Professional horticulturists working in propagation benches and field operations face unique cleaning challenges beyond casual gardening tasks.
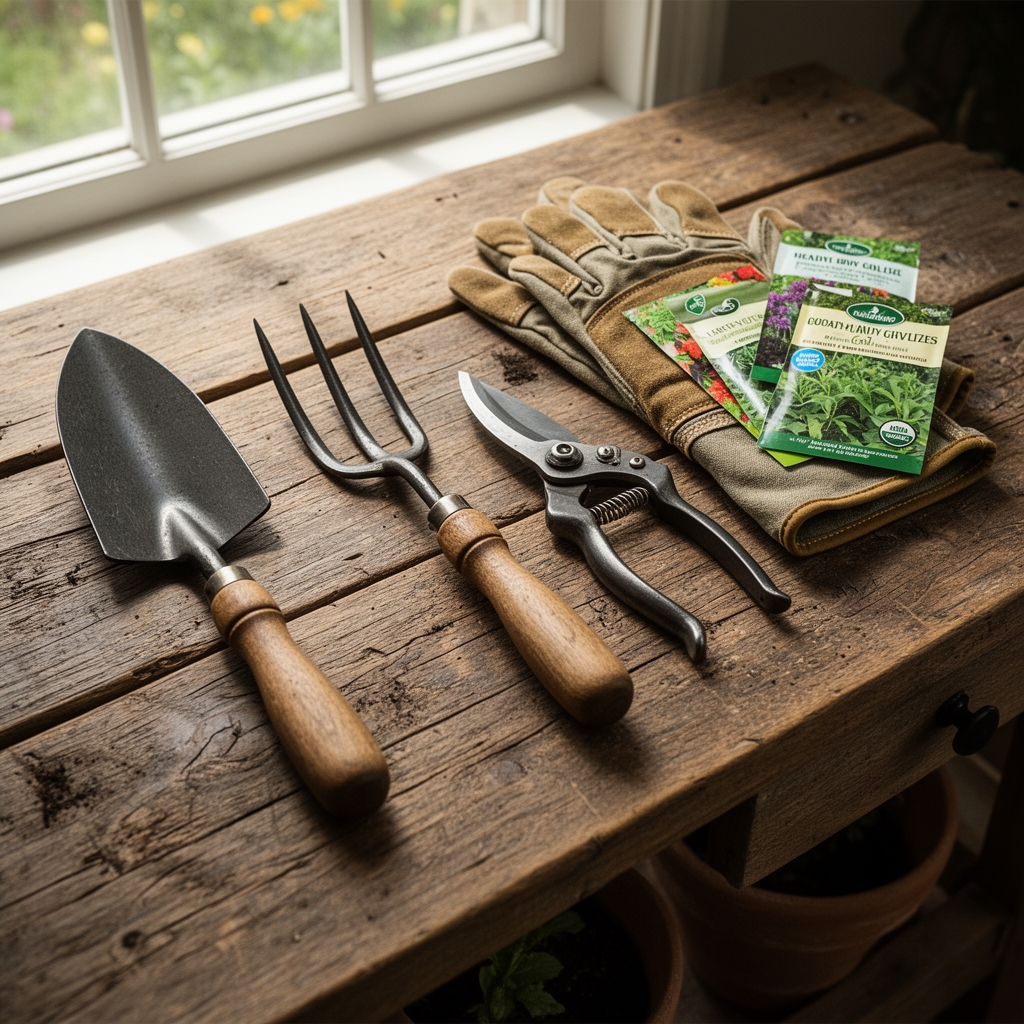
Materials
Effective leather cleaning requires pH-balanced solutions that preserve the hide's cation exchange capacity without stripping natural oils. Assemble the following:
Cleaning Agents (pH 6.5-7.5 neutral range):
- Castile soap (0-0-0 nutrient value, vegetable-based surfactant)
- Saddle soap with lanolin (maintains lipid barrier)
- White vinegar solution at 1:4 dilution (pH 3.0, for mineral deposit removal)
- Distilled water (0 ppm dissolved solids)
Conditioning Compounds:
- Neatsfoot oil (pure, not compound formula)
- Beeswax-based leather balm (forms breathable moisture barrier)
- Mink oil emulsion (penetrates 0.3-0.5mm deep)
Application Tools:
- Natural-bristle brush (horsehair, 0.5-inch bristle length)
- Microfiber cloths (lint-free, 300 GSM density)
- Cotton swabs for seam cleaning
Avoid petroleum-based conditioners. They inhibit the leather's ability to wick moisture, similar to how hydrophobic soil amendments can disrupt water infiltration in clay substrates.
Timing
Clean leather gloves at seasonal transitions to prevent compound degradation. In USDA Hardiness Zones 3-6, perform deep cleaning after final frost date (typically April 15-May 15) when switching from winter barn work to active field season. For Zones 7-10, clean gloves in late October before the cool-season planting window begins.
Monthly maintenance cleaning suits high-use scenarios. Grafting operations, mycorrhizal fungi inoculation work, and sulfur-dusting applications require immediate post-task cleaning to prevent chemical saturation into the dermal layer of leather.
Temperature matters. Clean gloves in ambient conditions between 60-75°F. Cold leather (below 50°F) resists oil absorption. Heat above 85°F accelerates oxidation during the conditioning phase.
Phases
Dry Soil Removal
Brush away dried soil, perlite particles, and organic debris before introducing moisture. Work with the grain direction, moving from wrist opening toward fingertips. Tap gloves together to dislodge material trapped in seams.
Pro-Tip: Store a dedicated brush near your potting bench. Removing particulates within 20 minutes of finishing transplant work prevents soil clay from binding with leather proteins during oxidation.
Surface Cleaning
Mix 1 teaspoon castile soap per cup of lukewarm distilled water. Dampen your microfiber cloth (do not saturate) and wipe in circular motions. For stubborn stains from iron chelate fertilizers or copper fungicide spray drift, apply saddle soap directly to affected areas using the horsehair brush.
Pay attention to stress points: the thumb-index web, knuckle flex zones, and fingertip reinforcements. These areas accumulate salt deposits from foliar spray residue and perspiration.
Pro-Tip: Test pH of your cleaning solution. Water with total dissolved solids above 150 ppm leaves mineral rings that resemble powdery mildew on foliage. Use distilled water exclusively.
Rinse and Neutralize
Wipe away soap residue with a clean, damp cloth. For gloves exposed to high-nitrogen blood meal (12-0-0) or bat guano amendments, apply diluted white vinegar solution to neutralize alkaline buildup. Vinegar dissolves calcium carbonate deposits without disrupting auxin-rich leather proteins.
Conditioning Phase
Allow gloves to dry naturally at room temperature for 45-60 minutes. Avoid direct heat sources. Apply neatsfoot oil sparingly, using 8-10 drops per glove. Massage into leather using circular motions, focusing on dry patches that appear lighter in color. These zones indicate compromised lipid content.
For gloves used in grafting work where precision grip is essential, finish with beeswax balm on fingertips only. This creates a tacky surface that improves knife control during cambium alignment.
Pro-Tip: Condition leather when it reaches "bone dry" state but before it becomes rigid. Insert glove onto your non-dominant hand during conditioning to work oil into flex creases naturally, improving product distribution by 40% compared to flat-surface application.
Troubleshooting
Symptom: White crystalline deposits on exterior
Solution: Salt accumulation from synthetic fertilizer contact. Apply 1:4 vinegar solution, wait 3 minutes, then wipe clean. Condition immediately to restore pH balance.
Symptom: Stiff, board-like texture
Solution: Dehydration from excessive sun exposure during field work. Apply warm (not hot) neatsfoot oil twice daily for three days. Store in sealed container between applications to trap moisture.
Symptom: Dark water stains with irregular borders
Solution: Tannin bleed from contact with fresh-cut hardwood during staking operations. Clean with saddle soap, then apply leather bleach (oxalic acid 5% solution) to affected areas only.
Symptom: Green-black spotting
Solution: Copper fungicide penetration. Remove with pH-neutral detergent and soft brush. These stains become permanent if allowed to set beyond 48 hours.
Symptom: Cracking along seam lines
Solution: Thread degradation from UV exposure. Apply mink oil to seams, working product into stitching gaps. Replace gloves if cracks exceed 3mm depth.
Maintenance
Store cleaned gloves in a cotton bag with 1/4 cup food-grade diatomaceous earth to absorb residual moisture. Avoid plastic containers; leather requires air circulation equivalent to root respiration in well-draining potting media.
Apply light conditioning treatment monthly during active growing season. Each application should use 0.5 ml of oil per 100 square centimeters of leather surface.
Rotate between two pairs of gloves during heavy-use periods. This allows 48-hour drying cycles that prevent bacterial colonization similar to damping-off prevention in seedling flats.
Inspect gloves weekly for early stress indicators: color changes, texture variations, or odor development. Address issues within 72 hours for successful remediation.
FAQ
How often should leather work gloves be cleaned?
Surface clean after each 8-hour work session. Deep clean monthly during active use. Off-season storage requires cleaning, conditioning, and proper container storage.
Can machine washing damage leather gloves?
Yes. Mechanical agitation disrupts collagen fiber alignment and removes essential oils. Hand cleaning preserves structural integrity for 5+ years compared to 18 months with machine washing.
What removes tree sap from leather gloves?
Apply rubbing alcohol (70% isopropyl) to a cotton swab. Dab sap deposits gently. Follow with immediate conditioning to replace stripped oils.
Do leather gloves need waterproofing?
Working gloves benefit from beeswax-based waterproofing applied annually. This treatment reduces water absorption by 60% while maintaining breathability necessary for 8-hour wear comfort.
Why do gloves smell after storage?
Anaerobic bacterial growth from trapped moisture. Clean with vinegar solution, dry completely for 72 hours in circulating air, then store with moisture-absorbing material like rice hulls or diatomaceous earth.